Deliver your first gallery
Create a client gallery, upload the photos, send it with its PIN and know what your client sees.
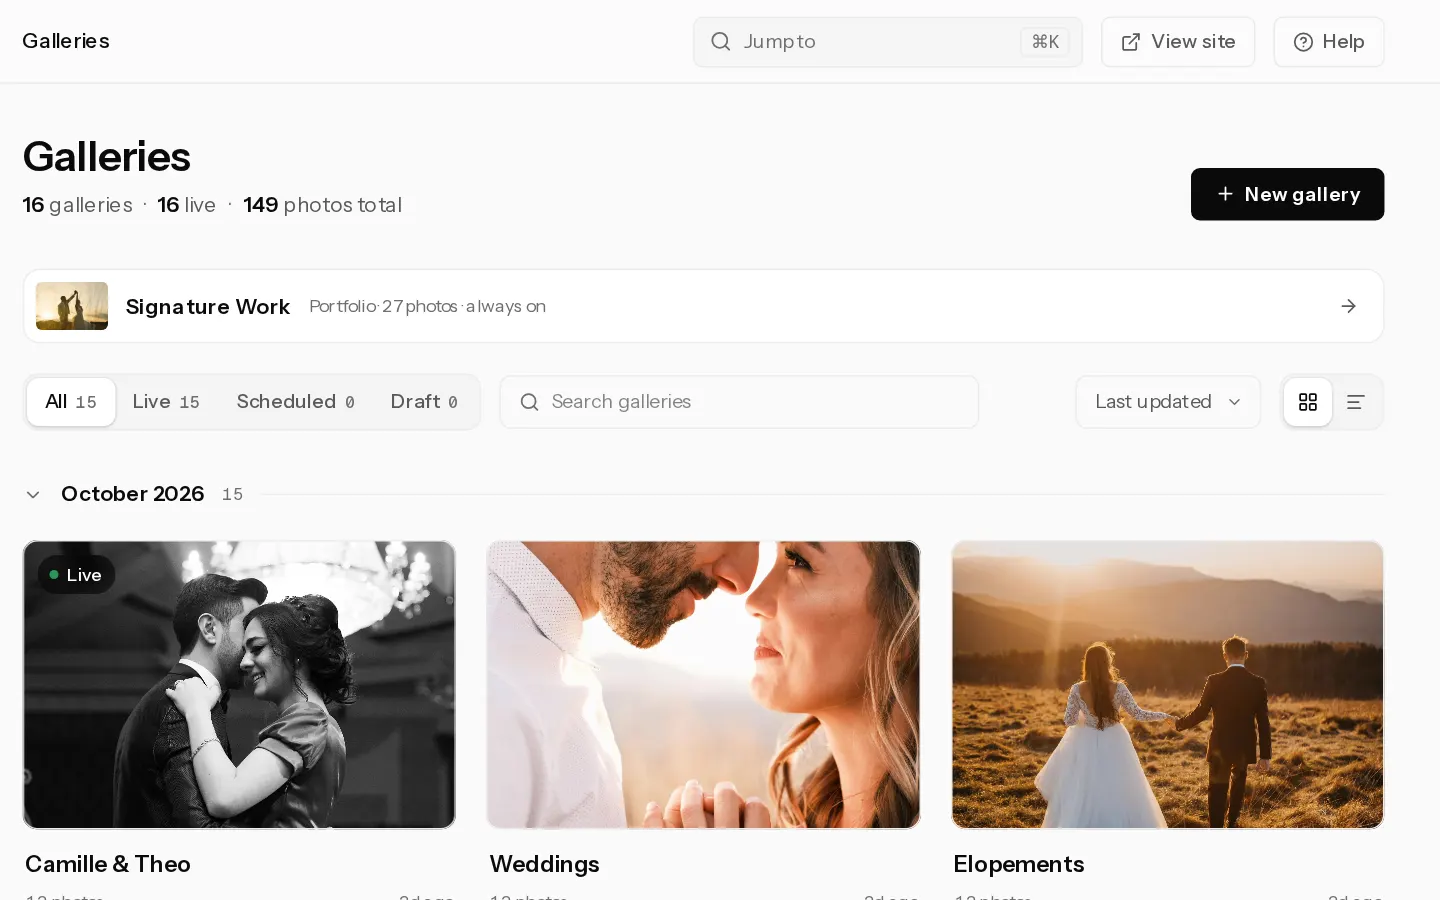
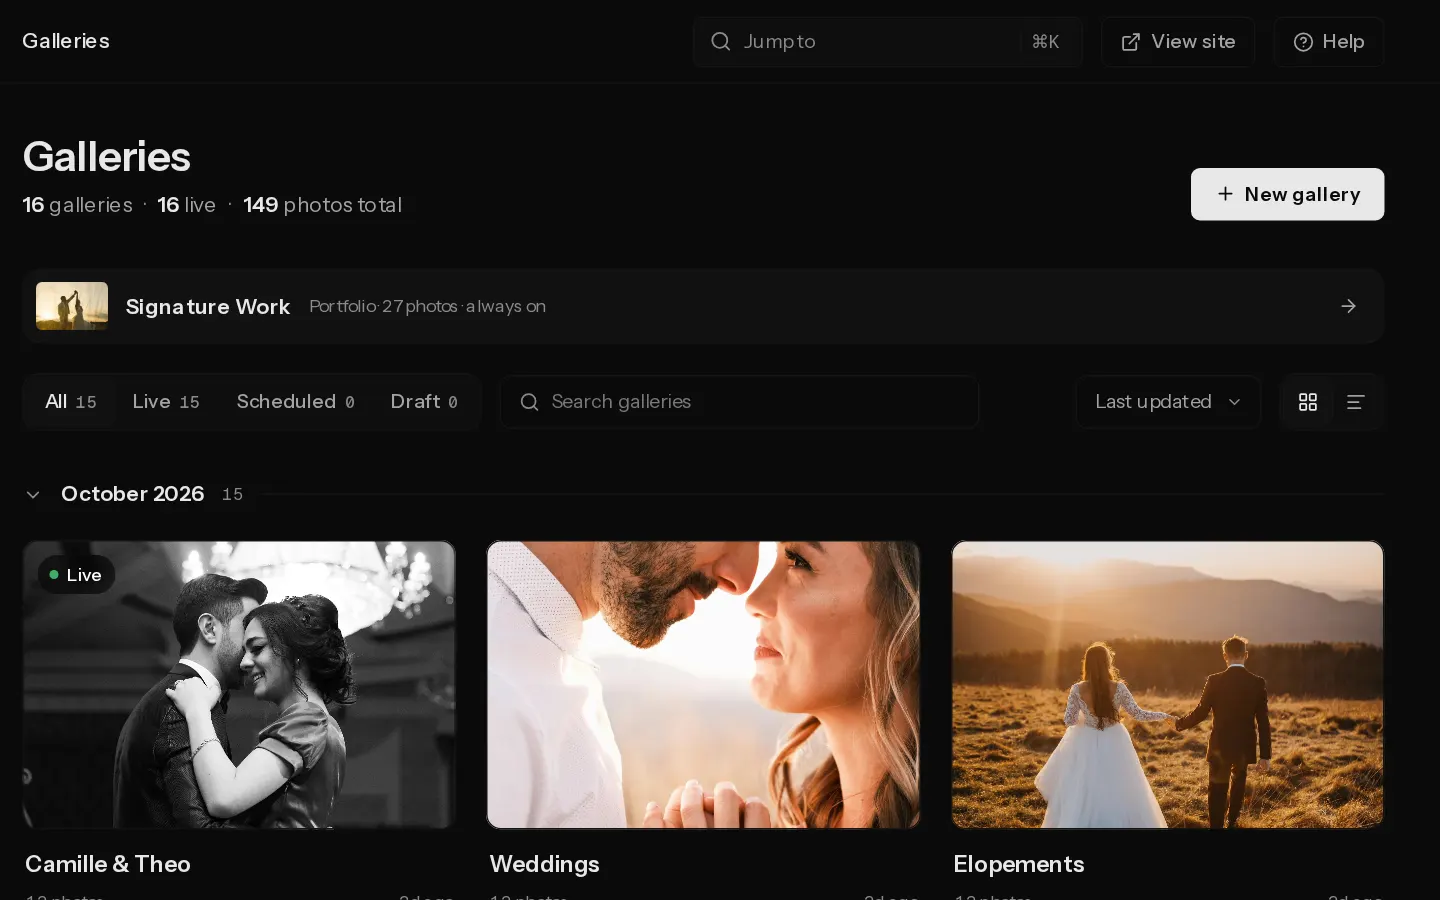
A client gallery is a private page for one shoot. Your client opens it with a link and a 4-digit PIN. Client galleries need Starter or above, and the 14-day trial includes them.
Create the gallery
- Open Galleries and select New gallery.
- Type a gallery name, keep Client gallery selected and select Next.
- Pick a starting point. It only fills in settings, and you can change each one later.
- Deliver: your client downloads every photo in full size.
- Let the client choose: your client picks favourites, and you switch downloads on when you are ready.
- Sell: clients and guests buy photos, and previews carry your watermark.
- Event: guests get in with their email and download web-size copies.
- Skip, use the defaults works like Deliver.
The gallery opens with a Draft label. Visitors see a notice instead of the photos until it is live.
Upload the photos
- Drag photos onto the drop area, or select Upload at the top of the gallery.
- Wait for the upload tray to finish. JPEG, PNG, WebP, HEIC and RAW files work, up to 100 MB each.
Every photo counts toward your plan's storage.
Check the PIN
Xposure creates a client PIN with the gallery. It shows in the bar above the photos, next to the gallery link. To change it, open Settings, then People, and edit Client PIN. Set a gallery PIN covers guest PINs and changing a PIN after you have sent it.
Decide what your client can do
All of this lives in the gallery's Settings. Skip any step you do not need.
- Downloads. Under People, Free downloads sets the size your client gets: None, Web size or Full size. Deliver and Event start on Full size. Let the client choose and Sell start on None.
- Watermark. If you sell from the gallery, your mark goes on the previews. See Add a watermark.
- Closing date. Close the gallery on a date or after some days. See Set when a gallery closes.
- Favourites. Let your client pick and comment before you deliver. See Turn on proofing.
Select Preview at the top of the gallery to see it as your client will, without the PIN.
Send the invite
- In the bar above the photos, select Send to client.
- Fill in your client's Name and Email, and edit the Message if you like. We add the link and the PIN below your message.
- Select Make live and send. On a gallery that is already live the button reads Send.
Sending a draft makes it live. If you set a closing date, we remind your client 7 days and 1 day before it closes. More in Send the gallery to your client.
Important: You need a confirmed email address to make a gallery live or send it. The invite also needs a client PIN.
To share the link yourself instead, open Settings, then Share, set Status to Live, and copy the link.
What your client sees
- Your client opens the link and sees the gallery name, your name and a PIN box.
- They type the 4 digits. The gallery opens as soon as the last digit is in.
- They see your photos in the layout you chose.
The button in the invite email opens the gallery without the PIN.
With free downloads on, each photo has a download button, and Download at the top of the gallery saves everything, their favourites or chosen sets as one zip file. With Web size they get the web-size copies. With None there are no free downloads. More in Choose what your client can download.
Did not find your answer?
Tell us what you are trying to do. Support replies by email.