Add a watermark
Show a watermark on the previews of a gallery you sell from, and on Studio use your own logo as the mark.
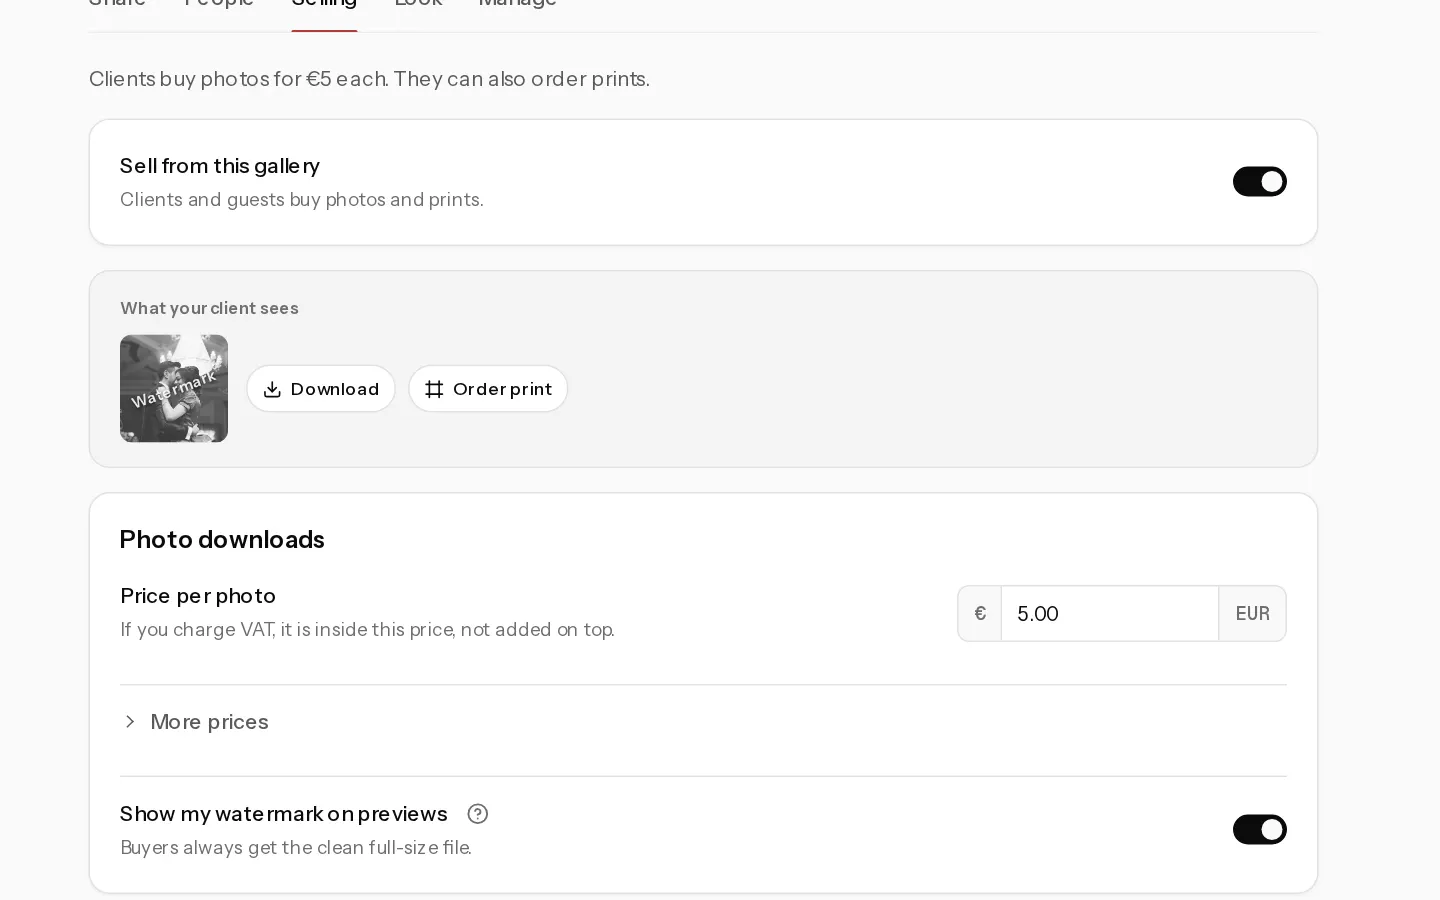

A watermark appears on the photos in a gallery that sells downloads. Buyers always get the clean full-size file.
The watermark is part of selling, available on Starter, Pro and Studio. A custom watermark with your own logo is Studio only.
Turn the watermark on
- Open the gallery and select Settings, then the Selling tab. If you see Set up payments, connect Stripe first.
- Switch on Sell from this gallery. The watermark comes on with it. If the gallery had no price yet, it starts at €5.00 a photo.
- Under Photo downloads, check that Show my watermark on previews is on. Switch it off to show clean previews while you still sell.
The What your client sees preview on the same tab shows a watermark tag on the photo while it is on.
A gallery that does not sell shows clean photos, whatever this switch says. The gallery's cover image at the top is always clean.
What downloads get
- Photos your client or guests buy download clean, in full size.
- Free downloads you allow in People are clean too. Web size is a clean web-size copy and Full size is the original. While you sell, free full size is switched off. Free web size stays if you set it.
Use your own watermark
The default watermark is the word PREVIEW in translucent grey, across the photo. On Studio you can replace it with your logo.
- Go to Settings, Integrations and find Custom watermark.
- Select Upload watermark and choose a transparent PNG of 5 MB or less.
- Check it in the preview, then select Confirm new watermark.
To go back to the default, select Remove.
Important: The watermark is added when a photo is uploaded. A new or removed custom watermark applies to photos you upload afterwards. Photos already in your galleries keep the mark they were uploaded with.
Did not find your answer?
Tell us what you are trying to do. Support replies by email.