Add your existing clients
Bring the clients you already work with into Xposure, with their upcoming sessions and their galleries.
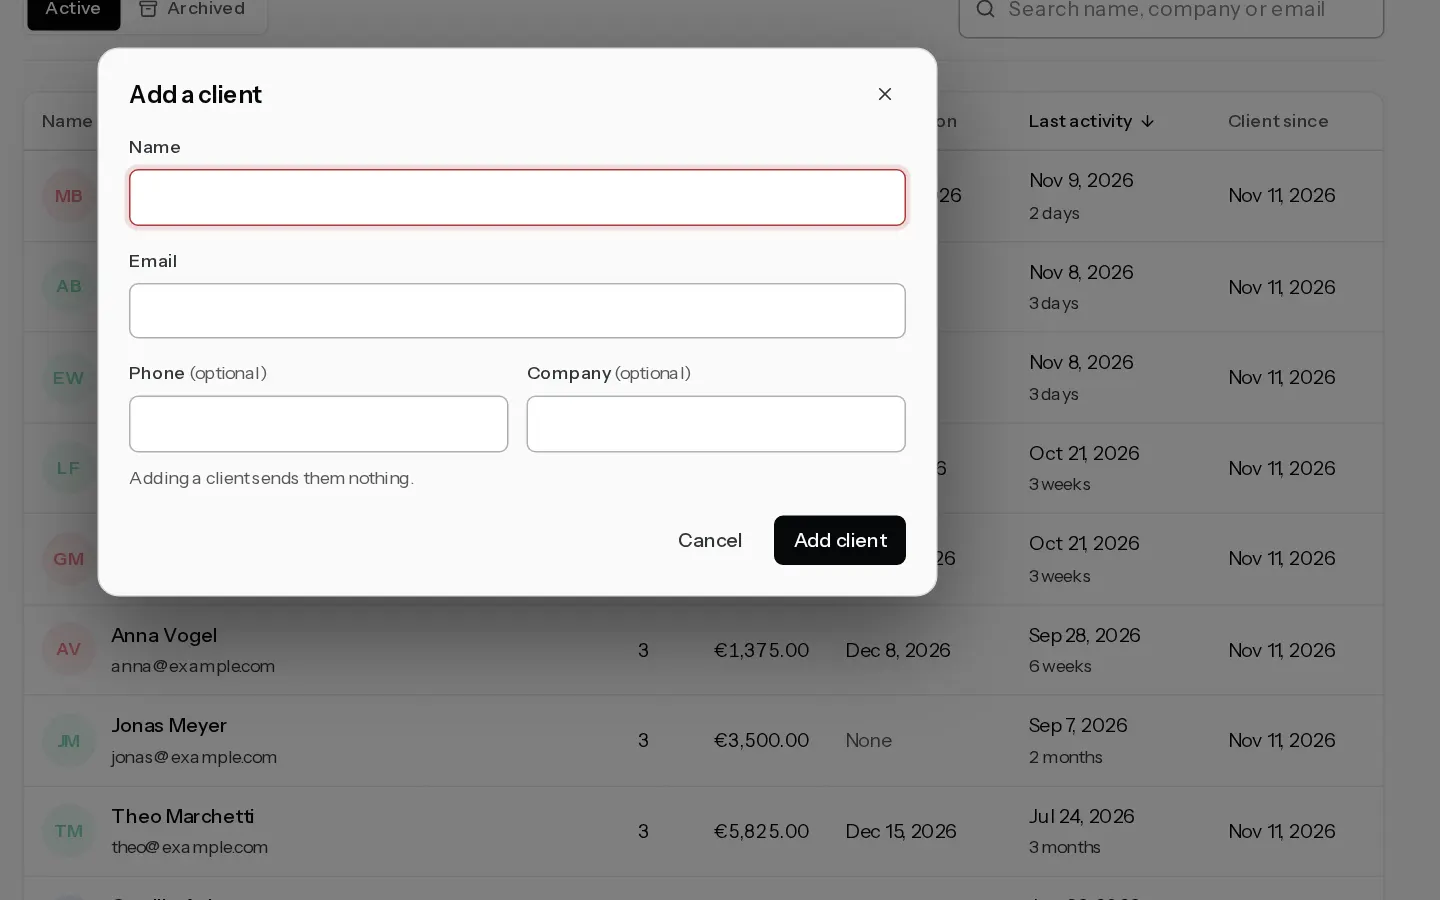
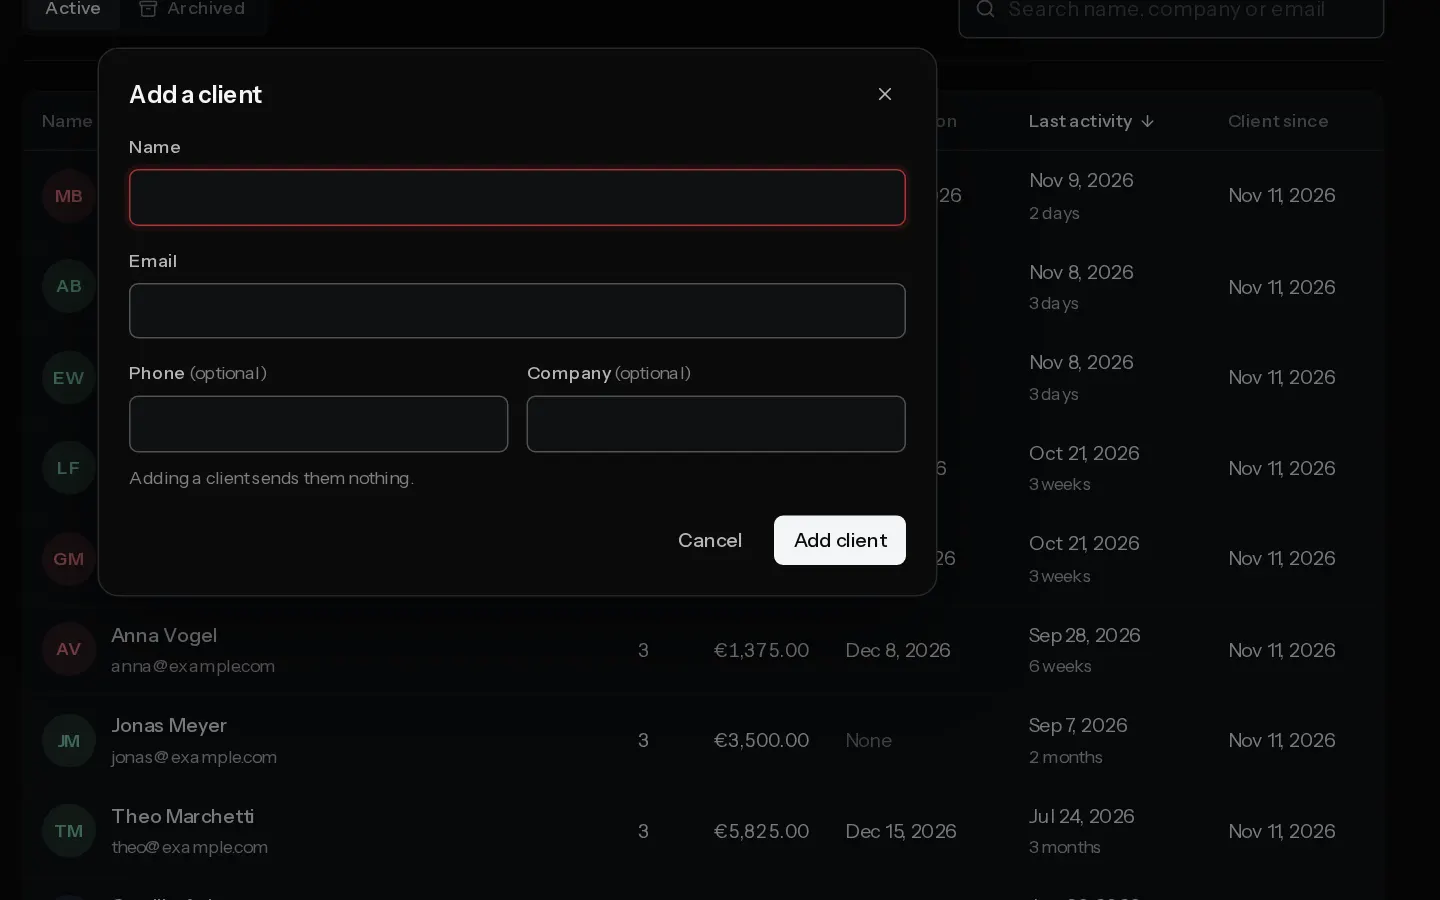
Xposure has no client import. You add each client by hand, which takes about a minute each. Start with the clients who have a session coming up. Adding clients needs Starter or above, the 14-day trial includes it, and your email must be confirmed.
Add a client
- Open Clients and select Add client.
- Enter their Name and Email. Phone and Company are optional.
- Select Add client. Their page opens.
Adding a client sends them nothing. One email is one client: if the address is already yours, Xposure names the client who has it.
On their page, select Edit to add their Instagram, Address and Tags, and use Notes for what you want to remember. Tags such as "wedding 2027" help you find them again.
Add a session you already agreed
For a client with a shoot coming up, add the booking instead. It adds the client at the same time.
- Open Bookings and select Add booking.
- Under Client, select New client, enter their name and email, then select Add client.
- Pick the package, the date and time, and switch off Email the client the booking if they should not hear from Xposure yet.
- Select Add booking.
See Add a booking yourself. If they already paid you a deposit, record it on the booking.
Put their gallery on their page
A gallery shows on the client's page once it is linked to one of their bookings. Open the booking and, under Galleries, select Link a gallery. To move the galleries themselves, see Move from Pixieset or Pic-Time.
Clients you do not add
Anyone who books you online, or whose enquiry you turn into a client with Make them a client, is added for you. See Manage your clients.
Did not find your answer?
Tell us what you are trying to do. Support replies by email.