Set your studio name, logo, fonts and colours
Put your studio name and logo on galleries, emails and your website, and choose your website's fonts and colours.
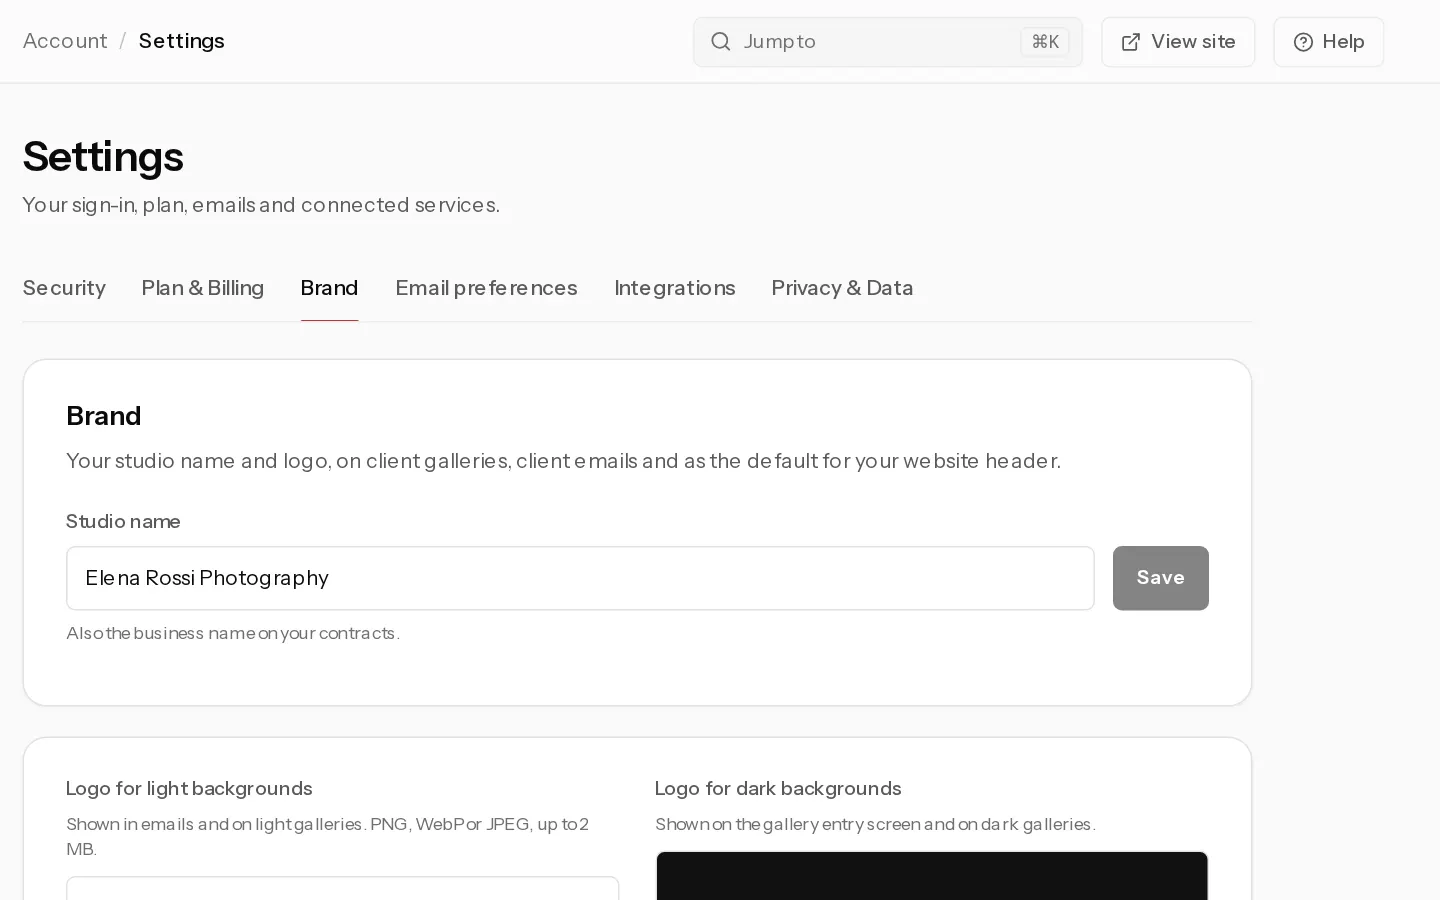
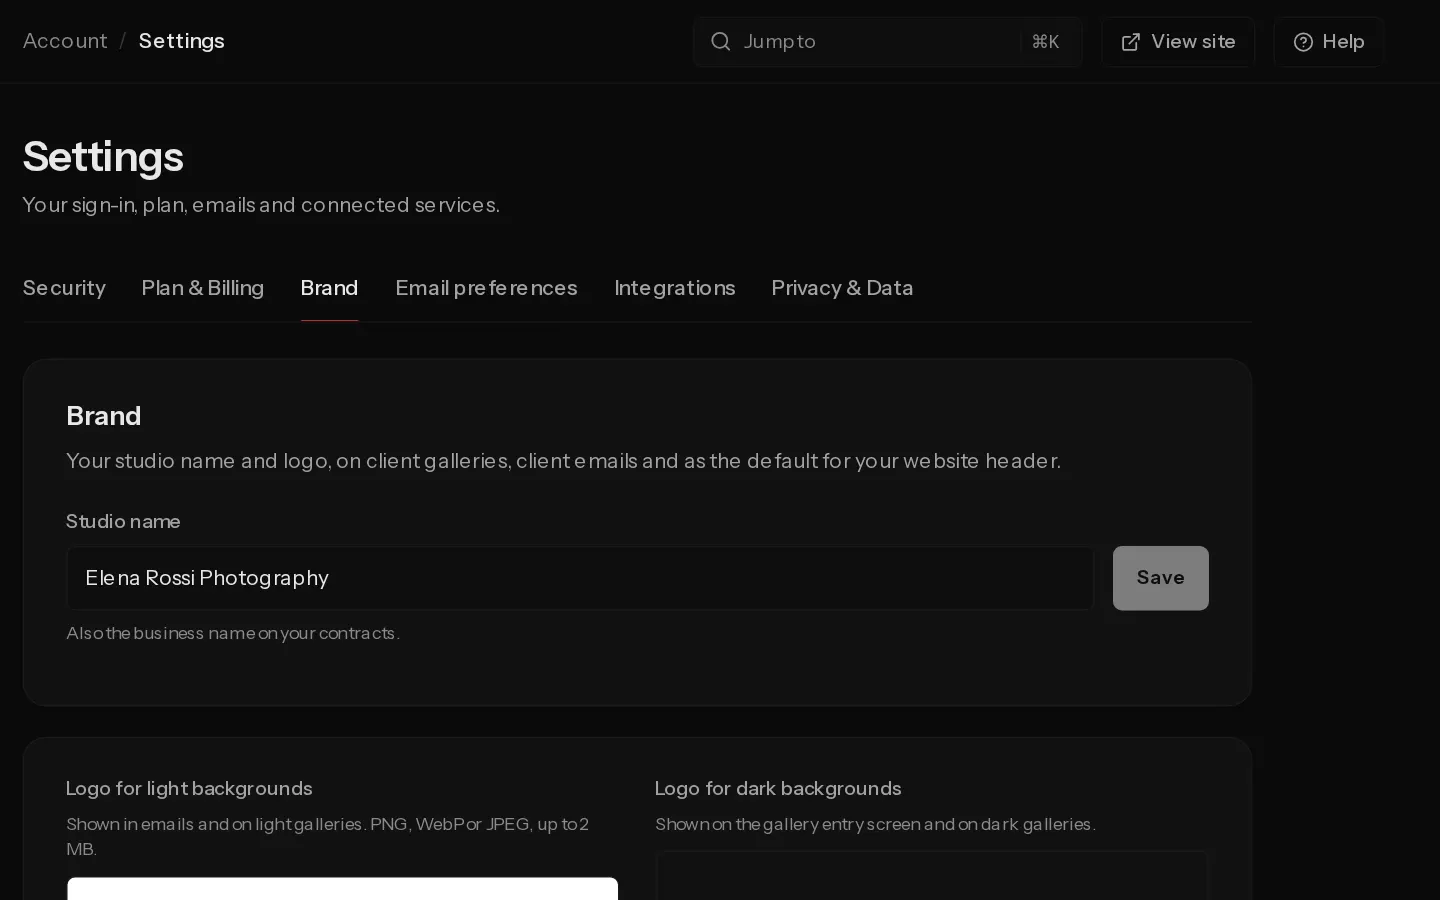
Your brand lives in two places. Settings, Brand holds your studio name and logos for client galleries and emails. The Site builder holds your website's logo, fonts and colours.
Studio name and logos
- Open Settings, Brand.
- Type your Studio name and select Save. It is also the business name on your contracts.
- Under Logo for light backgrounds, select Upload. This logo shows in emails and on light galleries.
- Under Logo for dark backgrounds, select Upload. This one shows on the gallery entry screen and on dark galleries.
Logos are PNG, WebP or JPEG, up to 2 MB. A transparent background works best. Without a logo, your studio name is shown in its place. Without a studio name, your name or username is used.
If your published website has a logo, Use the logo from your website copies it here.
Website logo and name
- In the Site builder, open the Style tab and go to Header.
- Type a Site name and a Tagline if you want one.
- Select Upload a logo, or Use my studio logo to take the one for light backgrounds from Settings, Brand.
- Drag Logo height to size it, then select Publish.
Fonts and colours
- In Style, under Look, pick a Template look. It sets fonts, colours and the header together.
- To go further, pick Fonts, one of the Colours sets and an Accent colour. Use the set's own resets the accent.
- Choose the Buttons shape and the Spacing, then select Publish.
Note: Your own fonts, colours and accent need Starter or above. On the Free plan, the site uses the fonts and colours of its template look, and shows a Powered by Xposure banner.
Your booking page has its own colours, set in Booking page.
Did not find your answer?
Tell us what you are trying to do. Support replies by email.