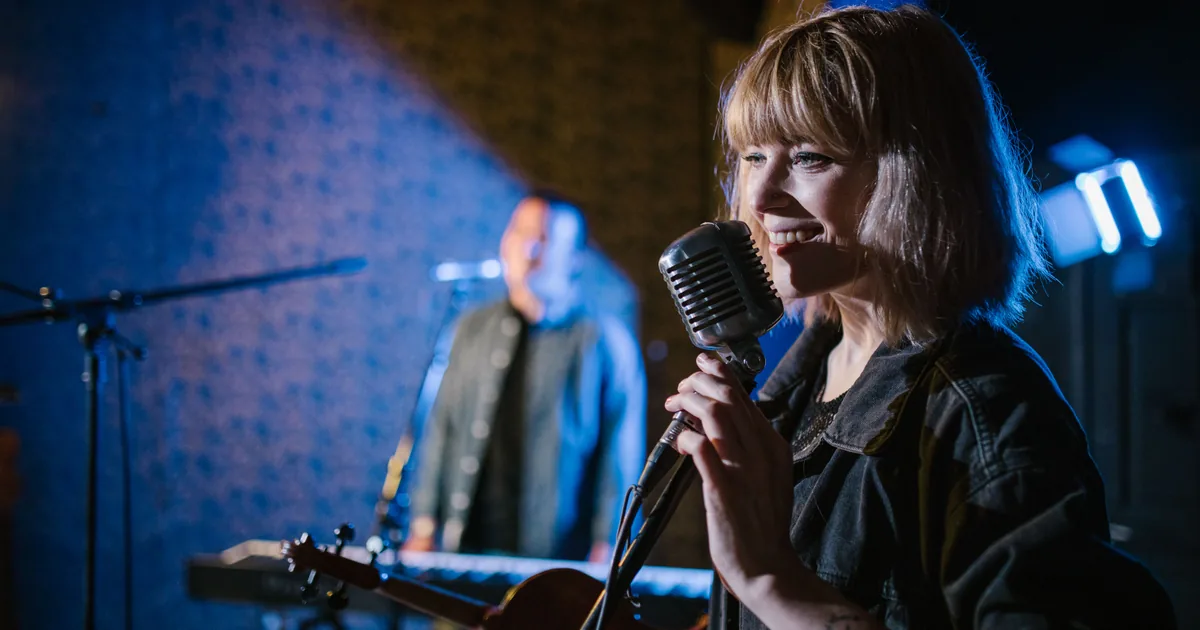
Manual mode, 1/250, f/2.8 or wider, auto ISO capped at 12800, continuous autofocus, and white balance set to tungsten rather than auto. That is the setup to walk into a venue with, and you will adjust the shutter as you learn how much the performer moves.
The photography is only half of it. Concert work runs on a set of access rules nobody explains to you, the most important being that you usually get the first three songs and no flash, which means your entire shoot is about twelve minutes long.
Understand the first three songs rule
At most ticketed shows, accredited photographers shoot from the pit for the first three songs and are then escorted out. It is standard, it is not negotiable, and planning around it is the difference between a good set and a panicked one.
What that means practically. You have roughly ten to twelve minutes. The lighting during the opening songs is often the most dramatic of the night, which helps. You will not get the encore, the crowd surf, or the confetti unless you have a different pass, so do not plan around them.
Shoot the first song wide to establish the stage, the second for tight portraits of each band member, and the third for whatever you are missing. Deciding that order in advance is what stops you leaving with four hundred frames of the singer and none of the drummer.
Support acts are the underrated opportunity. Photographers often skip them, the pit is empty, and the band is far more likely to want and share your photos.
Getting the pass
There is no route where you buy a ticket and bring a professional camera. Venues confiscate or refuse them at the door, and most tickets carry a condition against professional equipment.
The actual route:
- Get a commission or an outlet. A local music blog, a student paper, a fanzine, a website that covers your city's scene. It does not have to pay. Passes are issued to publications, not to individuals.
- Email the promoter or the PR agency, not the venue. Find them on the tour's press release or the band's site. Ask two weeks out, name the publication, and include a link to your work.
- Expect a photo release for bigger acts. Read it. Some are reasonable and some assign the copyright in your photographs to the artist's management, which is a genuinely bad deal you are entitled to decline.
- Deliver fast. Photos filed the same night get used. Photos filed three days later do not, and the promoter remembers which you were.
Start small. Local venues with 200 capacity often let you shoot with a polite email and no publication at all, and that is where you build the portfolio that gets you the bigger passes.
The settings, and why each one
Shutter 1/250 as the default. Performers move much more than you expect, and a guitarist's hand at 1/125 is a smear. Drop to 1/160 for a seated acoustic act, push to 1/400 for anyone jumping around.
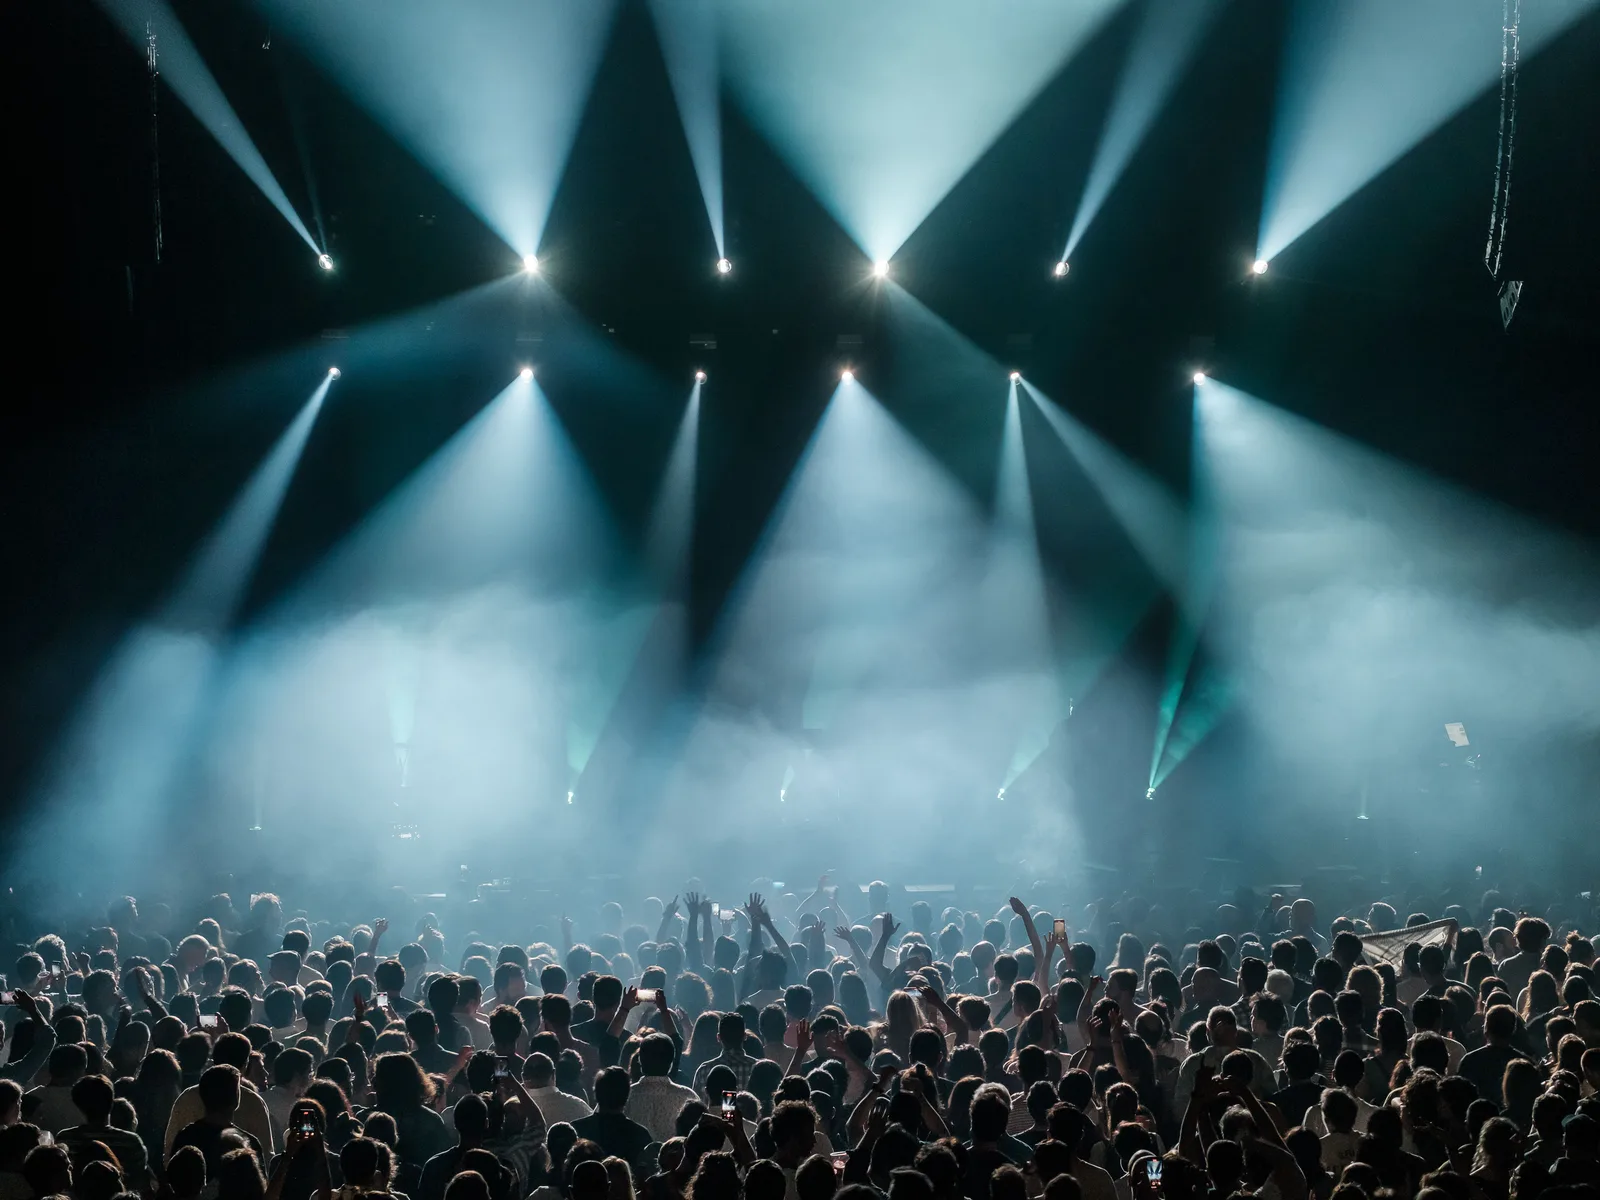
Aperture wide open. f/2.8, or f/1.8 on a prime. You need every stop.
ISO high and uncapped by squeamishness. ISO 6400 is a normal working value in a small venue. Grain suits live music photographs, and it is far more forgiving than in a portrait. If pushing past ISO 3200 still makes you uneasy, the reasoning is the same as for any indoor shoot without flash: a sharp noisy frame beats a clean blurred one.
Manual exposure, not aperture priority. Stage lighting changes drastically between songs, and metering modes chase it, so your exposure swings wildly frame to frame. Set it manually for the current lighting state, then adjust when the lighting changes. This is the single biggest step up from beginner concert work.
Spot metering if you do use a metering mode, aimed at the face, because evaluative metering sees a black stage and overexposes everything.
White balance to tungsten, around 3200K, as a starting point. Auto white balance under coloured stage lighting produces wildly inconsistent colour between frames, which is miserable to edit across four hundred images.
Red light is the real enemy
Every concert photographer's hardest problem is not darkness, it is saturated red lighting. Deep red stage wash clips the red channel long before the image looks overexposed, and the result is a face with no detail at all, just a flat red shape. There is no recovery in editing because the information was never recorded.
Three defences:
- Underexpose by a third to two thirds of a stop when the stage goes red. You can lift shadows; you cannot invent a clipped channel.
- Watch the RGB histogram, not the combined one, which hides a clipped red channel entirely.
- Convert to black and white. Heavily red-lit frames often become excellent monochrome images, and this is the standard professional answer rather than an admission of defeat.
Wait for the lighting to change, too. Lighting designers cycle through states every few bars, and the white or blue moment arrives every fifteen seconds or so. Patience is a technique here, and it is the same habit that night and low light work rewards everywhere else.
Lenses and what to carry
A fast wide zoom and a fast short telephoto covers everything: a 24-70mm f/2.8 for the stage and the crowd, and a 70-200mm f/2.8 for tight shots of a performer at the back or on a big stage. On a budget, a 35mm f/1.8 and an 85mm f/1.8 do the same job for a fifth of the price and force you to move.
Two bodies if you have them, because there is no time to change lenses in a pit and no clean surface to do it on.
Leave everything else behind. Pits are cramped, you are standing in the dark against a barrier, and a bag on your back is a hazard to you and to security. Pockets only: a spare battery, two cards, and a lens cloth. Earplugs, genuinely, because you will be standing directly in front of a PA stack for twelve minutes and you are going to do this repeatedly.
Shooting from the pit
Shoot from low, angling up slightly, which makes performers look commanding and keeps the ceiling rig in frame rather than the crowd's heads.
Move constantly. You have a narrow strip and three songs, so work the width of it and get every band member from at least two angles. Photographers who plant themselves in front of the singer come away with one usable frame repeated sixty times.
Watch for the moments that repeat: a singer leaning into the mic, a guitarist's head-back solo pose, the drummer visible in a gap. Bands are more choreographed than they look, and the shape you missed in song one usually comes back in song three.
Then shoot the crowd. Turn around during the second song and get the audience lit by the stage. Promoters and venues want those images more than another picture of the singer, and almost nobody in the pit turns around.
After the show
Cull ruthlessly and file the same night. Twelve minutes of shooting at eight frames a second is a lot of frames and the venue wants six.
Colour work is where these images are made: white balance per lighting state rather than per gallery, red channel checked on every frame, and a consistent treatment across the set so it reads as one body of work rather than forty different colours of the same person, which is the same discipline as holding a consistent look across a whole gallery. Send a tight, fast selection and you will be asked back, which in this genre is the entire career path.