A starting point you can adjust from: aperture as wide as your lens goes, shutter at 1/125, ISO on auto with the ceiling set to 6400. That will get you a sharp, usable frame in most living rooms, halls, and venues without a flash anywhere near it.
The reason indoor photos disappoint is almost never the settings, though. A typical room interior is three to four stops darker than open shade outside, and the light comes from above and behind rather than from in front. Fixing where your subject stands does more than any setting you can change.
Move the person before you touch the camera
The single biggest improvement available indoors is free. Put your subject within about six feet of the largest window in the room and turn them towards it.
Window light indoors is soft, directional, and flattering, and it drops off fast. At six feet from a window you have plenty. At fifteen feet you are working in what is effectively a dark room with a bright patch behind you. This inverse square falloff is why one person in a room can look beautifully lit and another person eight feet further back looks grey.
Three positions, best to worst:
- Facing the window, or at about 45 degrees to it. Even light on the face, catchlights in the eyes.
- Side on, one side of the face lit and the other in shadow. More dramatic, and you may want a white wall or a piece of card on the shadow side.
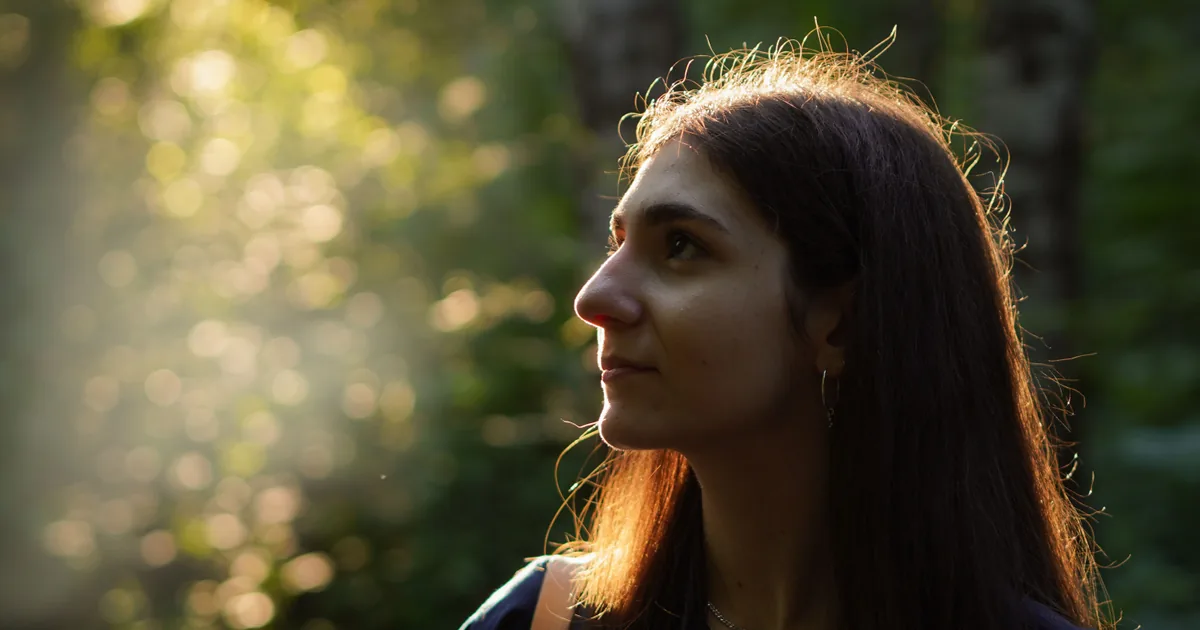
- Back to the window. Avoid unless you deliberately want a silhouette, because your camera will expose for the window and turn the face to mud.
Turn the room lights off while you do this. Mixing warm ceiling lights with cool daylight from a window is what makes indoor photos look strangely orange on one side of the face, and it is much harder to fix in editing than it is to prevent.
The settings, and the order to sacrifice them
You have three exposure controls and indoors you will run out of all of them. The order to spend them:
Aperture first, and go wide. f/1.8 or f/2 on a prime, f/2.8 on a zoom. Wide apertures are the cheapest light you can buy indoors, and the shallow depth of field is usually flattering rather than a problem. The exception is a group of more than two people, where you need f/4 or more and will have to make up the light elsewhere.
Shutter next, but respect the floor. 1/125 is the practical minimum for a person who is standing still, and adults are never quite still. Children need 1/250 as an absolute floor and realistically 1/400. Below 1/60 you are gambling on both subject movement and your own hands. In-body stabilisation helps with your hands and does nothing at all for a moving child, which is a distinction worth internalising before you trust it.
ISO last, and go higher than feels comfortable. ISO 3200 is entirely normal indoors. ISO 6400 is fine on any camera made in the last eight years, and modern denoise handles it well enough that nobody will ever notice. A slightly noisy sharp photo beats a clean blurry one every single time, and the number of good frames lost to photographers refusing to leave ISO 800 is genuinely sad.
Set auto ISO with a minimum shutter speed and a maximum ISO, and then stop thinking about it. On most bodies that is a single menu screen and it turns three decisions into one.
Fix the colour before you shoot, not after
Indoor light is a mess of colour temperatures: daylight from a window at about 5500K, warm LED bulbs at 2700K, and possibly a fluorescent tube doing something unpleasant in the kitchen.
Auto white balance will average all of that and get it wrong in a way that shifts between frames, which is what makes a set of indoor photos look inconsistent even after editing. Two fixes, in order of effort:
- Turn off the room lights and shoot by window light only. One light source, one colour, problem gone.
- Set a custom white balance from a grey card in the light you are shooting in. Ten seconds, and it fixes the whole take in one click later.
If you cannot do either, shoot raw and fix it in editing, but expect a per-frame job rather than a batch one. This is the same class of problem as photos that look right on your screen and wrong everywhere else, and both are much cheaper to prevent than to repair.
Get the light back off the walls
You do not need a flash to add light, you need something white and large.
A $25 reflector, a piece of white foam board, or in a pinch a white bedsheet held opposite the window will bounce enough light back into the shadow side of a face to lift it a stop. Held close, about three feet from the subject, it is surprisingly effective and completely invisible in the final photo.
Pale walls and ceilings do this for you for free, which is why photos in a white-walled room look better than photos in a room painted dark green. If you have a choice of rooms, that is the choice.
When you genuinely cannot get there
Some rooms defeat all of this: a windowless hall, an evening reception, a venue lit by four downlights. At that point you have three options and only three.
Raise the ISO further and accept the noise, which is usually the right answer for a candid moment you cannot repeat. Use a fast prime, since a 50mm f/1.8 costs around $150 and buys you two full stops over a kit zoom, making it the best value low-light purchase in photography. Or add light after all, at which point a single speedlight bounced off a pale ceiling takes ten seconds to set up and solves the room outright.
There is no fourth option, and specifically there is no setting that creates light that is not there. Photographers waste a lot of time looking for one.
A quick checklist for a dim room
Before the first frame:
- Room lights off, curtains fully open
- Subject within six feet of the window, turned towards it
- Widest aperture your lens has
- Shutter at 1/125, or 1/250 with children
- Auto ISO capped at 6400
- White balance set from a grey card, or daylight if you skipped it
- Something white on the shadow side
That takes about a minute and it is the difference between a set of dark, orange, slightly soft photos and a set that looks intentional. The camera settings are the easy part, which is why they get all the attention. The window is where the photograph actually comes from, and it is the same principle that decides an outdoor shoot: find the good light first, then set the camera to record it.