Night photography fails for one of three reasons: the camera hunted for focus and gave up, the exposure was guessed, or the whole thing was handheld. All three are solvable before you leave the house.
Here are the settings for the situations that actually come up.
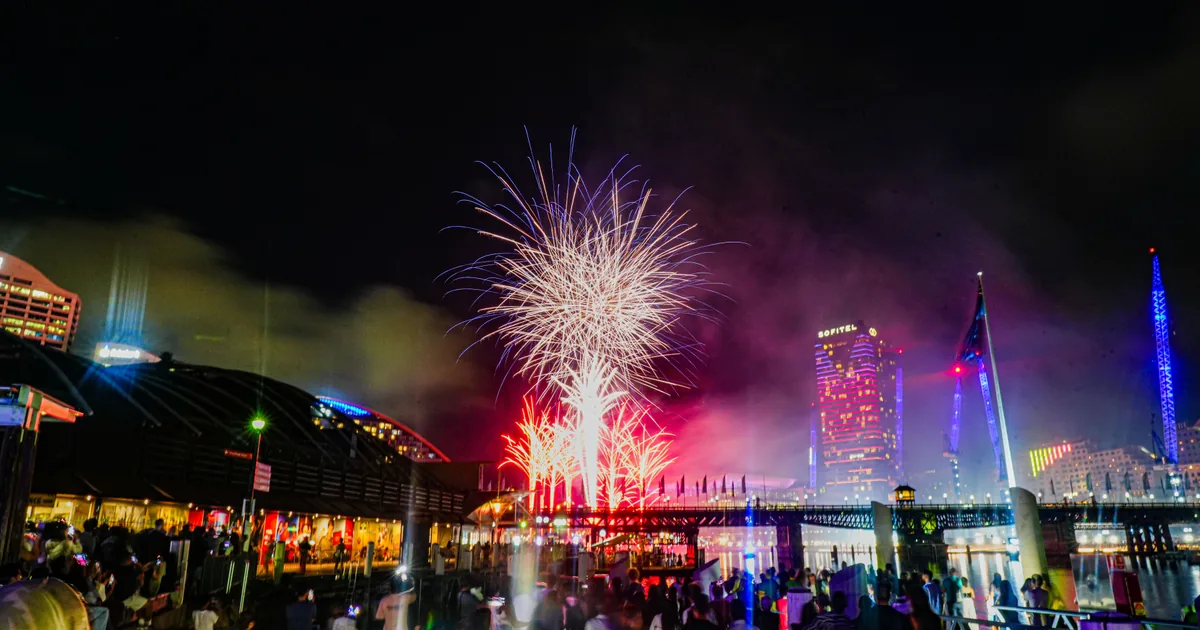
Fireworks: f/11, ISO 100, and a long shutter
Fireworks are extremely bright. The instinct is to open the aperture and raise the ISO, and it produces white blobs with no colour.
The working baseline:
- ISO 100, always.
- f/8 to f/11.
- Shutter of 2 to 6 seconds, using bulb mode if your camera has it, so you can hold the shutter open across one or two bursts and close it before the smoke drifts in.
- Manual focus, set to infinity before it gets dark, then taped or locked.
- Tripod, non-negotiable, plus a remote release or cable so you are not touching the camera.
Frame wider than you think, because the first shell tells you the actual height of the display and by then you have missed it. Include something in the foreground, a skyline, a crowd silhouette, a bridge, since fireworks against black sky are a photograph of nothing else.
Arrive an hour early for the position, check the wind direction, and stand upwind. Smoke ruins the second half of every display, and which side you chose decides whether that matters.
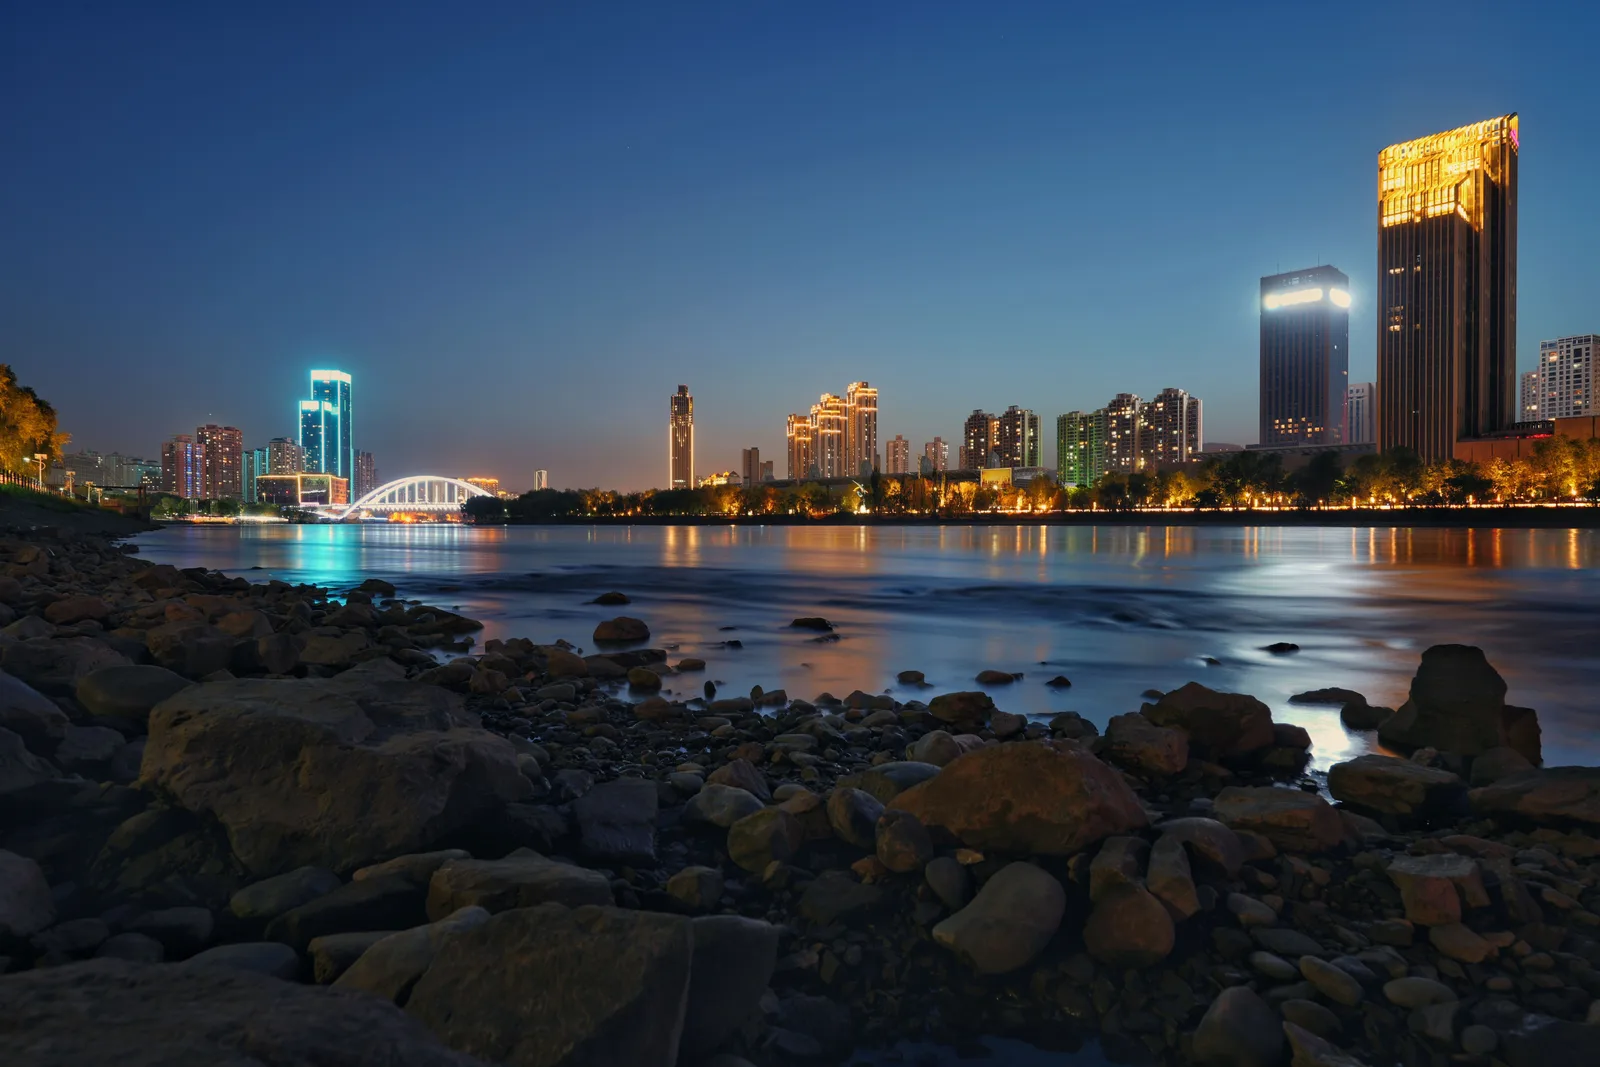
Blue hour cityscapes: the window is 20 to 40 minutes
The best "night" photographs are not taken at night. They are taken in the window after sunset when the sky still holds blue and the artificial lights are on, so the two balance.
- ISO 100 to 200, tripod.
- f/8 to f/11 for depth and for the starburst effect on point lights.
- Shutter 1 to 15 seconds, adjusting as the sky darkens. It changes fast, so reshoot every few minutes.
- Shoot raw, and set white balance manually around 3800K rather than auto, which will fight the sodium lights and shift between frames.
Once the sky goes black you have lost it. Set up 30 minutes before sunset, not after.
Handheld at night, when a tripod is not possible
Sometimes you are at a party, a street, a reception. The rules change:
- Fast prime, f/1.4 to f/2.
- Shutter no slower than 1/125s for people, faster if they are moving.
- ISO wherever it needs to be, including 12800. Denoise in the edit.
- Continuous autofocus with face detection, which now works remarkably well in very low light on recent bodies.
Accept the noise as the price of the frame. A grainy sharp photograph of a moment is a photograph. A clean blurred one is not.
Focusing in the dark, which is where most shoots fail
Autofocus needs contrast, and at night there frequently is not any. Three reliable methods:
- Focus on a distant bright light using live view zoomed to 100%, then switch to manual so it cannot re-hunt.
- Focus during daylight on your subject distance, then tape the focus ring. This is what to do for fireworks.
- Shine a torch or a phone at your subject, focus on the lit spot, switch to manual, turn the torch off.
Then verify by taking one frame and zooming in on the review screen. Every night photographer has come home with an entire session softly out of focus at least once.
Star trails and the night sky, briefly
Two approaches, and they need different settings.
Sharp stars: the widest aperture you have, ISO 3200 to 6400, and a shutter of around 500 divided by your focal length in seconds, so about 20 seconds on a 24mm. Longer than that and the stars streak.
Star trails: deliberate streaking, done as a series of 30 second exposures over an hour or more using an intervalometer, then stacked in software. One very long exposure produces noise and a blown sky instead.
You need genuinely dark skies for either, which means driving away from town. Check a light pollution map before committing an evening.
Light painting and long exposure people
If someone has to be in a long exposure, they must stay still for the whole frame, which is harder than it sounds beyond four or five seconds. The practical approach is to fire a flash at them at the start or end of the exposure, freezing them sharply while the ambient light continues to expose the background. That single technique covers most night portraits with a city behind them, and it uses the same one-speedlight kit as everything else.
The kit list
- Tripod, and a sturdy one, since night photography means long shutters and often wind. What to look for is here.
- Remote release or intervalometer.
- A head torch with a red mode, so you can see your controls without destroying your night vision or annoying everyone around you.
- Spare batteries, kept warm. Cold nights halve battery life.
- A cloth, since condensation forms on the front element as the temperature drops.
- Gloves you can operate a camera in.
One planning habit
Check moonrise, moonset, and the moon phase before any night shoot. A full moon lights a landscape beautifully and destroys astrophotography. A new moon does the opposite.
That is the same planning instinct as working out where the sun will be for a daytime session, and the same apps do both. Turning up and hoping is what makes night photography feel like luck.
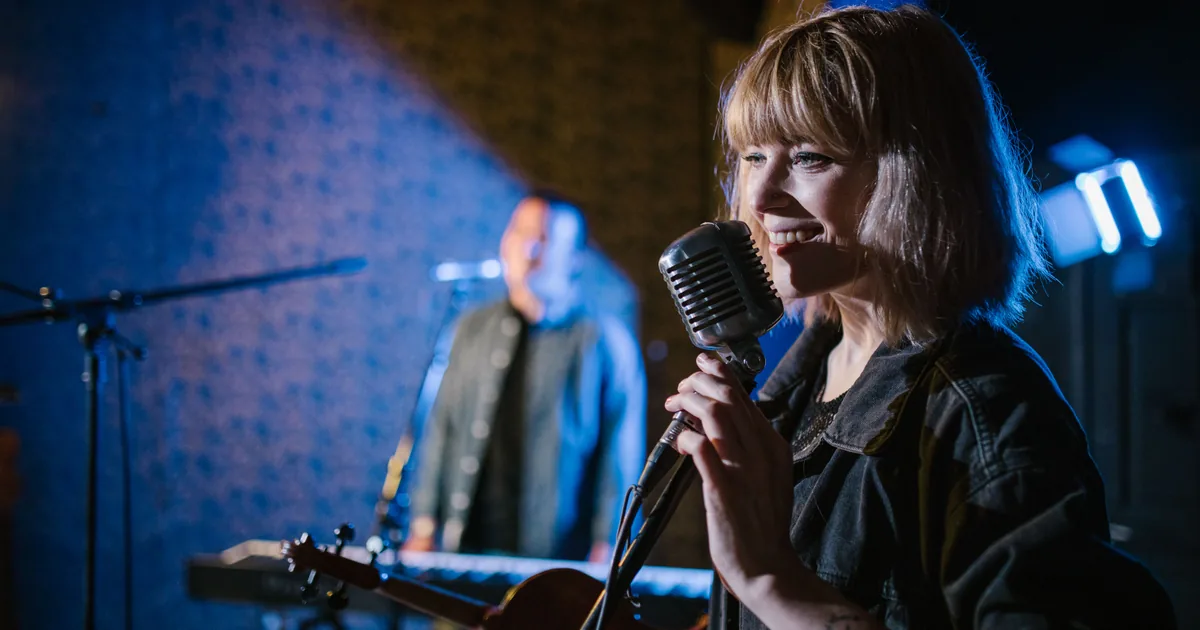
The one dark subject none of this covers is a lit stage, where you cannot use a tripod, a long exposure, or a flash. Concert photography is its own set of rules, starting with the three songs you are usually given.