Most photographers avoid flash for years, then discover that one light on a stand solves the dark reception, the grey afternoon, and the office headshot in a windowless meeting room, all with the same three settings.
Here is the smallest kit that does professional work, and how to use it without reading a book on lighting first.
The kit, and what each part is for
A speedlight with manual power control. You do not need the manufacturer's flagship. What you need is a flash that lets you set power manually from full down to 1/64, and that has a decent recycle time. Third-party options from Godox and equivalents do this for a fraction of the price of the camera brands, and the wireless system is usually better.
A radio trigger set. Transmitter on the camera, receiver in or built into the flash. Optical triggering fails outdoors and in bright rooms.
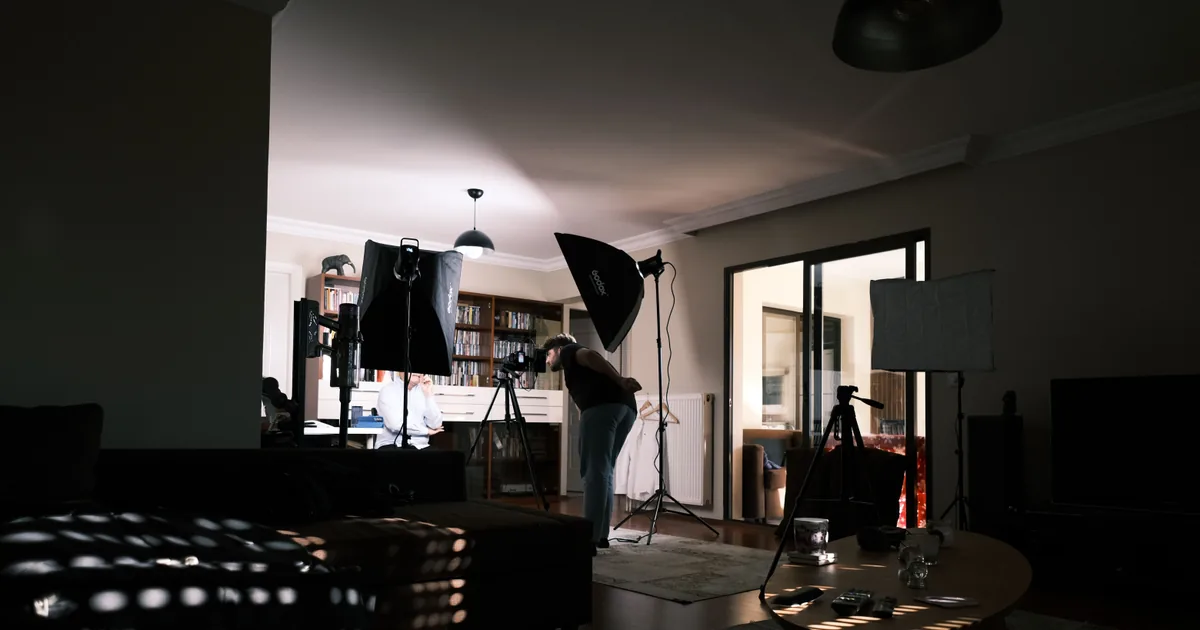
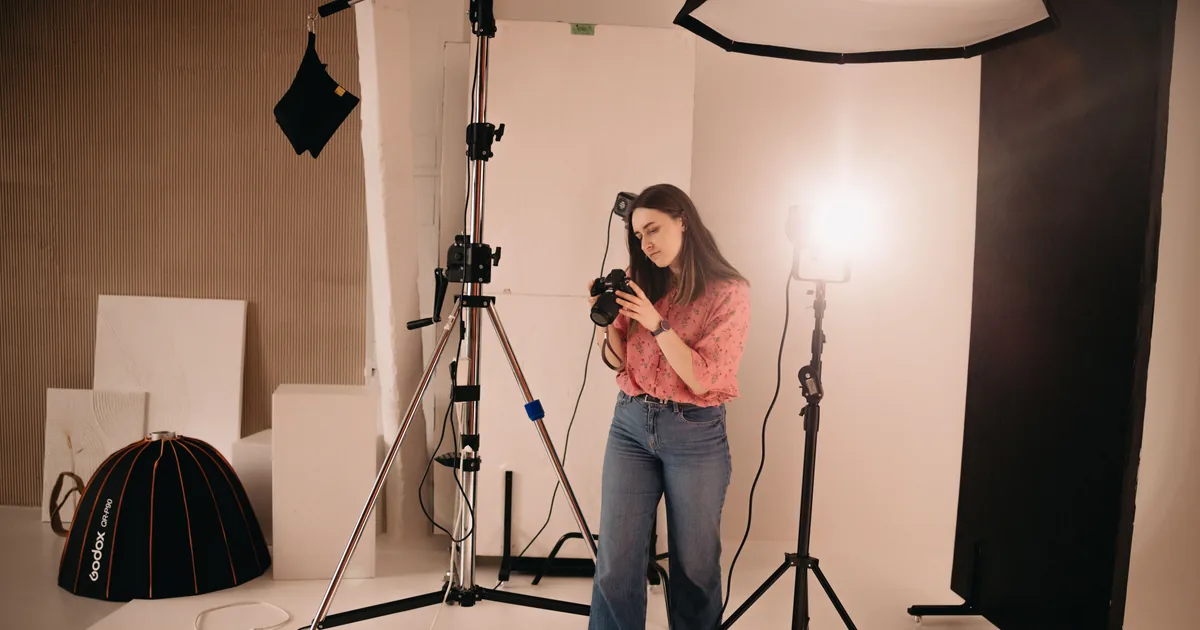
A light stand. A basic aluminium stand is fine. Get one that reaches at least 2.4m, because you will often want the light above the subject's head height.
A modifier. A 90cm to 110cm shoot-through umbrella is the cheapest way to turn a hard little flash into soft light. A softbox gives you more control over spill; an umbrella is faster to set up and more forgiving.
A sandbag. Not optional outdoors. An umbrella on a stand is a sail, and the one that blows over lands on a client.
Spare batteries. Rechargeable AAs, four sets minimum, or a flash with a lithium pack if you shoot volume.
That whole list costs less than a mid-range lens and it will change your work more.
The three settings that get you started
Set the camera to manual. This is the part that feels alarming and is actually simpler, because flash exposure and ambient exposure are two separate controls.
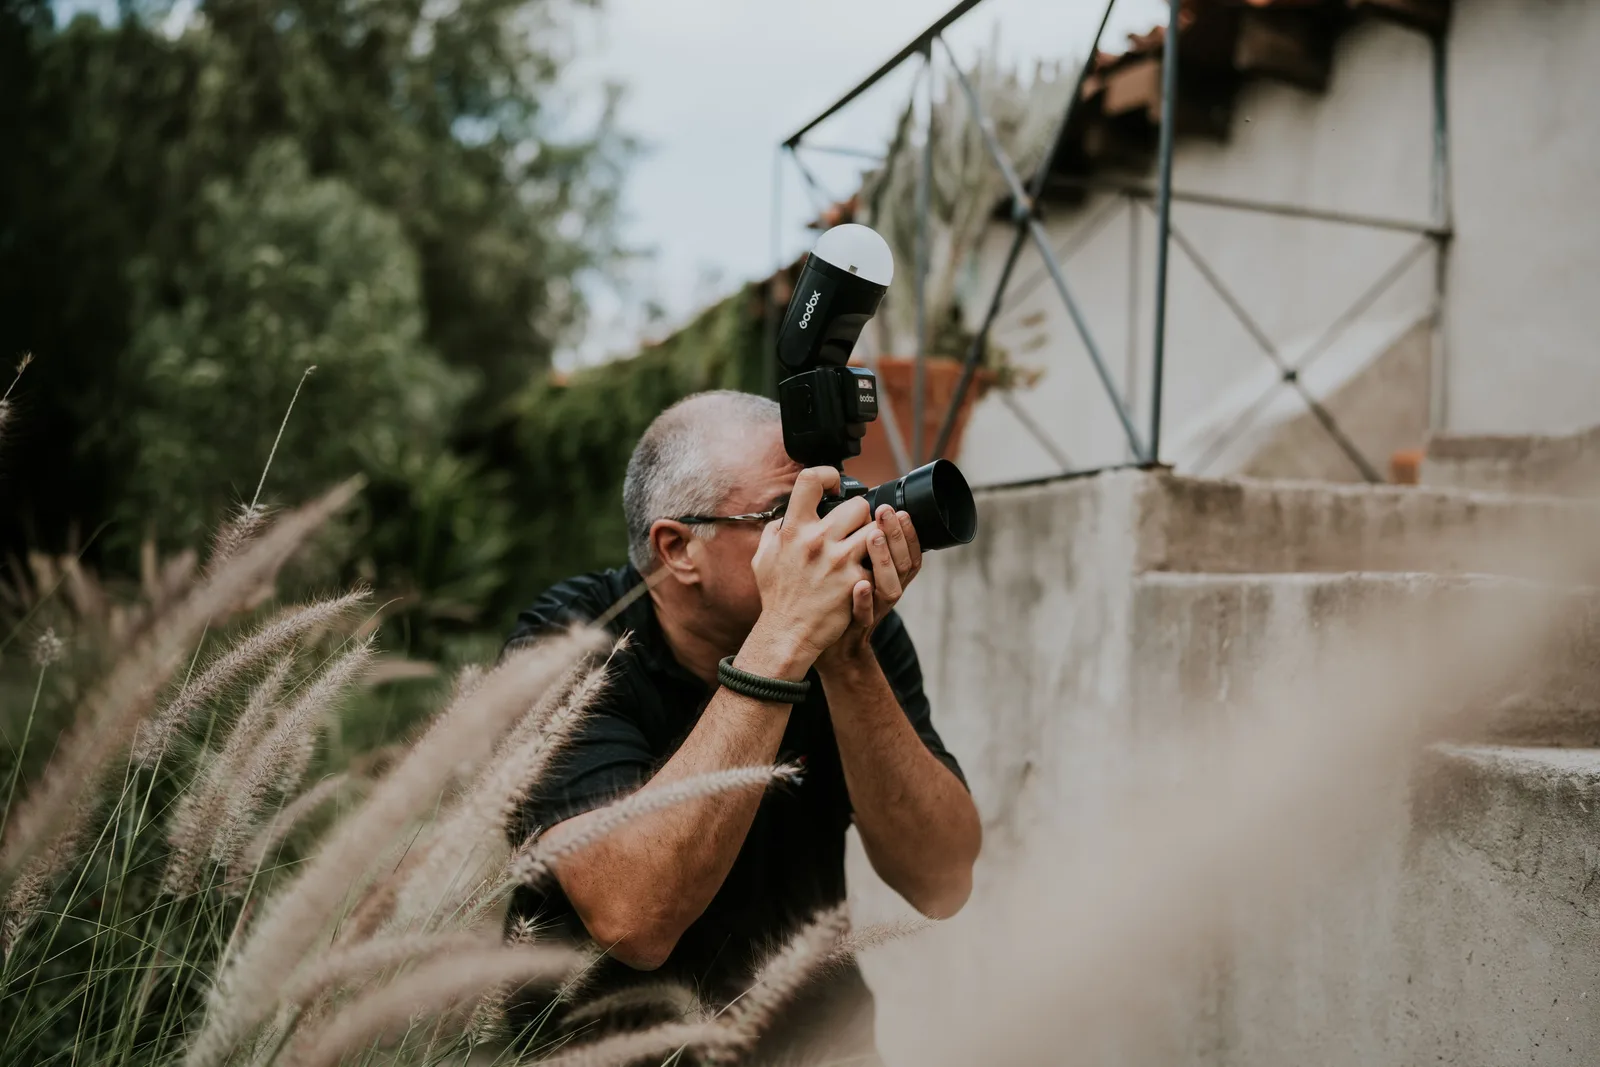
- Shutter speed controls the ambient light, and it does nothing to the flash. Start at 1/200s, which is around the sync speed on most cameras. Want the background darker and moodier? Faster shutter. Want more of the room to show? Slower.
- Aperture controls the flash exposure, along with power and distance. Start at f/4.
- ISO is your global volume. Start at 400 indoors, 100 outdoors.
Then set the flash to manual at 1/8 power, take a frame, and adjust the power up or down until the subject looks right. Two or three test frames and you are done. That loop, shoot, look, adjust power, is the entire skill.
Where to put the light
One rule covers most situations: up and to one side, about 45 degrees off the lens axis and above the subject's eye line, angled down.
That is roughly where the sun sits in late afternoon, which is why it reads as natural. Closer to the camera is flatter and more forgiving; further round to the side is more dramatic and shows more texture.
Two things people get wrong at the start:
Too far away. A light gets softer as it gets closer relative to the subject. An umbrella two metres away is a hard light; the same umbrella at one metre is soft. Get it as close as you can without it entering the frame.
Too high. Above the eye line, angled down, yes. Directly overhead puts shadows under the eyes and turns your soft light into the midday sun you were trying to escape.
Bouncing, for when you cannot use a stand
At a reception or a party, you cannot run a stand into a crowd. Put the flash on camera and point it at the ceiling, or at a wall to your side, and let the room become the modifier.
Two conditions: the ceiling must be reasonably low and reasonably neutral in colour. Bouncing off a wooden ceiling gives everyone an orange face, and there is no fixing it properly afterwards.
Angle it slightly behind you rather than straight up, so the light comes back at the subject from above and in front rather than dropping straight down.
Flash outdoors, which is the underrated use
The best use of a single speedlight has nothing to do with dark rooms. It is filling shadows in bright sun.
Put the sun behind your subject so they are rimmed with light and not squinting, then add the flash from the front at low power, maybe 1/16, to lift their face back to matching the background. Suddenly the harsh midday session works, and it solves the problem that shade and reflectors only partly fix.
If your flash and camera support high speed sync, you can shoot at f/2 in bright sun with flash, at the cost of a lot of flash power. Without it, stay at your sync speed and use a narrower aperture or a neutral density filter.
What to practise before you use it on a client
Twenty minutes in your kitchen with a willing friend or a mannequin:
- Move the light from directly beside the camera round to 90 degrees, taking a frame every 15 degrees. Look at what the shadow does.
- Move the light from one metre to three metres away at the same power. Look at how the edges of the shadows change.
- Change the shutter speed from 1/60 to 1/200 without touching the flash. Watch the background darken while the subject stays identical.
That third exercise is the one that makes the whole system click, because it is the moment ambient and flash separate in your head.
Once it does, one speedlight covers portraits in any room, headshots against a grey backdrop, and fill outdoors. The second light can wait until you have a specific problem the first one cannot solve.
The first place most photographers meet that problem is a dark venue full of moving people, where the reception settings and where to put the stand matter more than the flash you own.
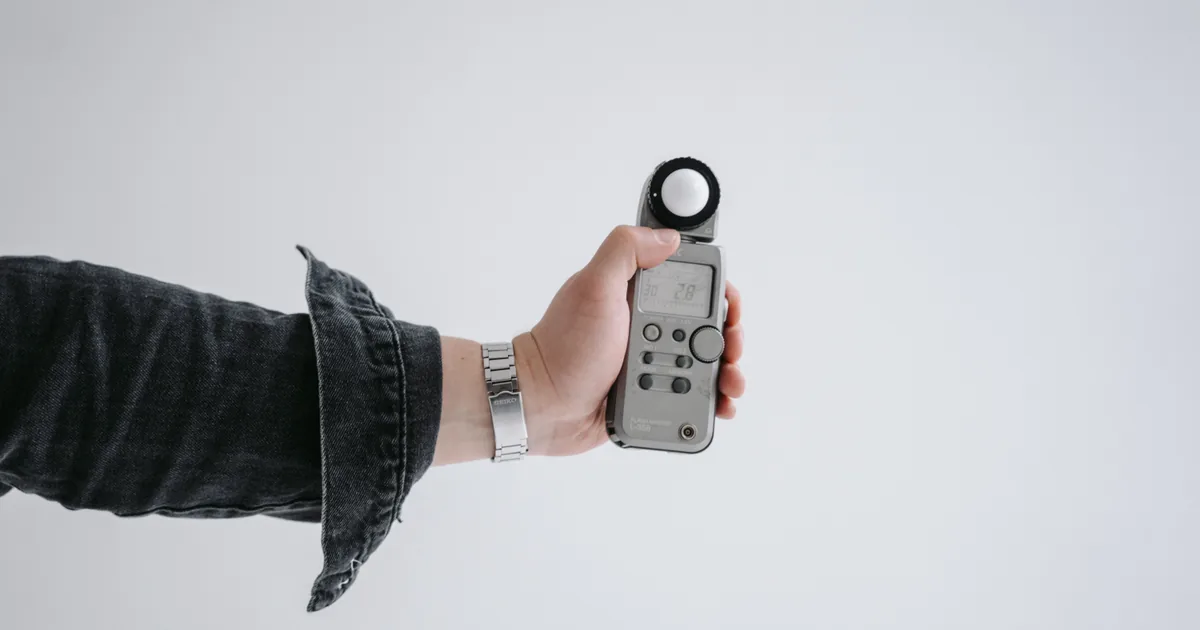
Worth knowing before you buy anything else: a handheld meter is the traditional next purchase and is now largely optional, so read the honest case for one before you spend the money.