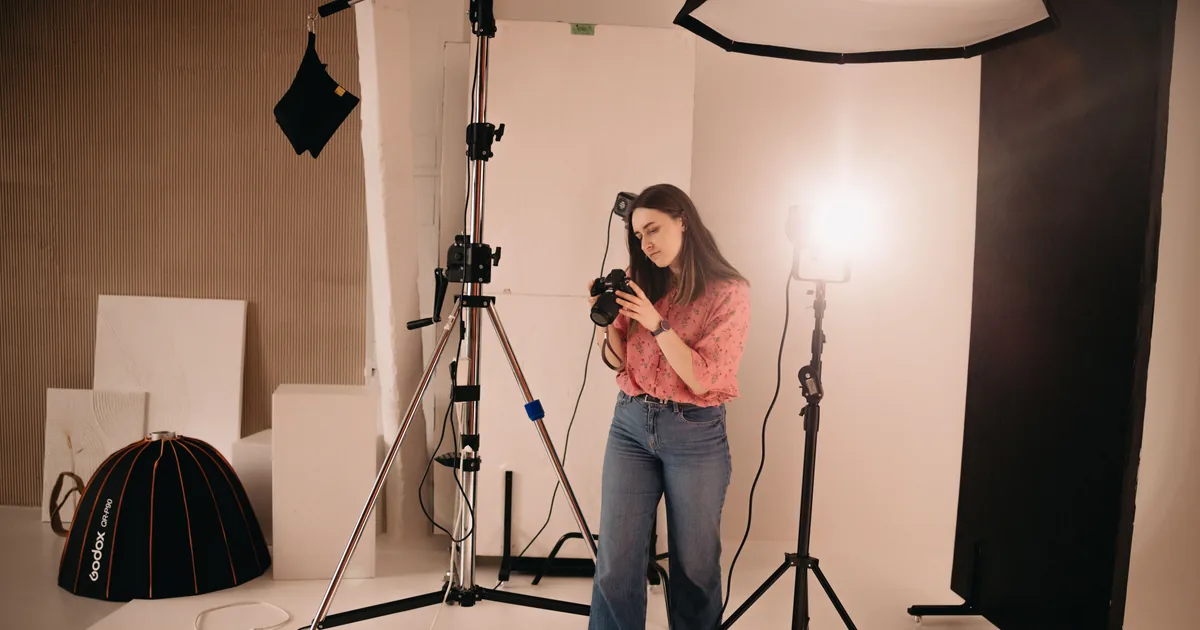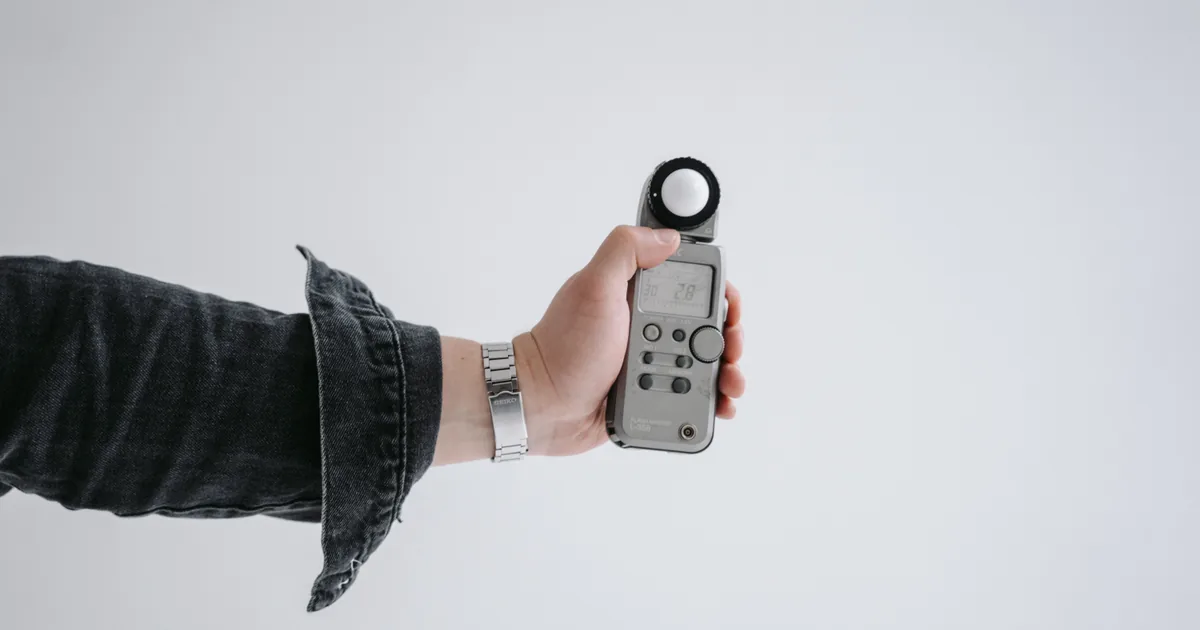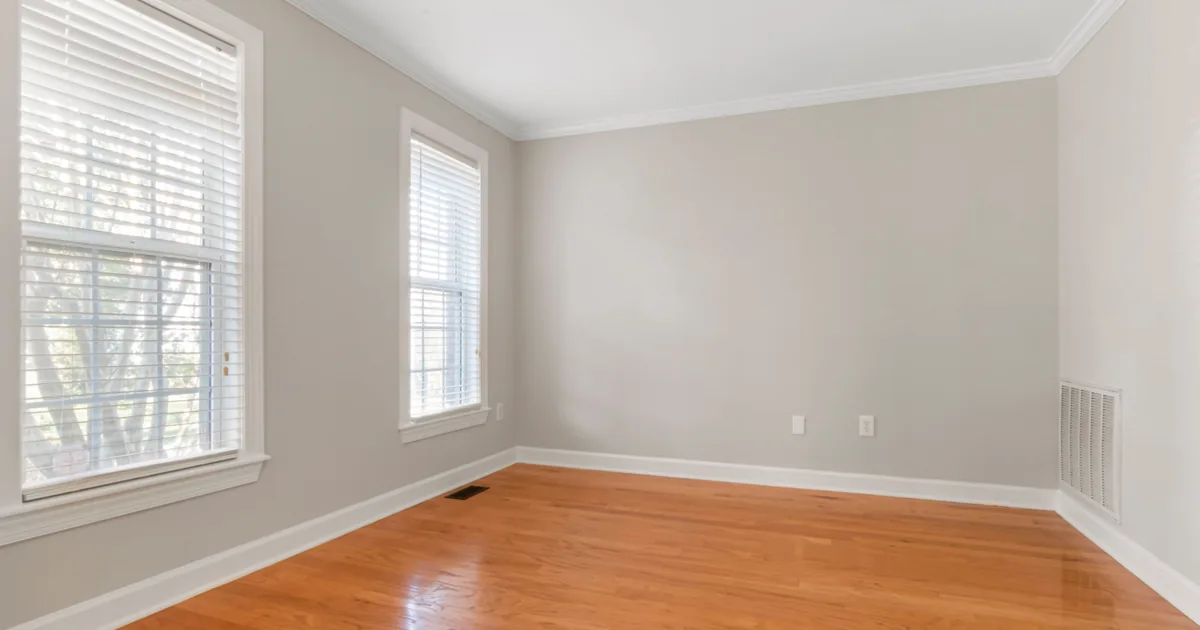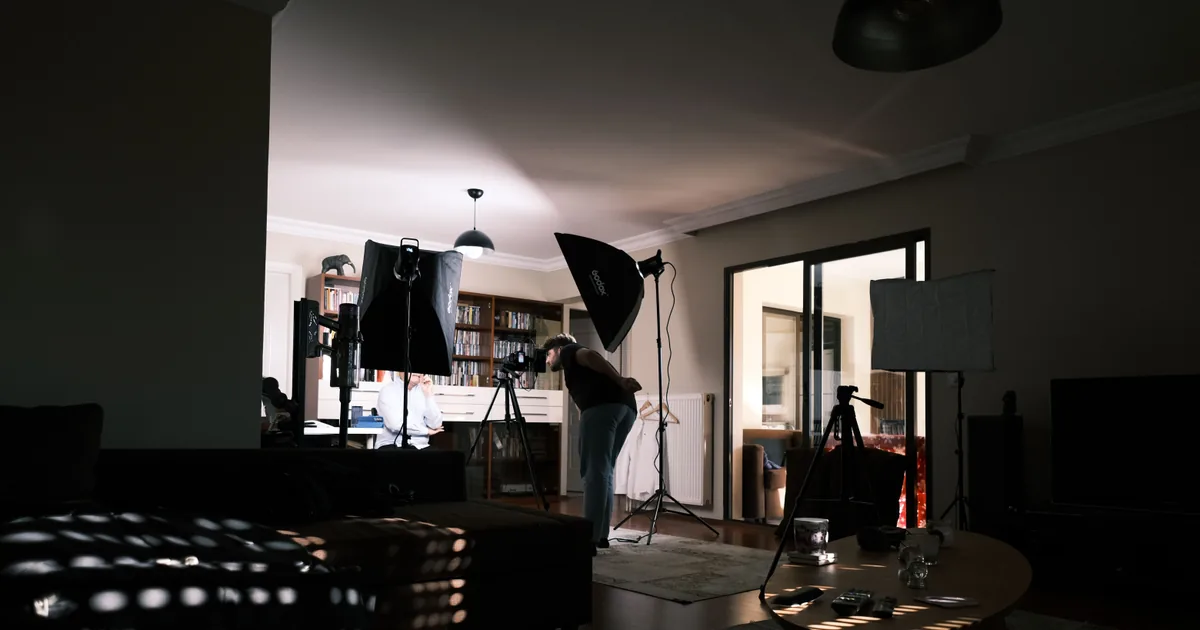
The measurement that decides everything is the distance from your backdrop to the far wall. You need roughly 12 feet to shoot a head and shoulders portrait comfortably, 16 feet for three quarter length, and 20 feet or more for full length. Width matters less than people assume: 10 feet is workable, 12 is comfortable.
Ceiling height is the constraint nobody mentions in the shopping guides. Under 8 feet, a softbox on a stand angled down at 45 degrees will not fit above your subject's head, and you will spend two years fighting the room. If your spare room is 10 by 10 with a 7 foot 6 ceiling, you can still make good portraits, but you will make a specific kind of portrait, and knowing that before you spend money is the point of this piece.
Measure the room before you buy anything
Three numbers, taken with a tape measure:
- Backdrop to camera distance. Your subject stands 3 to 5 feet in front of the backdrop to keep their shadow off it. You then need 8 to 15 feet behind them for the camera, depending on focal length and how much of the person you want in frame.
- Ceiling height. Under 8 feet, plan on umbrellas or a strip box, and expect to light from slightly lower and closer than the tutorials show.
- Usable width. Enough to put a light on each side of the subject without a stand leg in the frame. Backdrop width of 107 inches, the standard paper roll, needs about 10 feet of wall.
If the numbers do not work, use the longest diagonal of the room rather than shooting parallel to a wall. That routinely buys you three or four feet and is the single most useful trick for small spaces.
Backdrop: paper first, and buy the stand once
A 107 inch seamless paper roll on a two stand crossbar covers most of what a home studio does. White for high key and clean commercial work, mid grey because it is the most versatile single colour you can own, and black if you want dramatic portraits.
Paper because it is cheap, always flat, and you tear off the metre the toddler stood on. Muslin creases and needs steaming, which you will not do. Canvas and painted backdrops look wonderful and cost ten times as much, so buy one later when you know what look you are actually selling.
Buy the stand once and buy it heavy. A light stand rated for a 107 inch roll is not the same as one rated for a speedlight, and a paper roll coming down is alarming with a client in the room. Sandbags on both legs, always, non-negotiable if anyone under ten is in the space.
The full comparison of what each backdrop material does well is in choosing a backdrop and lighting it, which is worth reading before you spend money on the mid grey you cannot return.
One light, and be honest about what it needs to do
The temptation is a three light kit. Resist it. One good light and a reflector produces better portraits than three lights you do not understand yet, and it teaches you where shadows come from, which is the actual skill.
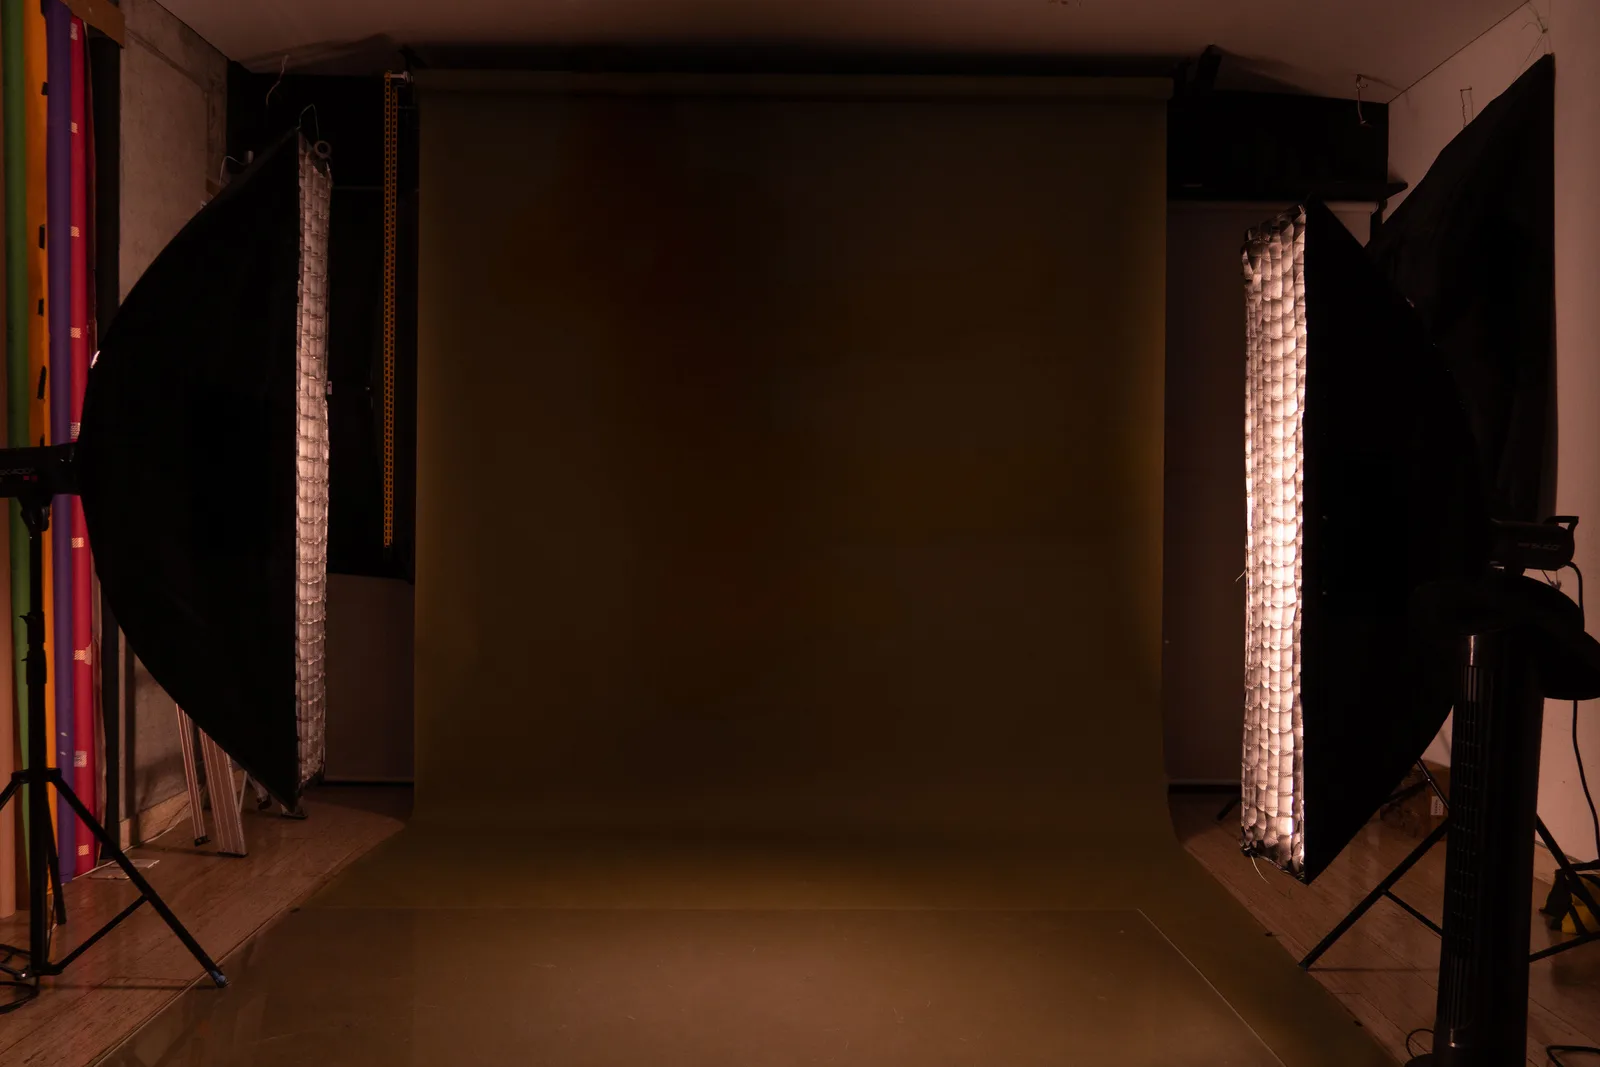
The choice is between a speedlight and a small studio strobe:
- Speedlight (around $100 to $250 with a trigger). Portable, runs on batteries, doubles as your on-location light. Slow to recycle at full power and weak in a large modifier.
- Small strobe or monolight (around $200 to $500). Far more power, faster recycling, a modelling lamp so you can see what you are doing, and a proper mount for modifiers. It needs mains power and stays at home.
For a room-based studio, the modelling lamp alone justifies the strobe. Being able to see the shadow move as you move the light is how you learn this in weeks instead of years. If your work is mostly on location and the room is a side project, a speedlight is the sensible answer and a first speedlight setup is the same kit aimed at a different problem.
Whichever you pick, spend money on the stand. A light falling on a client is the one equipment failure that has consequences beyond the photograph.
The modifier does more than the light does
A bare flash produces hard, unflattering light. What softens it is size relative to the subject, and proximity. A 35 inch softbox two feet from a face is soft. The same softbox eight feet away is not.
For a low-ceilinged room, the practical order:
- A 43 inch shoot-through umbrella ($30). Fast to set up, very forgiving, spills light everywhere, which is actually helpful in a small room because the walls bounce it back as fill.
- A 35 to 47 inch octabox ($80 to $150). More control, nicer catchlights, the standard portrait modifier.
- A strip box ($100). The answer for low ceilings, because it is tall and narrow and can be brought in close without hitting the ceiling.
Add a 5-in-1 reflector for $25 and a stand or an assistant to hold it. Silver on the shadow side is where most one-light portrait setups become finished photographs.
Control the room, because the room is fighting you
A spare room has white walls, a window, and a ceiling, and all three are bouncing your light back into the shadows you are trying to create. This is why home studio portraits often look flat compared to the tutorial you copied.
Cheap fixes, in order of effect:
- A black flag or a piece of black foam board on the shadow side, close to the subject, to stop the wall filling the shadows. This costs $15 and is the single biggest quality improvement most home studios can make
- Blackout the window while shooting with flash, or accept mixed lighting and gel accordingly
- Turn off the room lights, especially warm ceiling LEDs, which will tint faces orange at any shutter slow enough to record them
The rest of the room, which nobody photographs
Two things make the difference between a room that works and one you avoid using:
Storage that keeps the floor clear. Stands in a corner rack, modifiers on hooks, cables coiled. A studio you have to spend fifteen minutes clearing before you can shoot is a studio you will not use for quick jobs, and quick jobs are the reason to have one at home.
Somewhere for the client to be. A chair, a mirror, a hook for a coat, and somewhere private to change. Shooting portraits in a spare room already feels informal to a client, and a mirror by the door does a surprising amount to make it feel professional instead.
What this room is good for
Be realistic about the business case. A home studio in a spare room is excellent for headshots, personal branding sessions, small product work, shooting products with one window on days you would rather use daylight, cake smashes, and newborn work, which needs warmth and control rather than space.
It is poor for full length fashion, groups of more than three, and anything that needs a long lens at distance. Trying to force those is how people conclude their room is too small, when in fact it is fine for the work that pays.
Start with paper, one light, an umbrella, a reflector, and a black flag. That is under $400 and it will produce portraits people pay for. Add the second light only when you can name the specific shadow you want it to fill.