A window, a piece of white foam board, and a table by that window will produce product photographs good enough to sell from. The equipment people believe they need, a light tent, three strobes, a backdrop stand, mostly solves problems that a north-facing window does not have.
Here is the setup, then the settings, then the shots you actually need.
The setup, in one paragraph
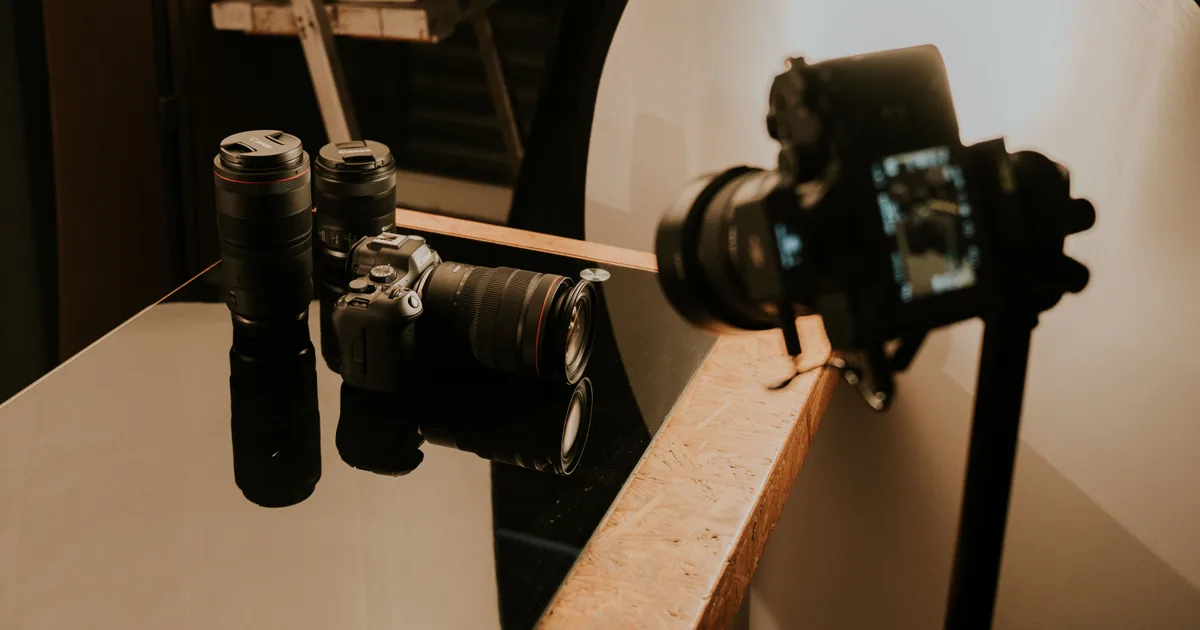
Put a table beside a window that does not get direct sun. Place the product about a foot from the glass so the light comes from the side rather than the front. Stand a piece of white foam board on the opposite side, angled towards the product, to bounce light back into the shadow. That board is your second light, it costs almost nothing, and moving it two inches changes the photograph more than most equipment purchases will.
Direct sunlight is the thing to avoid. It creates hard shadows and blown highlights on anything shiny. Overcast days are ideal, and a white sheet or a sheer curtain over the window turns hard light into soft light instantly.
Backgrounds that read as professional
For marketplace listings, pure white is the standard and often a requirement. The practical way to get it: a large sheet of white paper or card curved from the table up against a wall, so there is no visible seam or corner behind the product. Roll it, do not fold it, since a crease shows.
For lifestyle and social images, a wooden board, a linen cloth, or a slab of stone tile gives texture. Two or three surfaces cover almost every product.
Whatever you choose, keep it larger than you think you need. Running out of background at the edge of the frame is the most common self-inflicted problem in this genre.
Camera settings
- Tripod, always. It lets you use a low ISO and a narrow aperture, and it keeps the framing identical between shots so a set of listing photos matches.
- f/8 to f/11, so the whole product is in focus. Shallow depth of field is for portraits, not for something a customer is trying to see clearly.
- ISO 100 to 400. With a tripod there is no reason to go higher.
- Manual white balance, using a grey card or a sheet of white paper in the first frame. Colour accuracy is the entire job for products: a mug that arrives a different colour from the photograph is a return and a bad review.
- Shoot raw, and shoot tethered if you can, because judging a product photo on a camera screen is guesswork.
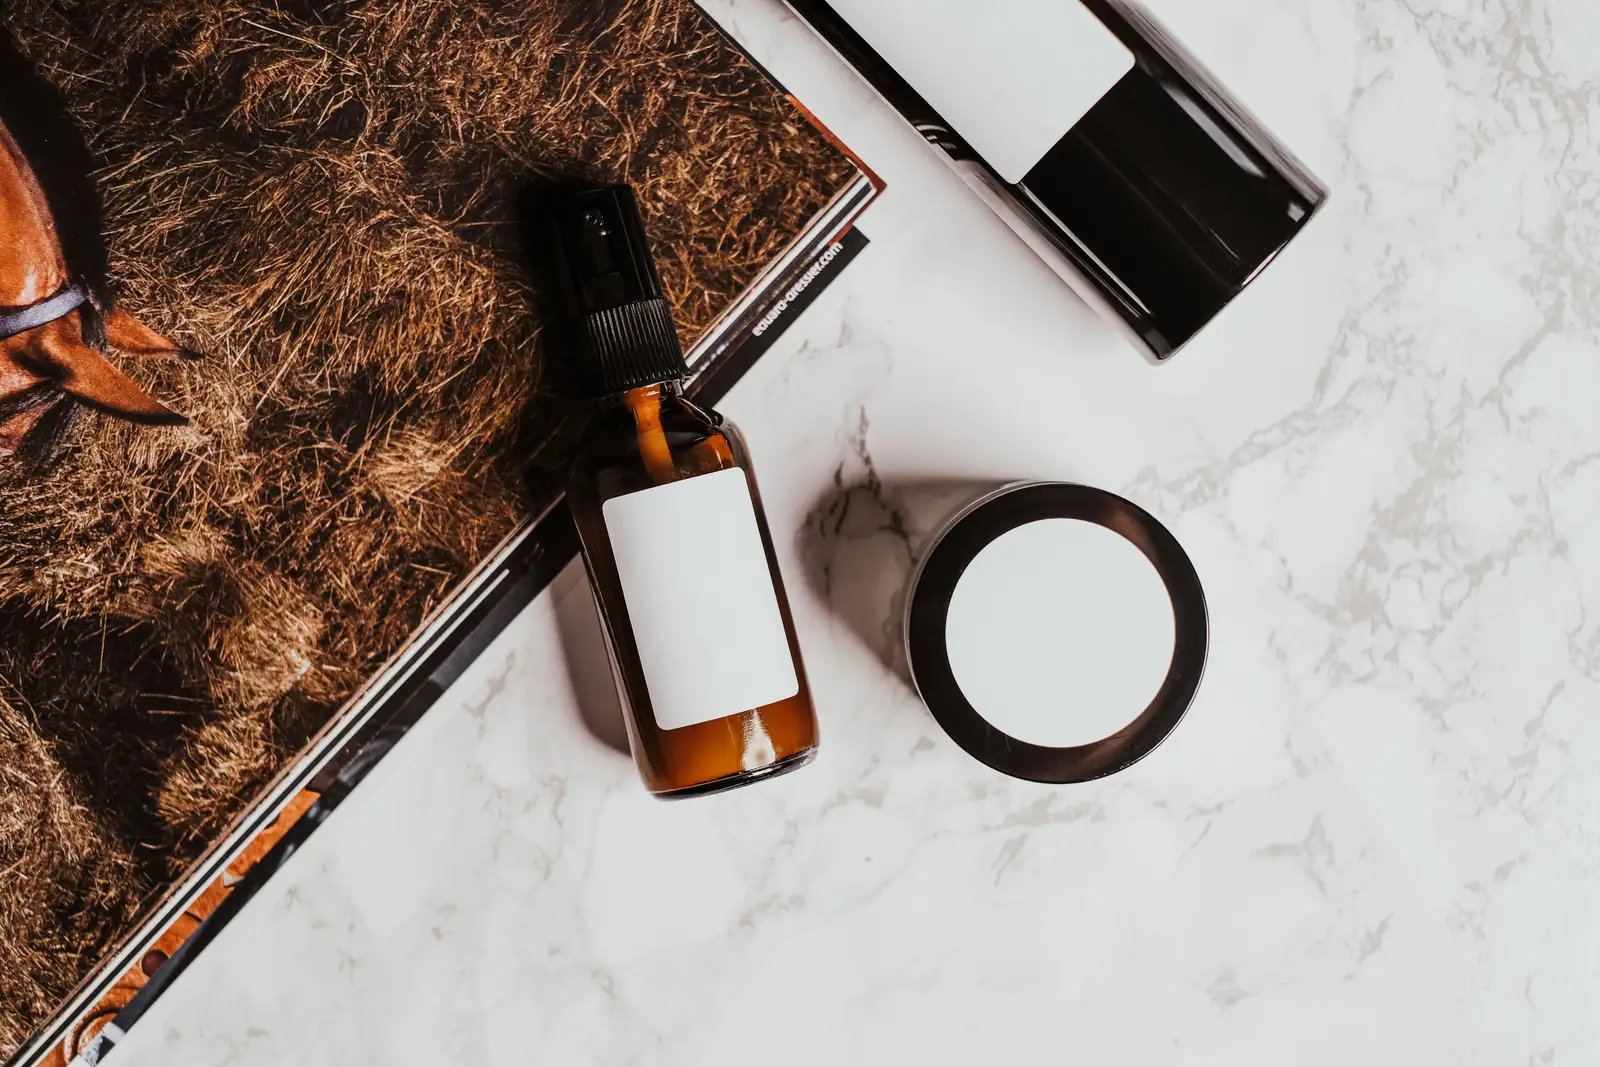
A 50mm or an 85mm lens is the right choice. Wide lenses distort product shapes, which is particularly obvious on anything rectangular.
The shots every listing needs
Marketplaces and shops broadly want the same set:
- The hero: product centred, white background, no props, filling most of the frame. This is the thumbnail.
- Multiple angles: front, back, side, and top. Boring, and the ones customers click through.
- A detail: the texture, the stitching, the material, the maker's mark.
- Scale: the product held, worn, or next to something familiar. The most common question in customer messages is how big something is.
- In use: the lifestyle image that goes on social and on the homepage.
- What is in the box: everything laid out flat, if the product ships with parts.
Shoot the whole set in one session with the same lighting so the listing looks coherent. A gallery of images taken on different days in different light looks amateurish even when each individual photograph is fine.
Solving the two hard materials
Anything shiny. Metal and glossy plastic reflect the room, including you. Solutions: shoot through a hole cut in a white board so the camera is hidden and the reflection is white, increase the distance between product and camera, and use a polarising filter for reflections on curved surfaces.
Glass and bottles. Light these from behind rather than in front. Put a light source or a bright white surface behind the bottle and let the liquid glow, then use black card at the sides to draw dark definition lines down the edges. This is the one product type where the standard window setup needs modifying.
Editing without lying
The edit for product work is different from portrait work. The goal is accuracy, not mood.
Straighten, crop consistently across the set, remove dust and stray fibres, clean up the background to a true white if that is what you are aiming for, and correct the colour against the real object in front of you. Then stop. A saturated, heavily graded product photograph produces returns when the item arrives.
Export at the size the platform specifies, in sRGB, which is the colour space that stops images shifting in a browser.
Charging for it
If you are shooting products for other people rather than yourself, price per image rather than per hour, because the client's real question is how many listing photos they get. A rate of roughly $25 to $150 an image covers most work, with the low end for straightforward catalogue shots on white and the high end for styled lifestyle images with props and models. The per image, per product and day rate numbers are in how much to charge for product photography.
Set the number of retouched images, the usage rights, and the turnaround in writing before you start, since product clients are businesses and their usage is commercial by definition, which is a different licence from personal use.
Then deliver them properly. A brand needs the files organised by SKU and named in a way their web team can use, and a downloadable gallery with clear filenames beats a folder of DSC numbers, which is the difference between delivery and handover.
The same window, board, and tripod setup covers the neighbouring genre too, and food photography for restaurants and menus is frequently the better-paid half of it.
The one product category this setup will not handle is anything small and polished, because it reflects your whole room back at you. Photographing jewellery needs a light tent and a focus stack, and it is worth knowing that before a maker asks.