A backdrop is a lighting problem disguised as a shopping decision. The colour you get in the photograph depends far more on how much light hits the background and from where than on which roll you bought, which is why the same grey paper produces white, grey, or black depending on where you put the lights.
Here is what to buy, and then how to make it behave.
The materials, and what each is for
Seamless paper. The professional default. Perfectly even, no texture, no creases, and cheap per shoot. You tear off and discard the dirty bottom metre after a session, which is both the strength and the running cost. A 2.7m wide roll covers full-length group shots; 1.35m is plenty for head and shoulders. Buy white, mid grey, and black first.
Muslin. Cheap, packable, and washable, which makes it the travel option. The problem is creases, which show and take steaming to remove. Fine when the background is out of focus, poor when it is sharp.
Canvas and painted backdrops. Mottled, textured, painterly, and the current look for editorial and family portraiture. Expensive, heavy, and they last a decade. Hand-painted style backdrops run from affordable printed imitations to serious money for real painted cloth.
Vinyl and polyester printed backdrops. Wipe clean, no creases, and good for newborn and product work where spills happen. They can look plasticky under direct light, so keep the light soft.
A wall. Genuinely the best option if you have one. A smooth plastered wall painted mid grey gives you an infinite, free, crease-free background that never needs replacing. Matte paint, not eggshell.
The size to buy
The mistake is buying too narrow. Work backwards from what you shoot:
- Head and shoulders: 1.35m wide is enough.
- Three quarter and full length, one person: 2.1m minimum.
- Two or more people, or anything with movement: 2.7m, and you will still run out.
- Families of four or more: consider whether a studio backdrop is the right tool at all, since location work is usually kinder.
Height matters too. For full length you want the paper to run onto the floor and toward the camera by at least a metre, so there is no visible line where the background meets the floor.
The support, which people underspend on
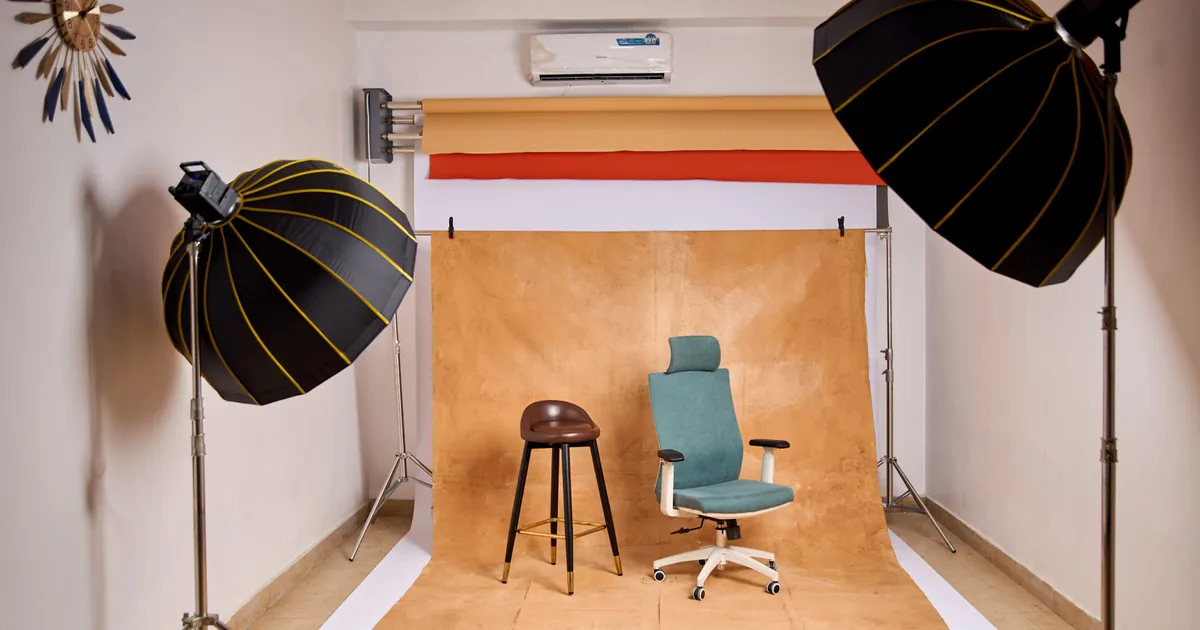
A background stand kit with a crossbar is the cheapest route and is adequate for muslin and light paper. For a heavy roll of seamless, get proper stands with a solid expanding pole, or mount the roll on the wall with wall-mounted background supports, which is the better answer in a permanent space and takes up no floor.
Two practical additions: sandbags on every stand leg, and a set of A-clamps for holding fabric taut. Both cost almost nothing and prevent the disaster where a stand goes over onto a client.
How to get a true white
The single most common studio question. Grey paper photographs white when the background gets more light than the subject does.
The setup: put the subject at least 1.5 to 2m in front of the background, light the subject as normal, then add one or two lights aimed only at the background, metered about one and a half to two stops brighter than the light on your subject. That blows the background to clean white without spilling forward.
Not enough space? Move the subject as far forward as you can, use a bright white paper rather than grey, and expect to clean it up slightly in editing. Trying to get white from an underlit background produces dirty grey with a gradient.
How to get a true black
The opposite problem, and easier. Black comes from an absence of light rather than from black fabric.
Use black paper or velvet, put the subject a long way in front of it, and feather your light so it falls off before it reaches the background. Flag the light with a piece of black card if it spills. A subject three metres from the background with a gridded light will read as pure black even against dark grey paper.
Velvet is the specialist material here, since it absorbs light rather than reflecting it, and it is what to use if the background is close and you need it truly black.
The lighting is the actual purchase
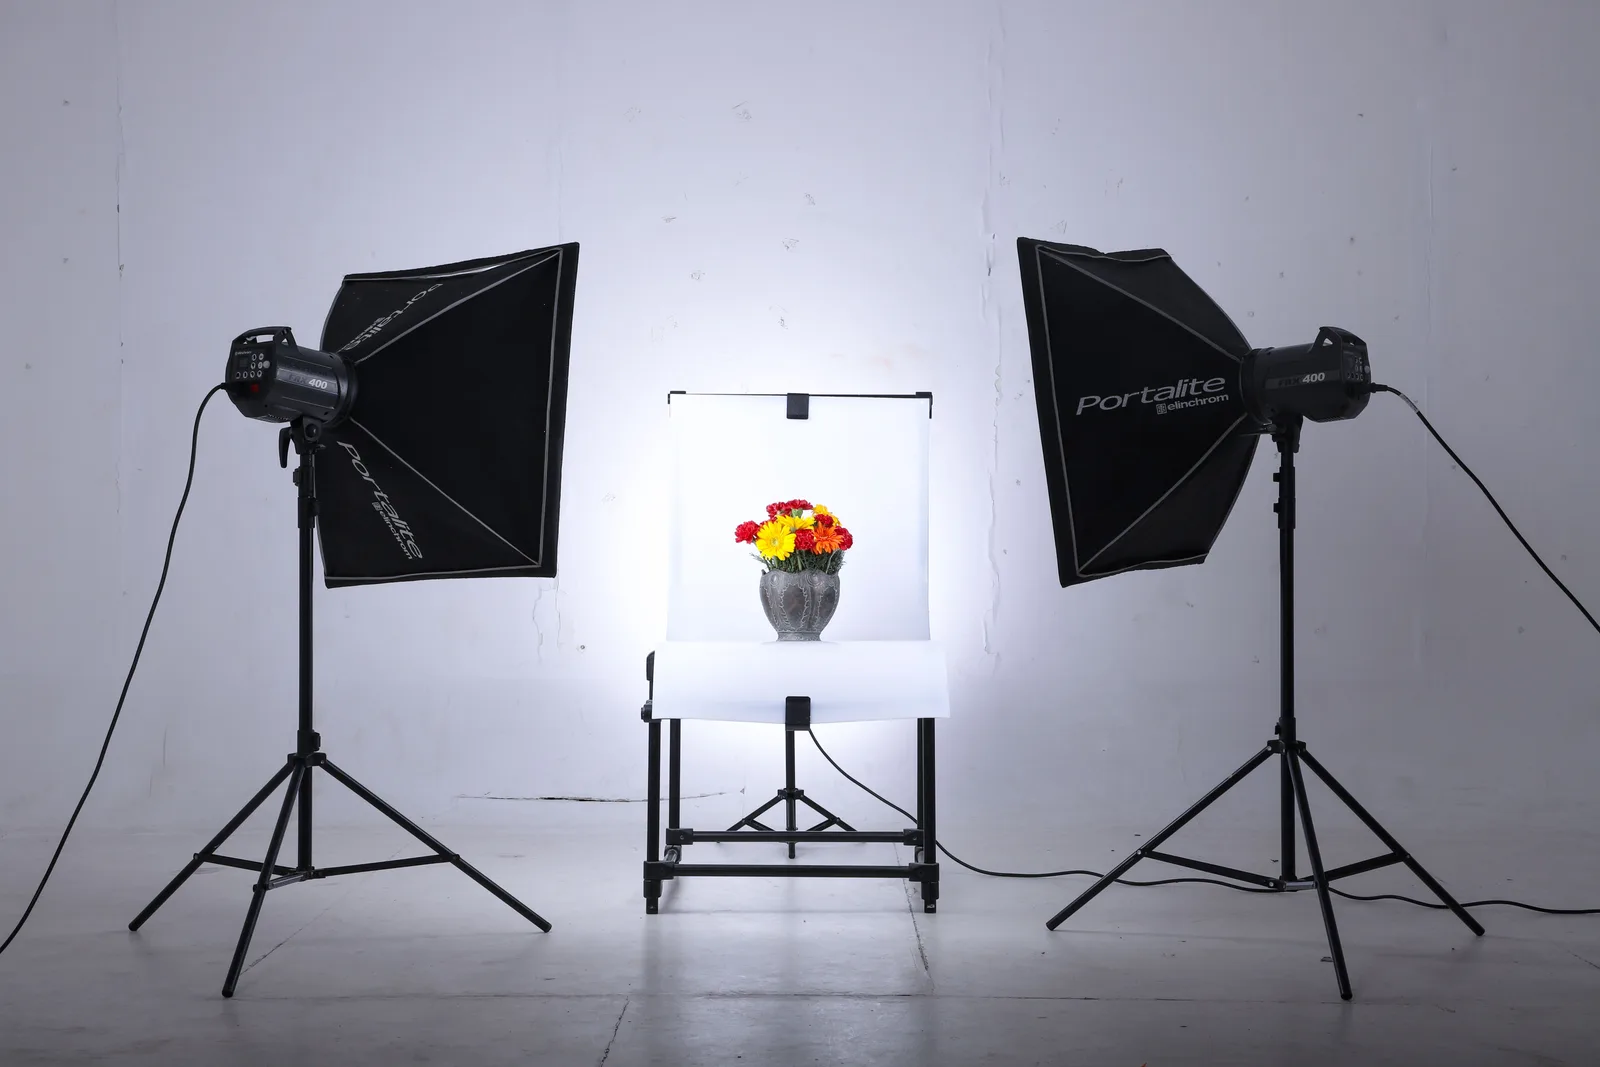
If the studio setup is new to you, the backdrop is the cheap part. One light, a stand, and a decent modifier is what turns a background into a photograph, and a single speedlight with an umbrella covers more portrait situations than most people expect.
The lighting logic on a backdrop is the same as it is outdoors, just with the sun replaced by something you can move. Where the light is coming from remains the question that decides whether a portrait works.
The setup worth buying first
If you are building a portrait corner in a spare room:
- A 2.7m roll of mid grey seamless, or a wall painted grey.
- Wall-mounted supports, or two sturdy stands with sandbags.
- One light with a 90cm softbox or umbrella.
- A reflector on the shadow side.
- Clamps and tape.
That is a complete headshot and portrait setup for less than the cost of a decent lens, and it will produce work that looks the same as a hired studio's. Everything beyond it, the second background light, the coloured gels, the painted canvas, is refinement rather than capability.
Measure the room before you order the roll, though. How much space a home studio actually needs, and the ceiling height that decides which modifier will fit, are what determine whether that corner works at full length or only at head and shoulders.