A starting point you can dial in from: 1/125 at f/2.8, ISO 1600, with an off-camera flash at 1/32 power about ten feet from your subjects and gelled to match the room. That combination gives you sharp faces, a background that still looks like the venue, and enough ambient to avoid the black-hole look that ruins most reception photos.
Everything worth knowing after that comes down to one idea: the flash lights the people and the ambient exposure decides what the room looks like. They are two separate decisions, and photographers who struggle at receptions are usually treating them as one.
Set the ambient first, with the flash switched off
Point the camera at the room and expose for the venue as you want it to appear. Not correctly exposed, just as you want it: the uplighting visible, the string lights readable, the room recognisable and around a stop and a half under.
That normally lands somewhere around 1/125, f/2.8, ISO 1600 to 3200 in a typically lit reception room. Take a frame with no flash and look at it. If the background is black, raise the ISO. If the room is bright and flat, lower it.
Now switch the flash on and set its power so the faces sit where you want them. The background will not change, because flash falls off with distance and the far wall is much too far away to be affected. This is the whole trick, and once you have internalised it, receptions stop being intimidating.
Two limits to respect. Do not drop shutter below 1/60, because guests move and you will get ghosting behind flash-frozen faces. And do not exceed your camera's sync speed, usually 1/200 or 1/250, unless you are deliberately using high speed sync, which costs you most of your flash power for no benefit indoors.
Gel the flash, or accept blue people in an orange room
Reception venues are lit with tungsten or warm LED, somewhere around 2800K to 3200K. Your flash fires at daylight, about 5500K. Mix the two and you get orange walls with blue-white faces, and no white balance setting fixes it because two different colours of light are in the same frame.
The fix is a CTO gel taped over the flash head and a white balance set to tungsten. Full CTO for genuinely tungsten rooms, half CTO for warm LED, which covers most modern venues. It takes ten seconds and it is the difference between a gallery that needs an hour of per-frame colour work and one that does not.
Keep a strip of full and half CTO gel taped inside your flash pouch permanently. The night you need it is the night you will not want to be looking for it.
Where to put the light
For general dancefloor and party coverage, one off-camera flash on a stand does almost everything:
- Height: as high as the stand goes, around seven to eight feet, angled down. Low flash makes shadows climb the walls behind people.
- Position: in a corner of the dancefloor, or at its edge behind the crowd, so it rakes across rather than pointing at the same direction as your lens.
- Power: 1/32 to 1/16 bare, higher if modified. Recycle time matters more than absolute power on a dancefloor, and a flash at full power will miss every third frame while it recharges.
- Bare, not softboxed. A dancefloor wants punch and edge, and a modifier costs you two stops for softness nobody notices at a party.
Then shoot from the opposite side, so the flash becomes a rim or side light and your frames have depth. Standing next to your own light source produces the same flat look as on-camera flash, at more effort.
For a second light, put it on the far side of the dancefloor, opposite the first, and you have both a key and a rim from any angle you shoot. Two lights is where reception photography starts looking properly professional, and it is the point at which you stop chasing people around the room.
Bounce is better when the ceiling allows it
If the room has a white or pale ceiling under about twelve feet, bouncing an on-camera flash upwards and slightly behind you is faster, softer, and gets you through the speeches without stands in a crowded room.
Check two things first. The ceiling colour, because a dark wood or a red ceiling will tint every frame in a way that is tedious to correct. And the height, because above about fifteen feet the bounce is too weak to be useful and you are back to direct flash.
For speeches specifically, bounce off a side wall to the speaker's left or right rather than straight up. A ceiling bounce puts shadows in eye sockets, which is exactly what you do not want on the face of the father of the bride.
Focusing in the dark is the actual problem
Most missed reception frames are missed focus, not missed exposure. Modern autofocus is very good and still hunts in a dark room with moving subjects and strobing DJ lights.
Three things that work:
- Use the flash's autofocus assist lamp if it has one, and check that your camera is not disabling it in continuous focus mode, which many do by default.
- Focus on a light source on the subject, meaning a face catching the uplighting or the DJ's beam, rather than a shadowed shoulder.
- Prefocus and wait. For a first dance, focus on the couple during a slow pass and shoot as they come back through the same spot.
Keep the aperture at f/2.8 rather than f/1.4 during the dancing. At f/1.4 in a dark room you will nail focus on an ear and miss the eyes, repeatedly, and the extra stop is not worth the hit rate.
The set pieces need their own approach
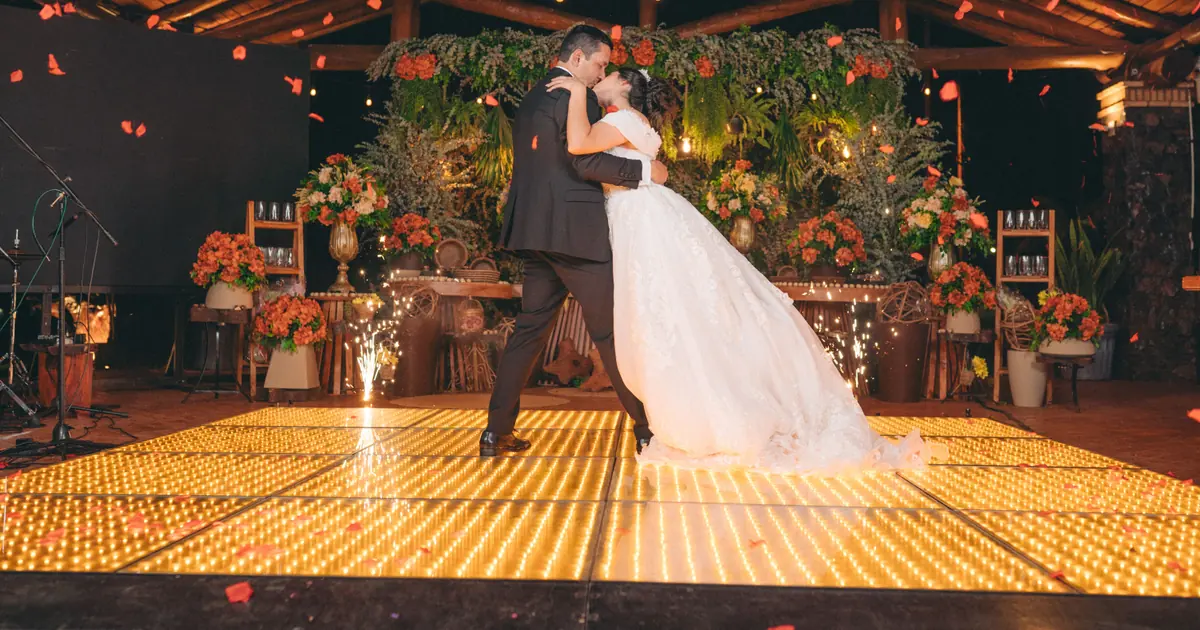
First dance. Two lights, one behind the couple as a rim, one at 45 degrees in front as the key. Drop the ambient to keep the room moody. Shoot at 1/125 and watch for the spotlight the venue turns on, which will overexpose one side of their faces if you ignore it.
Speeches. Bounce or a single stand at 45 degrees to the speaker. Get the speaker, then immediately turn and get the couple's reaction, which is the frame that gets printed. This is why you keep a second body with a longer lens on your shoulder rather than swapping lenses in the dark.
Cake and toasts. Same as speeches, but stand where you can see both the couple's faces and the knife. Two frames of the cut and one of the reaction.
Dancefloor. Once the party starts, drag the shutter slightly, down to 1/60, and let some motion blur into the frame around the flash-frozen subject. It reads as energy rather than as a mistake.
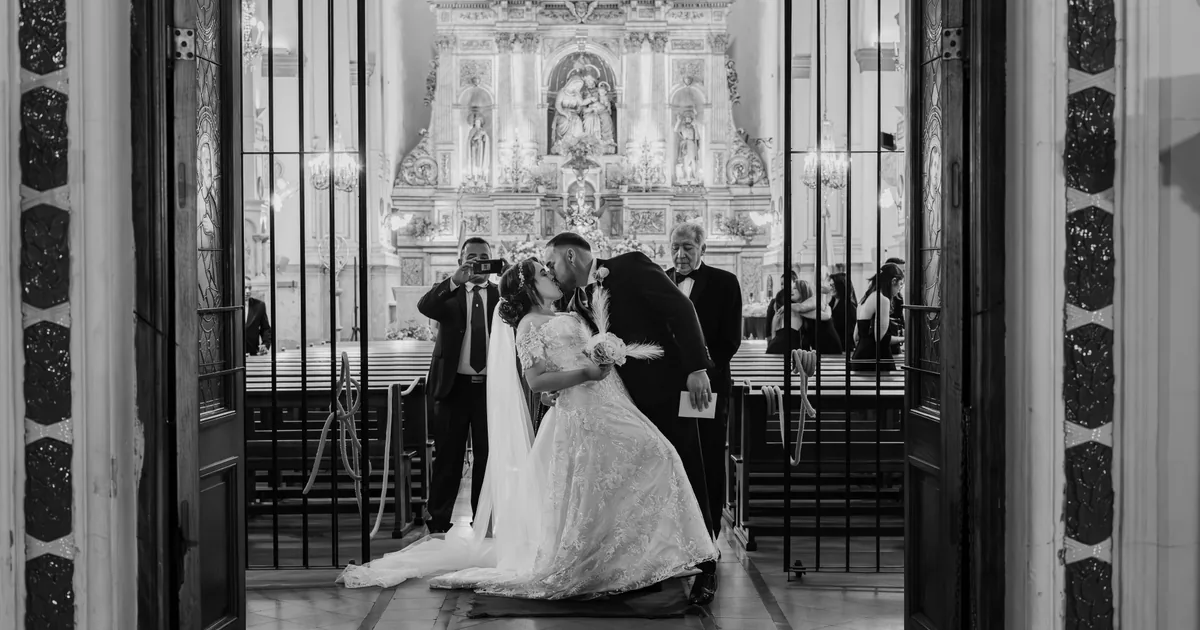
If off-camera flash is still new to you, the setup here is the same equipment as a first speedlight kit, just aimed differently. And the reception is only half of the low-light day, since the ceremony in a dark church usually has to be done with no flash at all.
Test the room before the guests arrive
Ten minutes during the room reveal, before anyone sits down, is worth an hour of fiddling later. Set your ambient exposure, check your gel against the venue lighting, take a frame of a chair, and find the spot for the light stand where nobody will walk into it.
Then leave the settings alone. A reception is not the moment to be adjusting three variables per frame, and the photographers who look calm at 11pm are simply the ones who decided everything at 7.