Detail shots are the twenty minutes at the start of a wedding day that decide whether the gallery looks considered or rushed. They are also the frames most likely to be published, because a blog or magazine needs the invitation and the rings far more than it needs another aisle shot.
The whole job is finding one good light source and moving everything to it. The hotel room you have been given will have terrible light in the middle and excellent light two feet from the window, and the difference between an average detail set and a strong one is whether you bothered to walk across the room.
Ask for everything in advance, in one message
Detail shots go wrong when you spend fifteen minutes hunting for the second earring. Send the couple a list a week before and ask them to put it all in one box or bag:
- Invitation suite, including the envelope, any RSVP card, and the ribbon
- Both rings, plus the engagement ring
- Perfume and cufflinks
- Shoes, both pairs
- Jewellery, hair pieces, and the veil
- Something borrowed, blue, and any heirloom with a story
- Two or three loose flowers, which the florist can leave for you
- Vow books, the ring box, and any handwritten letters
Tell them why: it takes fifteen minutes instead of forty, and the photos are better. Couples comply readily when a request comes with a reason.
Ask for the invitation to be an unused spare, because the one on the table has been handled. And ask them to keep the shoes in the box until you arrive.
Find the window and build there
Walk into the room and identify the largest window. Everything happens within about four feet of it.
Turn off every overhead light in the room. Hotel tungsten mixed with daylight is what makes detail shots look yellow on one side, and switching them off takes two seconds. This is the same problem as any other indoor shoot without flash and it has the same fix.
Then find a surface. In order of preference: a wide windowsill, a small table moved to the window, an ottoman, a bed with the duvet pulled flat, or the floor. The floor is usually the honest answer in a cramped hotel room and nobody can tell in the final frame.
Bring your own surface if you shoot weddings regularly. A2 sheets of textured card, a small piece of marble effect vinyl, or a linen napkin. It costs about $20, it weighs nothing, and it turns a patterned hotel carpet into a clean background.
The lighting, which is one decision
Backlight or side light the details, never front light them. Put the window behind or to the side of the arrangement and let the light rake across it. That is what gives fabric texture and makes the ring metal glow rather than sitting flat.
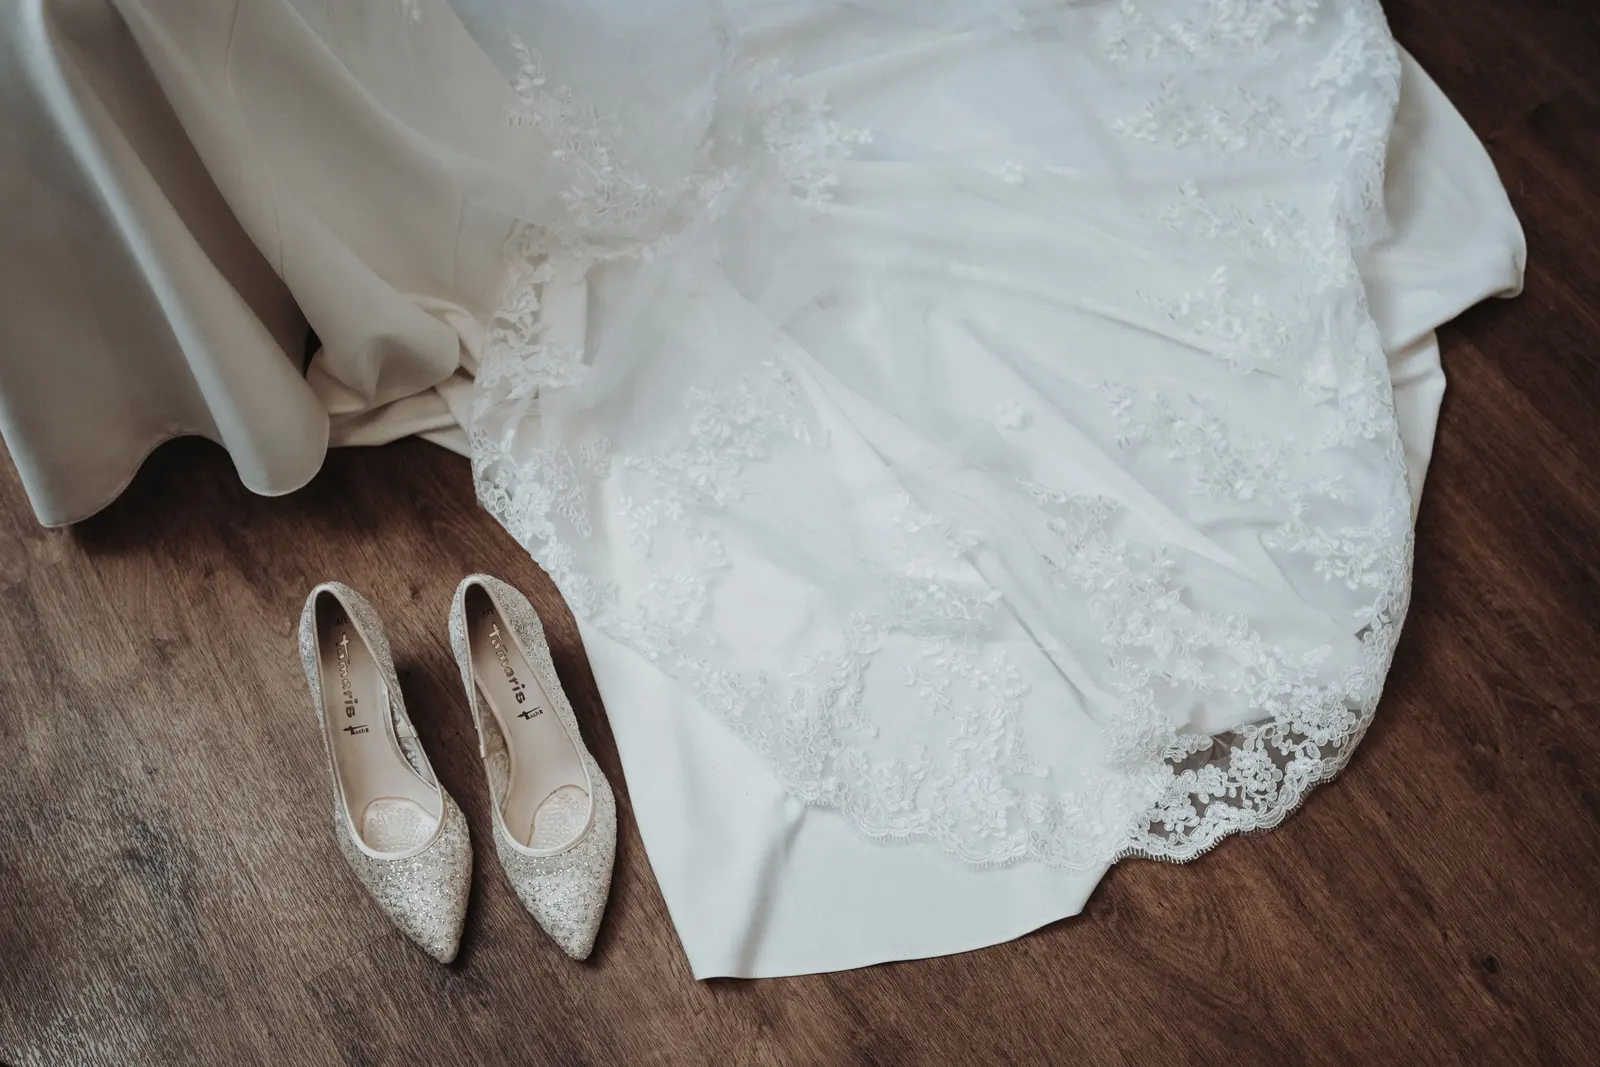
Then bounce a little back into the shadows with a piece of white card, a menu, or the back of a wedding programme. Held about a foot away on the dark side, it lifts the shadow just enough.
If the room is genuinely dark, one off-camera flash through a small softbox pointed at the arrangement from the side does the same job. Do not use direct on-camera flash on details, because rings and shoes are reflective and it will come straight back at you.
Shoot the rings properly, because they get printed
Rings are the frame most likely to end up on the wall, and most likely to be shot badly.
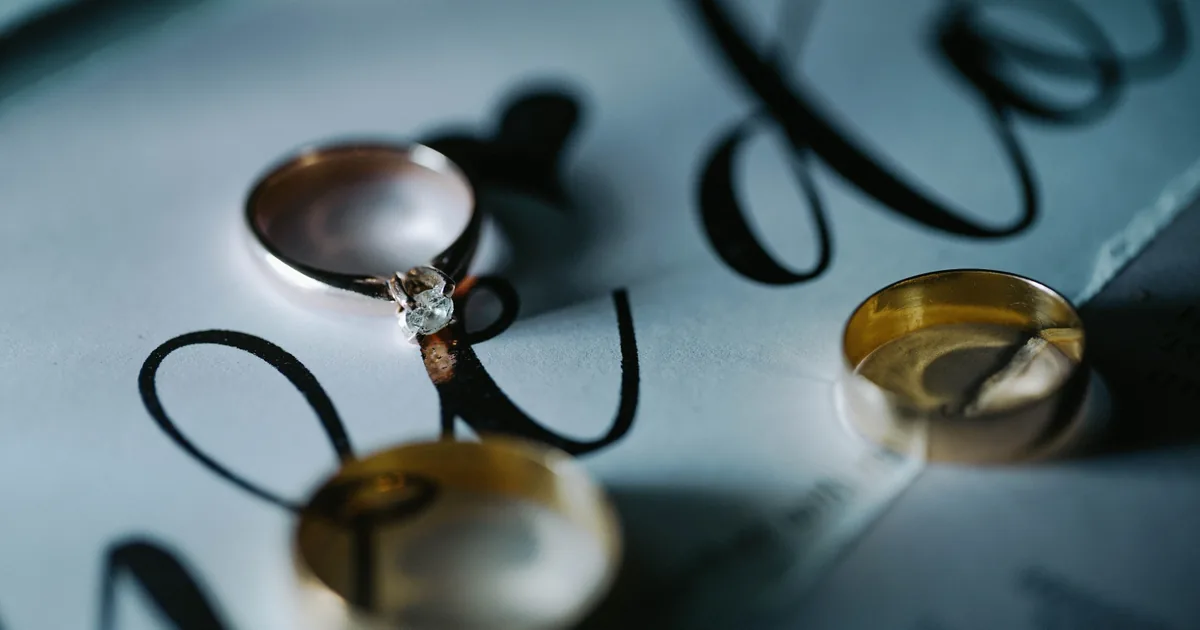
The technique: macro or close focusing lens, f/8 or higher because depth of field at that distance is tiny, on a stable surface, and manual focus at maximum live view magnification. Rings are small and shiny, so the reflection problems of jewellery photography all apply here in miniature, including the trick of putting a small hard light on the stone to make it flare.
Compositions worth getting:
- Both bands together, one leaning against the other
- The engagement ring alone on a textured surface with the stone catching light
- All three in the ring box
- Rings resting on the invitation, which links the two details
Prop the diamond so it faces your light. A ring lying flat shows you a dark stone; tilted forward against a fold of fabric, it comes alive.
Never put the rings on a page of a Bible or a hymn book. It looks staged, some officiants object, and it has been done to death.
The flat lay, in five minutes
The flat lay is the frame that gets published. Build it in layers rather than arranging objects on a table:
- Base: the largest, flattest item, usually the invitation suite or a piece of fabric, sitting on your background.
- Structure: shoes, perfume bottle, ring box placed around it, roughly on the diagonal rather than in a grid.
- Small items: rings, cufflinks, earrings, tucked in close.
- Softness: loose flowers, greenery, and ribbon threaded through the gaps to break up straight edges.
- Space: take one thing out. Flat lays fail from overcrowding far more often than from being sparse.
Shoot from directly overhead, which means standing over it and getting the camera sensor parallel to the surface. A frame shot at a slight angle looks like a mistake rather than a choice. Then take a second set at a low angle for variety.
Odd numbers, and a rough diagonal from corner to corner. That is all the styling theory you need.
Get the details that are not objects
The best detail frames on a wedding day are often not the flat lay. Keep shooting:
- The dress hanging in window light, ideally on a proper hanger you brought
- The shoes being fastened, hands in frame
- The perfume actually being sprayed
- The vow book being written in at the last minute
- The veil being pinned
- The letter from one partner to the other, being read
Those tell a story rather than cataloguing objects, and they are the frames a couple lingers over. The flat lay is for the blog; these are for the album.
Fit it into the day without stealing time
Twenty minutes, at the start of getting ready, before hair and makeup finish and the room fills with people. Take the box to a quiet corner or a neighbouring room and work there while your second shooter covers the other partner.
Do not do this during the ceremony gap or after the family photos. It is the first thing on the schedule for a reason: the light is good, the room is calm, and nothing has started yet, which is exactly what a realistic wedding timeline should have allowed for.
Hand everything back to a named person when you are done, and count the earrings before you do. Losing a bride's grandmother's earring twenty minutes before the ceremony is a story you only need to live through once.