Jewellery is the hardest small subject in photography, for three reasons that all arrive at once. It is reflective, so it shows you the room, your camera, and your face. It is small, so depth of field at close range is measured in millimetres. And it is usually shot on white for a marketplace, which is the least forgiving background there is.
The good news is that all three have known solutions and none of them costs much. A light tent, a tripod, and a willingness to take eight frames of the same ring will get you further than an expensive lens.
Kill the reflections with a light tent
A polished metal surface is a mirror, and a ring photographed on an open table reflects the ceiling, the window, your hands, and the front of your lens. That is why jewellery photographed in a normal room looks cluttered and grey even when it is well exposed.
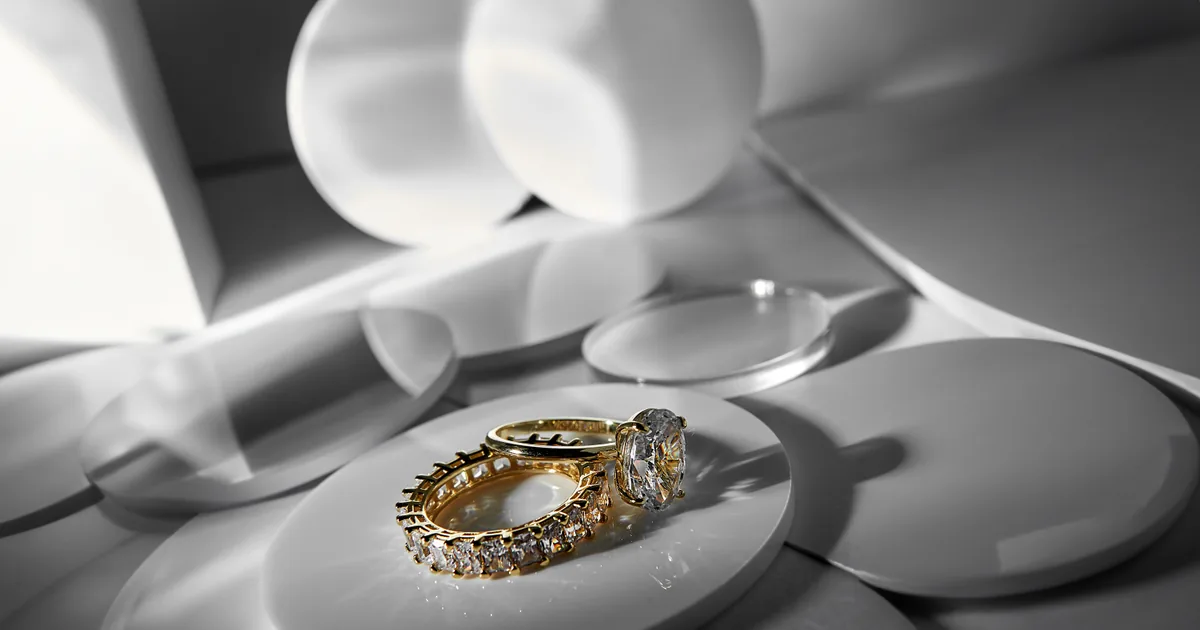
A light tent, meaning a white fabric cube you light from outside, surrounds the piece with an unbroken white surface. The metal then reflects white in every direction, which is what makes jewellery read as clean and bright. They cost $30 to $60 for a 24 inch cube, which is the most cost-effective purchase in this entire genre.
Cut a small slit for the lens rather than shooting through the open front, or you will see the dark rectangle of the opening reflected in the metal.
If you are improvising, a large sheet of white paper curved into a cove plus a second sheet held above and to the side gets you most of the way. The principle is the same: control everything the piece can see.
Two additions once you have the basics:
- A black card just outside the frame, to put a defining dark edge along a polished band. Without one, silver on white can vanish into the background.
- A polarising filter on the lens, which cuts the remaining specular glare on gemstone facets. Rotate it while watching the live view.
Get gemstones to sparkle
Diffuse light makes metal look good and makes stones look dead. Sparkle comes from small, hard light sources, which is the opposite of what the rest of the setup wants.
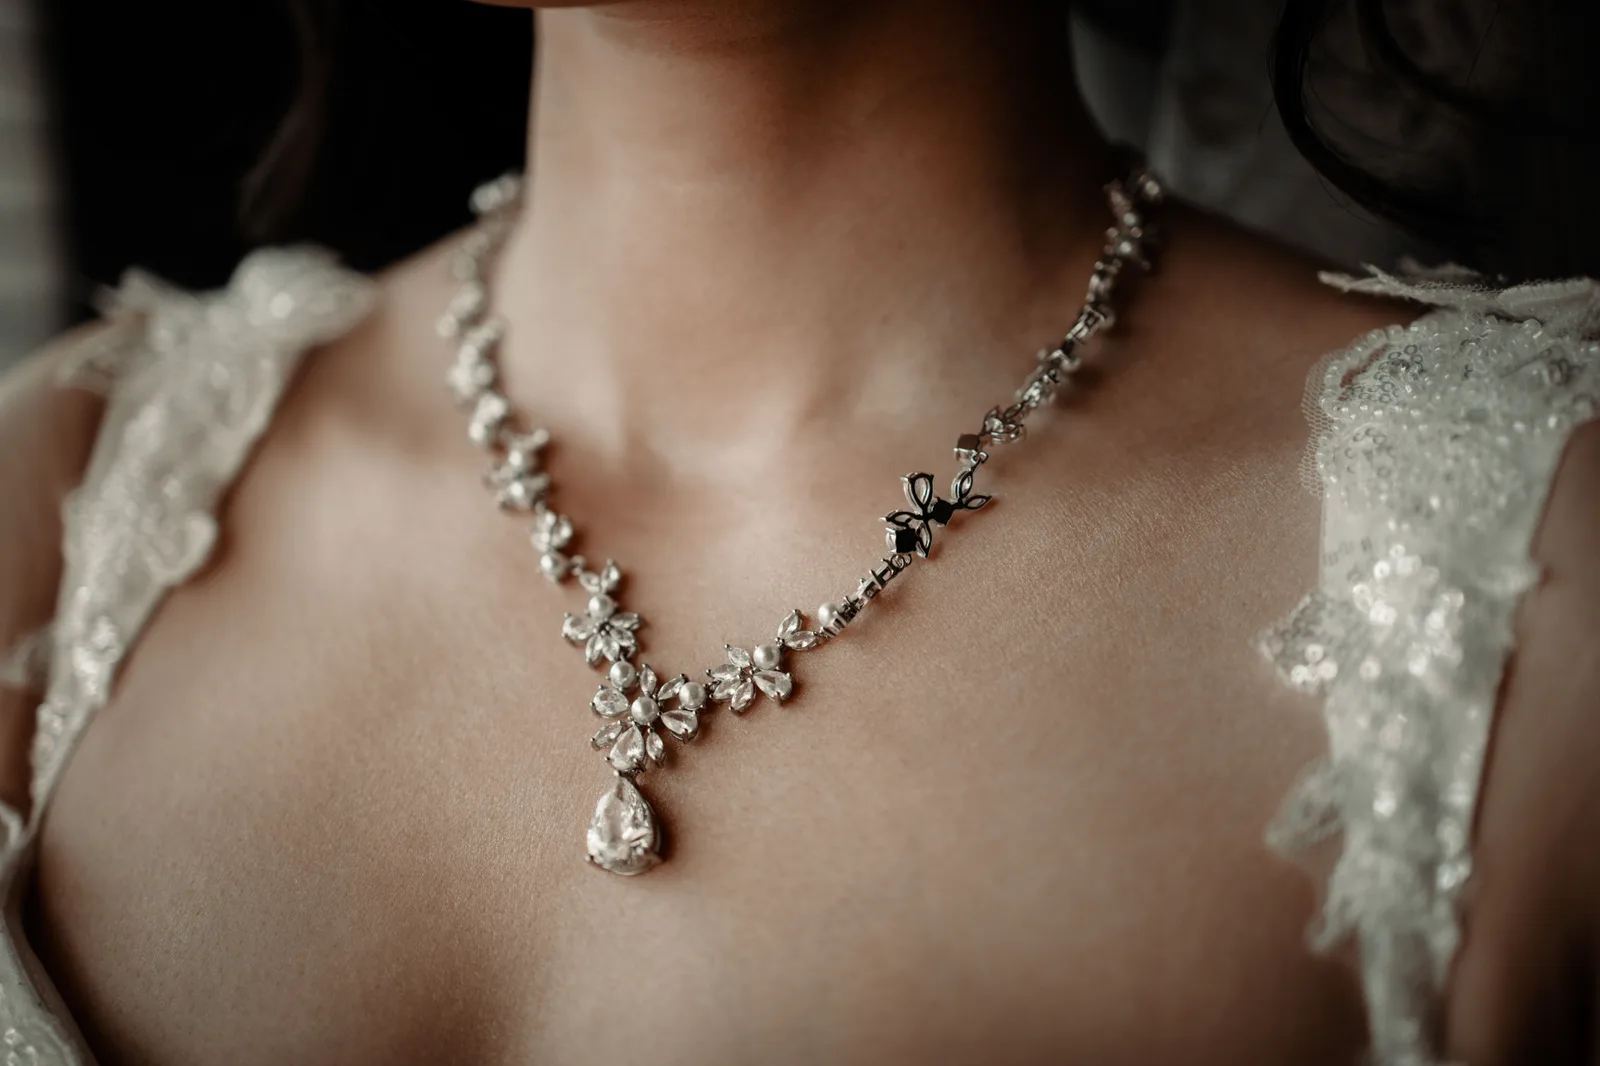
The fix is to add one small hard light to your soft setup. A single LED torch, a bare speedlight snooted down to a narrow beam, or even a phone torch, aimed at the stone from a low angle to one side. Move it while watching the live view and the facets will flare one at a time. Stop when several catch at once.
For a diamond or any faceted stone, that little light is the difference between a photograph that sells and one that looks like grey glass.
Focus stacking is not optional
At the distances jewellery requires, depth of field at f/8 is a few millimetres. Focus on the front of a ring and the back is soft; stop down to f/22 to fix it and diffraction turns the whole image mushy.
The answer is focus stacking: several frames at f/8 to f/11, each focused a little further into the piece, blended into one fully sharp image.
The workflow:
- Camera on a tripod, absolutely still. This is the non-negotiable part.
- Manual focus. Take a frame focused on the nearest point of the piece.
- Move the focus slightly further back, take another. Repeat five to ten times until the furthest point is sharp.
- Use a two second timer or a remote release so you never touch the camera.
- Blend the stack in Photoshop (Load Files into Stack, Auto-Align, Auto-Blend with Stack Images ticked) or in Helicon Focus.
Some cameras have automatic focus bracketing built in, which shoots the whole sequence for you at the press of one button. Check your menu for focus bracketing or focus shift shooting before you do it manually, because it is a common feature now and it turns a two minute job into ten seconds.
The settings
- Aperture f/8 to f/11. Sharpest part of most lenses, and small enough that you need fewer frames in the stack.
- ISO base, 100 or 64. There is no reason to raise it on a tripod.
- Shutter whatever the exposure needs. A one second exposure is fine.
- Manual focus, always. Autofocus hunts on shiny surfaces and will not hold a precise plane.
- Tethered or live view at maximum magnification to set focus. Judging millimetre focus on a rear screen at normal size is guesswork, and shooting tethered to a laptop makes this dramatically easier.
A macro lens is genuinely useful here rather than a luxury, because a standard lens cannot focus close enough to fill the frame with a ring. A 90mm or 100mm macro is the standard choice. Extension tubes on a lens you already own cost $25 and work, with the trade-off of losing infinity focus and some light.
Getting a true white background
Marketplaces want a pure white background, and "pure" means 255, not the light grey you get by default.
The reliable route is to overexpose the background without overexposing the piece, by separating them. Raise the jewellery on a small clear acrylic riser or a sheet of glass a few inches above the white surface, then light the background separately from below or behind. The piece is lit by your main light; the background gets its own, brighter light. They no longer fight.
Then finish in editing with a levels adjustment, pulling the white point until the background clips while watching that the metal's highlights do not. Check the result on a properly set up screen, because judging a white point on a screen that is too bright is exactly the situation calibration exists for.
Do not try to select and delete the background on a ring with a gap in the middle unless you enjoy masking. Getting it right in camera takes ten minutes once and saves that every time.
The shot list clients actually need
Whether you are shooting your own work or for a jeweller, the set is predictable:
- Straight-on hero shot on white, the marketplace primary image
- Three quarter angle showing depth
- Detail macro of the stone or hallmark
- Scale shot: worn on a hand, wrist, or neck
- A styled lifestyle frame on texture, for social media
- The clasp or fastening, for anything sold online
The worn shot matters more than photographers expect. Buyers cannot judge the size of a pendant from a white background image, and "it was smaller than I thought" is the most common reason jewellery gets returned. One hand shot prevents a return.
Keep the model's hands simple, neutral nails, no competing rings, and light them softly. That frame is the one that does the selling, and it is worth as much care as the technical hero shot.
If you are photographing for makers rather than for yourself, this pairs closely with the rest of the small-product workflow, and the one-window product setup covers the scaling up to larger objects that will inevitably follow when a client asks.