Reflections in glasses are caused by your light being at the wrong angle, and they are fixed by moving the light, not by fixing it in Photoshop afterwards. Raise your light higher and move it further to the side until the reflection slides off the lens. That is the whole technique, and it takes about fifteen seconds once you know to look.
The harder part is remembering to check. Glare is easy to miss on the back of a camera, and you will not notice the white rectangle sitting across someone's iris until you are editing forty frames of it.
Why the reflection appears where it does
A lens is a mirror. Light bounces off it at the same angle it arrives, so what you see reflected in someone's glasses is whatever sits opposite the lens at that mirrored angle. Move the light and the reflection moves twice as fast, which is why small adjustments work so well.
The practical consequence: any light source near your camera axis, meaning straight in front of the subject at roughly eye level, will reflect straight back at you. On-camera flash is the worst offender and is essentially guaranteed to produce glare. A big window directly behind you does the same thing.
The fixes, in the order to try them
Raise the light. Get your key light above the subject's eye level and angle it down at about 30 to 45 degrees. The reflection drops below the frame of the glasses. This alone solves most cases.
Move it further to the side. Push the light out to 45 degrees or more from the camera axis. Combined with height, that puts the reflection off the outer edge of the lens.
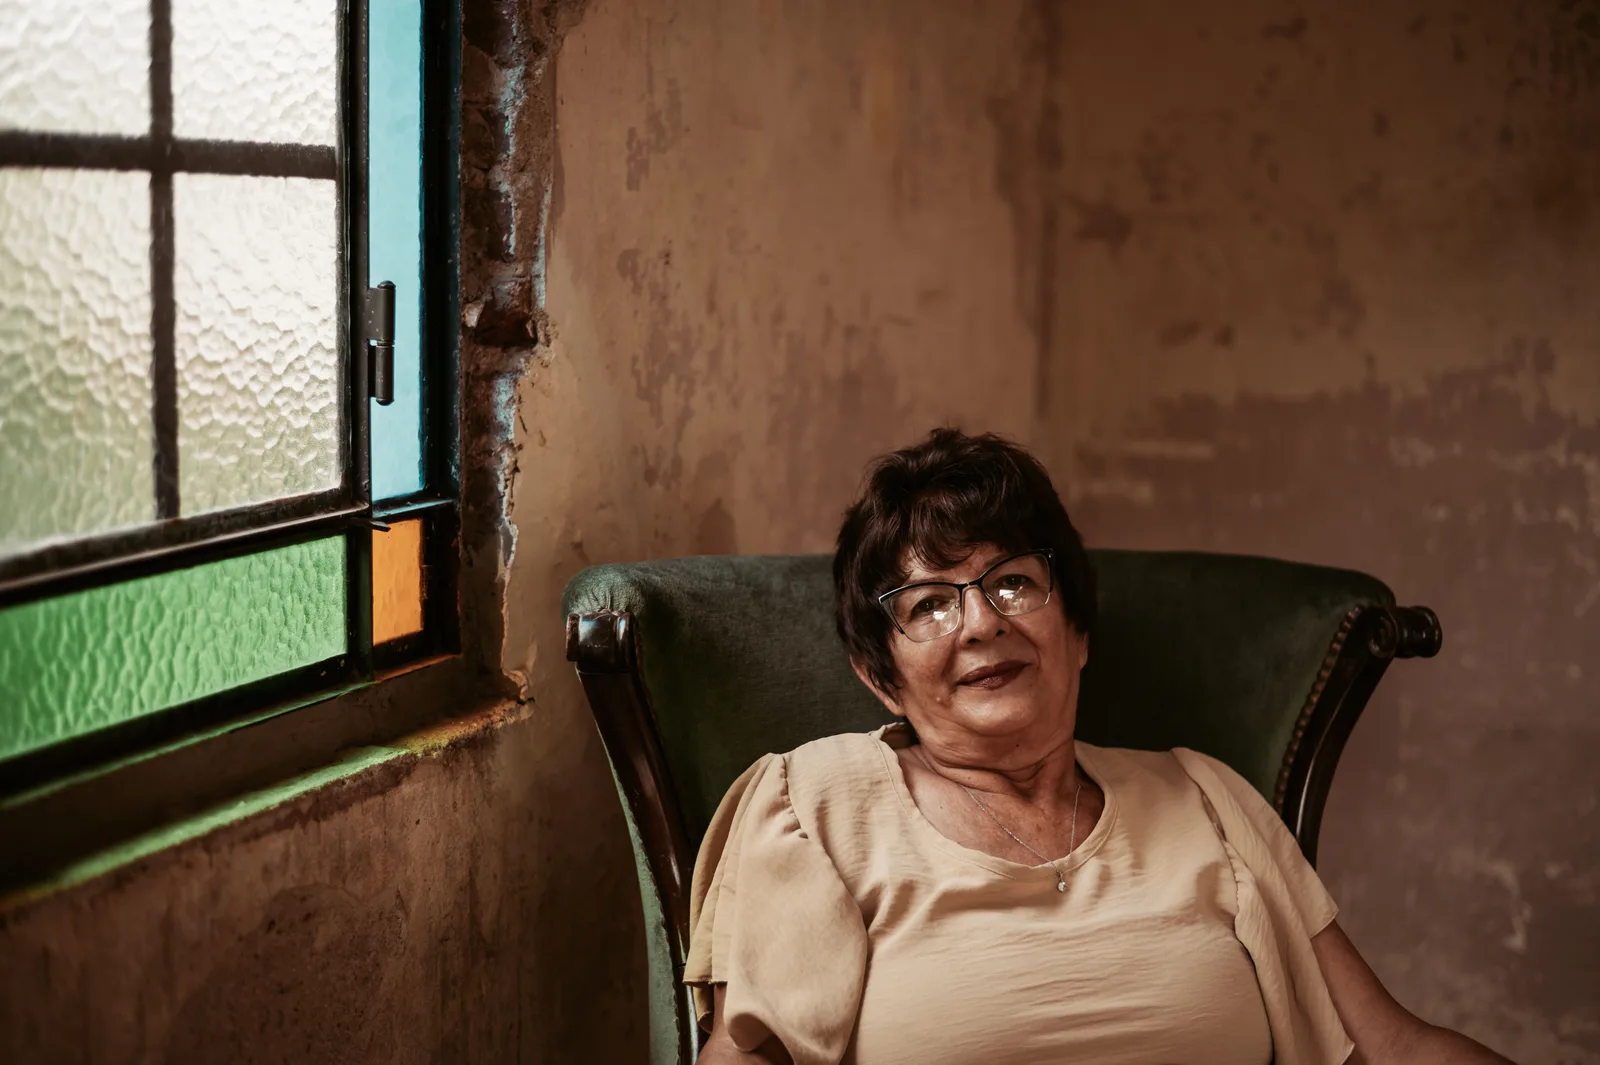
Tilt the glasses. Ask the subject to bring the arms of the glasses down very slightly where they rest on the ears, which tips the lenses forward a few degrees. That small tilt sends the reflection downwards, out of the frame. It is completely invisible in the photograph and it is the trick that saves difficult cases. Have them push the arms down about a quarter of an inch, no more, or the glasses start to look crooked.
Move the subject's chin. A slight chin-down or a small turn of the head changes the reflection angle just as effectively as moving the light, and it is faster when your lights are already set.
Use a larger, closer modifier. Counter-intuitive, but a big softbox brought in close produces a large, soft reflection that is often more acceptable than a small hard one, and feathering it so only the edge of the light hits the face reduces it further.
If none of those work, the reflection is coming from something you have not noticed: a window, a white wall, a laptop screen, or your own white shirt. Look at what is opposite the lens rather than at the light.
Where this bites in real sessions
Outdoors in open shade. The sky is a giant softbox directly in front of your subject, and it reflects as a bright blue-white band across both lenses. Move the subject so that a building, a tree, or an overhang blocks the sky in front of them, and the reflection goes with it. Shooting with the subject under the edge of a canopy rather than out in the open is the fix.
Groups. You cannot tilt eight pairs of glasses individually, so raise the light and shoot slightly from above, which is already the right approach for a large group. The elevation does double duty.
Weddings and events with flash. Bouncing off a ceiling puts the light source above and behind you, which is roughly the ideal angle for glasses. Direct on-camera flash is the guaranteed way to ruin every frame of a guest in glasses.
Corporate headshots. The most likely place for this to matter commercially, because a meaningful share of your subjects will wear glasses and the client expects consistency across thirty people. Set your lighting once with a volunteer in glasses, not without.
Ask before the session, and offer the options
Put one line in your pre-session email: "If you wear glasses, bring them, and if you have a spare pair with the lenses removed, bring those too."
Empty frames are what professional headshot studios use, and they eliminate the problem entirely while looking identical in the photograph. Plenty of people have an old pair they can take the lenses out of, and opticians will often pop lenses out of a display frame for a customer.
Failing that, ask two questions when they arrive. Whether they wear the glasses most of the time, which tells you whether the photos should include them at all. And whether the lenses are photochromic, which matters enormously outdoors because those darken in sunlight and will hide the eyes completely. Photochromic lenses take several minutes to clear indoors, so if you are shooting inside after an outdoor portion, plan for that gap.
Shoot some frames without the glasses regardless. It takes a minute, it gives the client a choice, and it is your insurance if the glare turns out worse than it looked on set.
Check on the back of the camera, properly
Take one frame, zoom to 100 percent on the eyes, and look. Not at the thumbnail, at the actual pixels. Glare that is invisible at thumbnail size is obvious at full resolution and unfixable at delivery.
Do this once at the start of each new lighting setup and each new location, and then trust it. It costs you thirty seconds per setup and it is the difference between noticing on set and noticing in the edit.
Watch for the second problem while you are there: the arms of the glasses casting a hard shadow across the eye socket, or a heavy frame throwing a line across the cheekbone. Raising the light causes this one, so the two fixes pull against each other and you are looking for the position that solves both. Usually slightly less height and slightly more side angle.
Fixing it in editing, when you have to
Sometimes you get one irreplaceable frame with glare in it. The repair is manageable if you have a second frame from the same position where the reflection is not on the eye: mask the good eye area from that frame onto the keeper. That is why shooting several frames of every setup matters.
With no clean source frame, you are cloning and painting an iris, which is slow, looks fake at any size above a phone screen, and takes longer than reshooting would have. Charge for it if a client asks for it on a whole gallery, because it is genuinely hours of work rather than minutes.
The realistic prevention is a habit rather than a skill. When someone in glasses sits down, raise your light, push it wider, and take one test frame at 100 percent. Everything else in this post is what to do when that is not enough, which will be about one session in ten. This is the same class of small preparation as getting a nervous subject relaxed before you start shooting: thirty seconds spent early saves the whole set.