Food photography is mostly a light problem and a speed problem. Hot food looks its best for about ninety seconds, cold food dries out, and salad wilts under lights, so everything you can decide before the plate arrives has to be decided before the plate arrives.
Here is the working approach for restaurant and menu work.
Side light or backlight, never front light
The single rule that changes everything. Light from behind or to the side of the dish, at roughly 45 to 135 degrees from your camera, and never from the direction you are shooting.
Backlight gives you the translucency in a glass, the steam, the gloss on a sauce, and the texture on a crust. Front light flattens all of it and makes food look like a supermarket photograph from 1998.
In a restaurant, that means finding a window and turning the table so the light comes across it. Then put a white bounce card or reflector on the shadow side to lift the front of the dish, and a black card on the far side if you want the edges defined.
Kill the overhead lights while you shoot. Mixing tungsten downlights with daylight gives you a colour cast that is genuinely painful to correct.
The three angles, and which food wants which
- Overhead, straight down. Flat lays, bowls, tables of dishes, anything where the shape is the subject. Pizzas, salads, spreads.
- 45 degrees. The way you see a plate when sitting at a table. The safe default for most dishes.
- Straight on, at plate level. Anything with height and layers: burgers, stacked pancakes, cakes, drinks in glasses.
Choose before the food comes out, since the angle determines how the kitchen should plate it.
The settings
- Tripod, especially for overhead work. It lets you keep framing identical across a menu, which is what makes a set look like a set.
- f/4 to f/8. Wide open at f/1.8 leaves one grain of salt sharp and everything else mush, which is a look that has thankfully passed.
- ISO 100 to 400, since you have a tripod.
- Manual white balance using a grey card. Food colour accuracy matters more than almost anything else. Grey meat is unsellable.
- A 50mm to 100mm macro lens. Wide lenses distort plates into ovals.
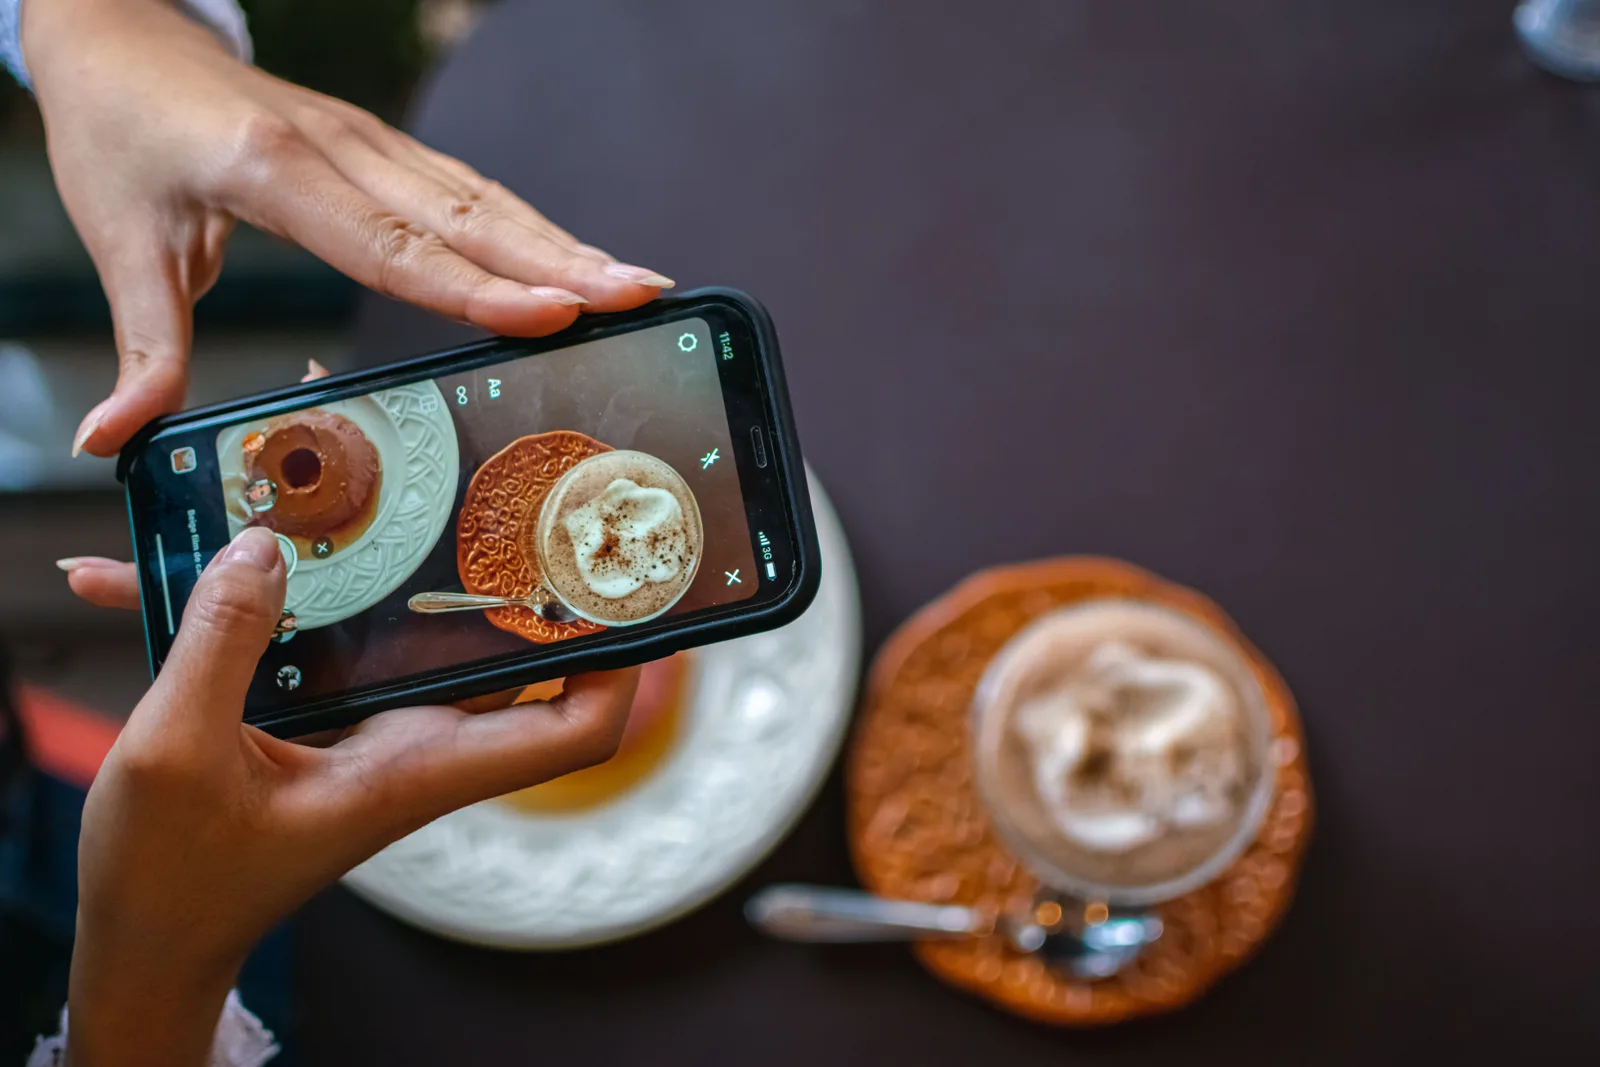
For overhead work, an overhead tripod arm or a proper C-stand with a boom is far easier than trying to lean a tripod out over a table.
Styling, in the order that matters
The plate is a frame. Smaller plates make portions look generous. Rim space is composition, not waste.
Build height. Food photographed flat looks flat. Prop the back of a stack, angle the garnish upward, layer the ingredients so there is something for the light to catch.
Add texture and colour deliberately. A scatter of herbs, a crumbled edge, a sauce drip. Three colours maximum in the frame, and one of them should be the food.
Wipe the plate. Every time, right before the shot, with a damp cloth and a dry one. Fingerprints and drips are the most common reason a frame gets binned.
Bring the surfaces with you. Two boards, one light and one dark, plus a linen cloth, will change more about a photograph than anything the restaurant owns. Photography surface boards are cheap, or a builder's merchant will sell you a slab of slate for less.
Working with a real kitchen
The dynamics matter as much as the technique. A working chef is doing you a favour during a service they are already behind on.
- Send the shot list in advance and agree the order the dishes come out.
- Shoot in order of fragility. Ice cream, salad, and anything with foam first. Braised and roasted dishes last, since they hold.
- Set up and light the scene with a stand-in plate, so the real dish arrives into a finished setup and you shoot within a minute.
- Have the chef plate it in front of you and ask for a second plate if the first one is wrong. Sauce placement matters and they know it better than you.
- Do not touch the food without asking. Kitchens have opinions.
What restaurants actually need
Ask this at the enquiry and the shoot plans itself. Usually:
- Hero shots of six to ten signature dishes, for the website and menu.
- Wide interior shots of the empty dining room, well lit, which get used more than any food image.
- Atmosphere shots: hands, pouring, plating, service in progress.
- The chef or owner, one usable portrait.
- Vertical crops of everything, because their social channels are vertical and a landscape-only delivery gets cropped badly by someone else.
That last point is the one that gets photographers rebooked.
Pricing and licensing
Restaurant work is commercial by definition, so the licence is a separate conversation from the shooting fee, and it belongs in the contract before the shoot. Per-image or half-day pricing both work; per-image is easier to explain when the client is comparing you to someone else. The actual numbers are in how much to charge for food photography.
One practical note on delivery: hand over files named by dish, organised, and in both web and print sizes. A restaurant marketing team searching for "carbonara" in a folder of DSC numbers will not find it, and they will ask you instead, which is the difference between delivery and handover.
The same window-and-bounce-card setup covers most of this work, and it is the same one that makes product photography possible at home. Learn it once and two genres open at the same time.