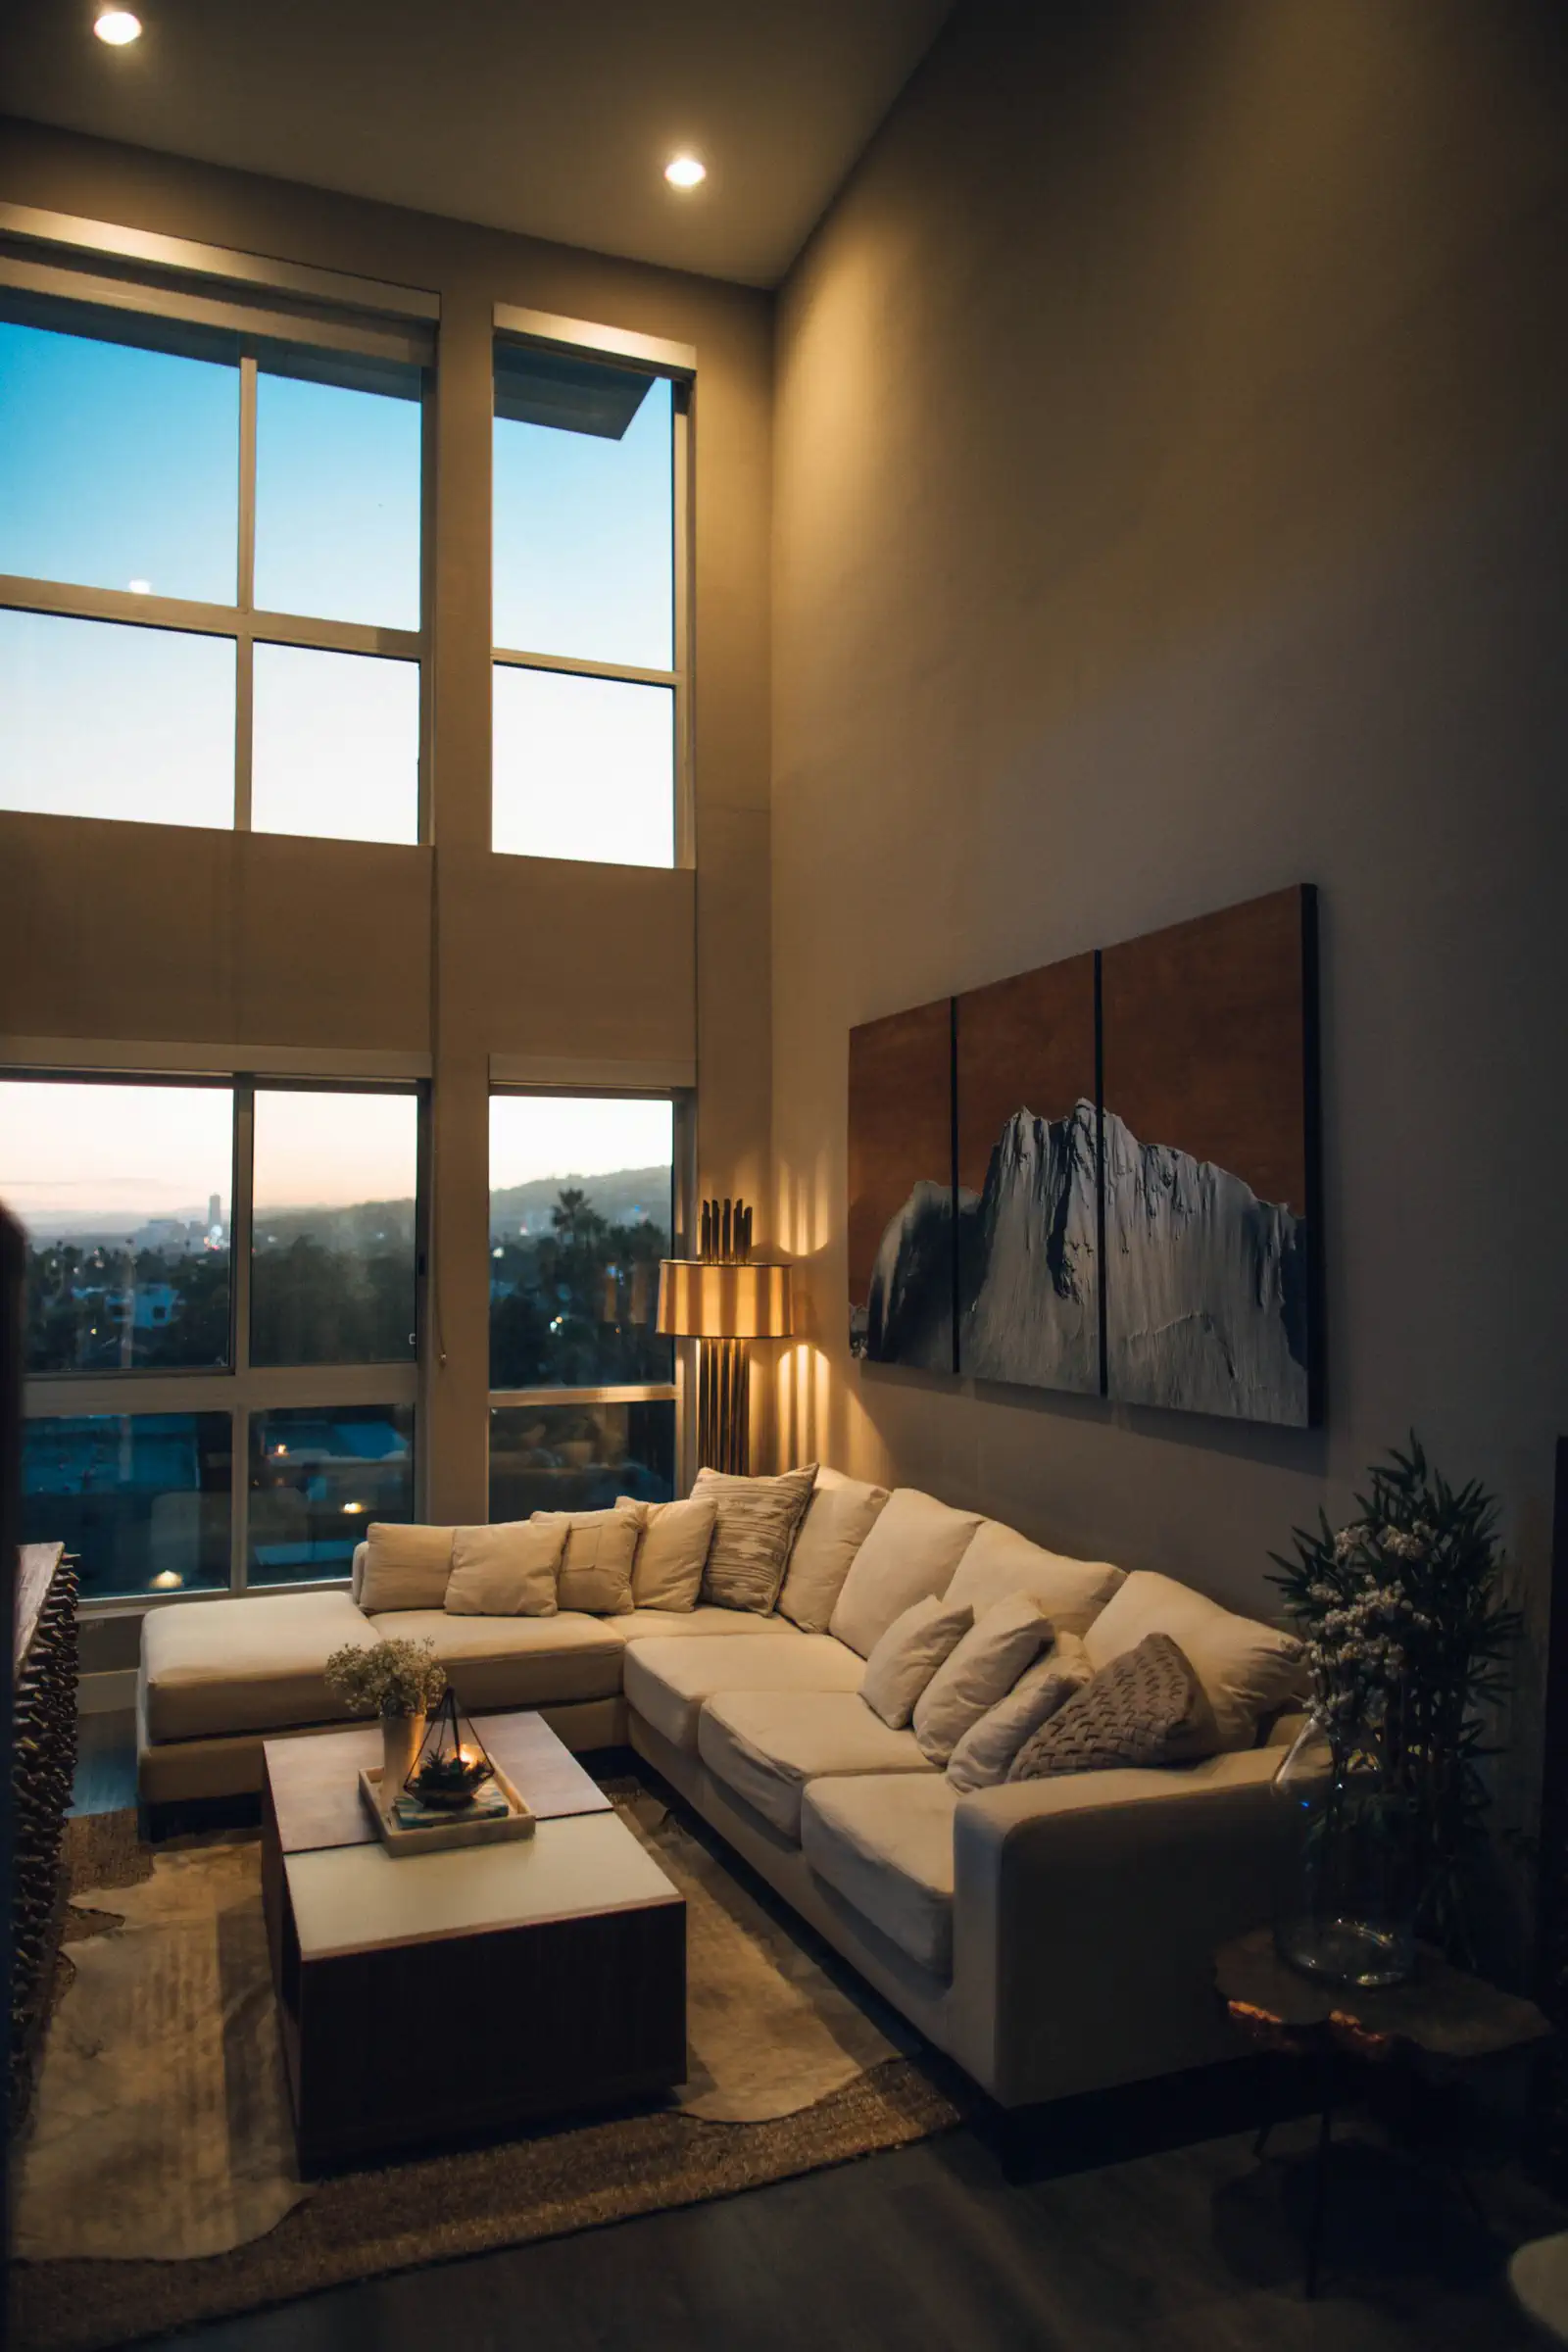
To photograph interiors well, put a 24mm lens on a full frame camera (16mm on APS-C), set the tripod lower than feels natural, somewhere around 90 to 110cm, keep the camera dead level so walls stay vertical, and shoot three to five bracketed exposures of every composition at f/8 and ISO 100. Then spend more time moving furniture than pressing the shutter. The camera work is the easy half.
This is the design and editorial version of the job: a handful of frames that a designer, an architect or a magazine will use for years. Listing work is a different discipline with different priorities, and the real estate shot list covers it room by room. Here the goal is eight frames that look composed, not forty that show every corner.
Which lens is best for interior photography?
A 24mm on full frame does most of the work. It is wide enough to show a living room from a corner and narrow enough that a chair at the edge of the frame still looks like a chair. Real estate leans on 16mm because buyers want to see the whole room. Design clients want proportion, and anything wider than about 20mm starts stretching the furniture nearest the corners.
A tilt shift lens (the 24mm versions are the standard) is the upgrade that changes the work, because you can keep the camera level and shift the lens down to include more floor without tilting. If that is not in the budget, shoot a little wider than you need and crop after correcting the verticals. Keep a 35mm or 50mm for vignettes: a shelf, a basin, a stair rail, the detail shots a designer wants to show off.
How high should the camera be?
Lower than real estate. Listing photographers work at around chest height, 1.4m, to show floor area. For design work, start at roughly the height of a kitchen counter, 90 to 110cm, and adjust from there. At that height tabletops read as surfaces rather than slabs, sofas look grounded, and the ceiling stops taking a third of the frame.
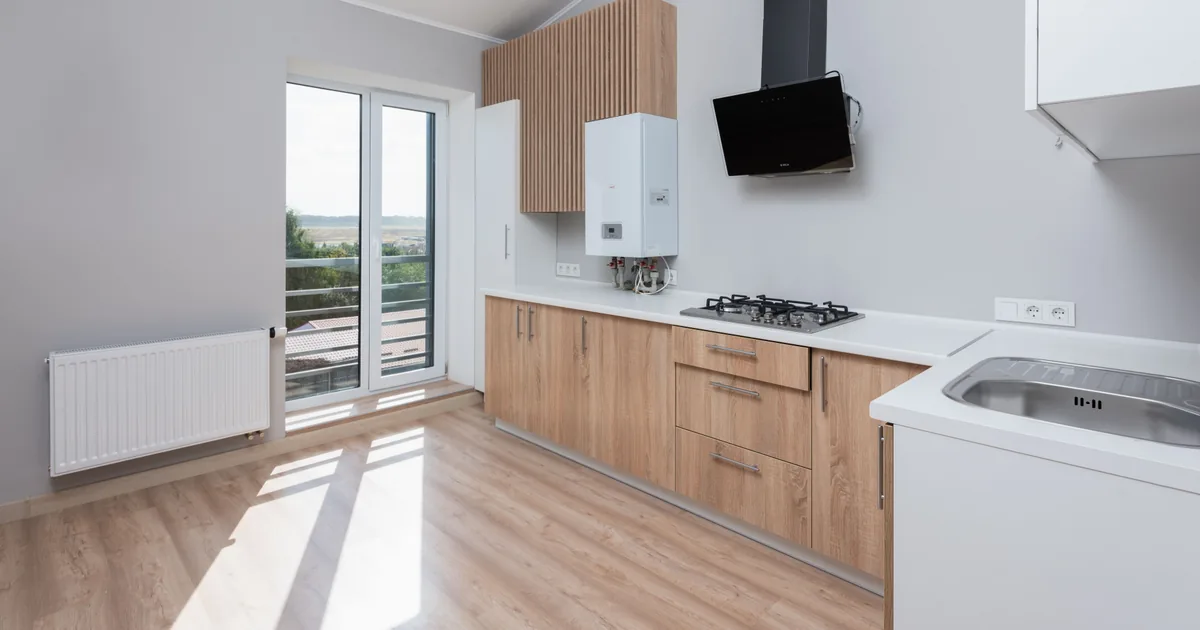
A useful test: lower the camera until the top of the main table is just visible, then stop. In a kitchen, go up a little so the counter shows a sliver of its surface. In a bathroom, go a little higher again so the basin is not a white oval at the bottom of the frame.
How do you keep vertical lines straight?
Keep the sensor parallel to the walls. Level the tripod head before every frame using the camera's electronic level, not the bubble on the legs, and let the floor and ceiling fall where they land. Any upward or downward tilt makes walls converge, and in a design shot that is the first thing an architect will notice.
Fix what is left in Lightroom Classic under Develop > Transform > Upright. Vertical levels the frame and corrects converging verticals. Guided lets you draw two to four lines along walls or door frames and straightens to those, which is more reliable in rooms with sloped ceilings or curved furniture. Correction crops the frame, so compose with a margin of space around the edges, around 10 percent.
Decide early whether a frame is one point or two point perspective. One point (camera square to the back wall, that wall parallel to the frame) suits symmetrical rooms, corridors and kitchens with an island. Two point (shooting from a corner) shows more depth. What does not work is the in between, a back wall that is almost parallel and looks like a mistake.
Should you bracket interior photos?
Yes, unless you light the whole room with flash. Shoot three to five frames about one or two stops apart from a fixed tripod position, on a two second timer or a remote so nothing moves. The darkest frame should hold the view through the window, the brightest should open the darkest corner.
In Lightroom Classic, select the brackets and use Photo > Photo Merge > HDR (Ctrl+H on Windows, Control+H on a Mac). The result is a DNG you edit like any raw file. Set Deghost Amount to Low or Medium if a curtain or a plant moved between frames. Once you have settings you trust, Ctrl+Shift+H (Control+Shift+H on a Mac) merges with the last used settings and no dialog, which is how you get through forty brackets without babysitting each one.
For the cleanest colour, design photographers often add one frame lit by a flash bounced into the ceiling behind the camera and blend it in with the ambient frames. It neutralises the colour casts from painted walls and wooden floors, and it is the step that separates a magazine frame from a listing frame. Do it on the hero shots first, where it pays off.
When is the best light for photographing a room?
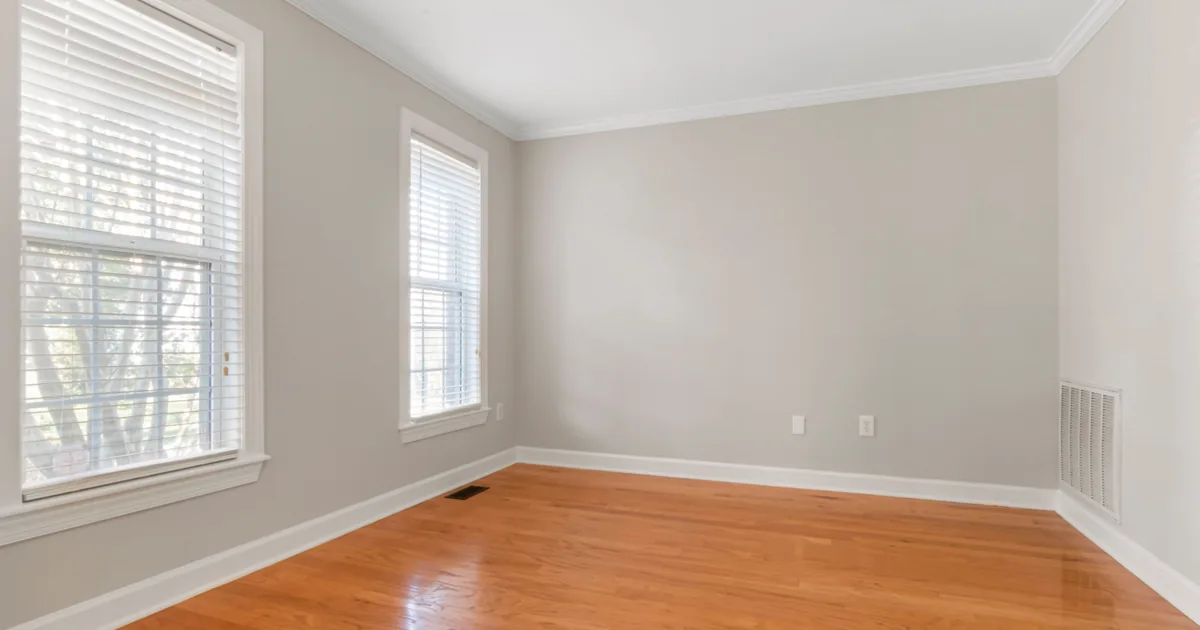
When no direct sun is coming through the windows. Patches of sunlight on the floor look warm to the eye and become blown white shapes on camera. Ask which way the main rooms face before you set a time: in the northern hemisphere a south facing living room is easier in the early morning or late afternoon, and a north facing room gives even light all day. A bright overcast day is the easiest interior light there is.
Position the camera so the main window is to the side, about 90 degrees from the lens. Side light shows the texture of fabric and wood. Shooting straight into a window gives you a silhouette to fix, and shooting with it behind you flattens the room.
Then decide on artificial light. Turn off ceiling downlights, which leave bright scallops on the walls, and keep lamps on only where they add a warm point in the frame. Set white balance manually to around 5,000 to 5,500K so the daylight is neutral and the lamps read as a deliberate warm accent rather than an orange cast.
How do you style a room for interior photos?
Take things away. A lived in room has too much in it for the camera, so remove about a third of the objects on every surface, then add back one or two that belong in the frame. Hide every cable, remote, charger and bin. Check the reflections in mirrors, windows, ovens and taps, because you will be in at least one of them.
Style for the lens, not the room. Furniture often has to move inwards towards the camera to fill the frame, a chair turned 15 degrees, a coffee table pulled 30 centimetres from the sofa. It will look wrong in person and right on screen. Straighten rugs so their edges run parallel to the frame or clearly at an angle, never slightly off. Plump cushions, smooth the bed, hang towels folded in thirds, and put one living thing in most frames: a branch in a vase, a bowl of lemons, a plant.
Shoot tethered to a laptop if you can, because on a camera screen a crooked lampshade is invisible. The tethering setup also lets the designer stand behind you and approve each frame before you strike it.
How many frames should you deliver from an interior shoot?
Fewer than you expect. A styled hero room takes about an hour, so a full day usually produces 12 to 20 finished images, roughly two thirds wide shots and one third vignettes. That number is also what drives the quote, and how much to charge for interior photography works through how a day rate and an image count fit together.
Deliver a web size and a full resolution set, named by room, with the corrected verticals and window pulls done. When the designer is choosing which extra frames to buy, let them favourite the ones they want in a PIN-protected gallery and leave a note on each image.
Before your next interior shoot, ask the client which way the main rooms face and book the slot around it, then lower your tripod to table height on the first frame and leave it there for the day.