Most people install four editing apps and use one badly. The useful question is not which app is best overall, it is which app is best for the specific thing you are trying to do, because they are genuinely different tools.
Here they are by job, with the honest note on cost.
For raw files and matching your desktop edits: Lightroom Mobile
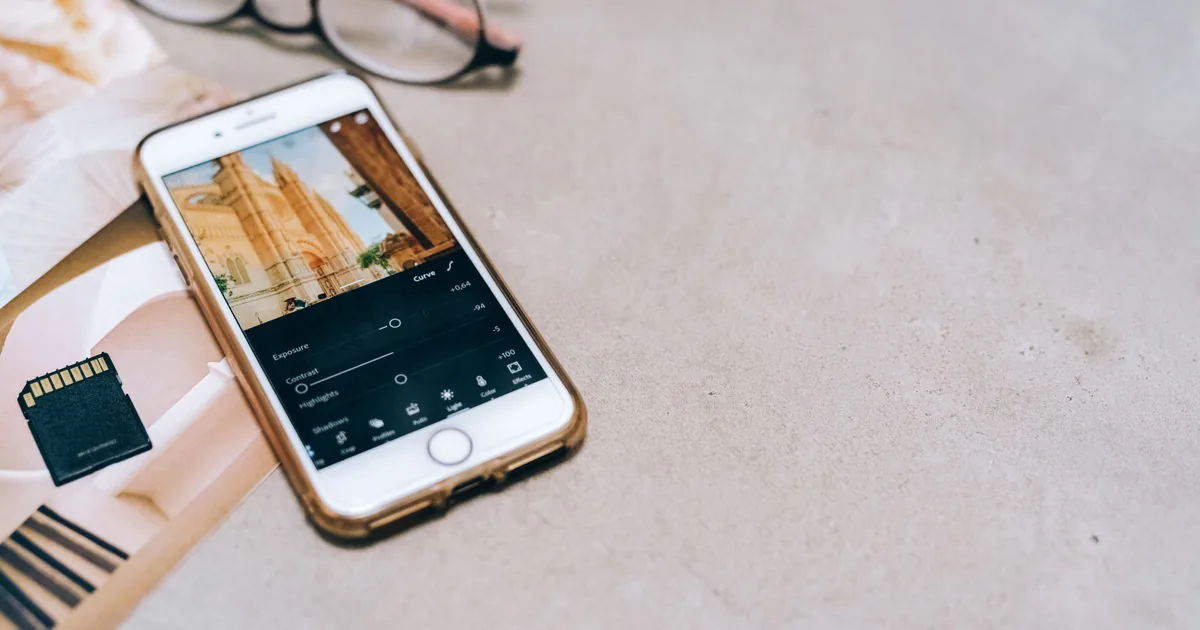
If you already edit in Lightroom on a computer, this is the only sensible answer. Presets sync, edits sync, and a raw file opened on the phone gets the same processing engine it would get on the desktop.
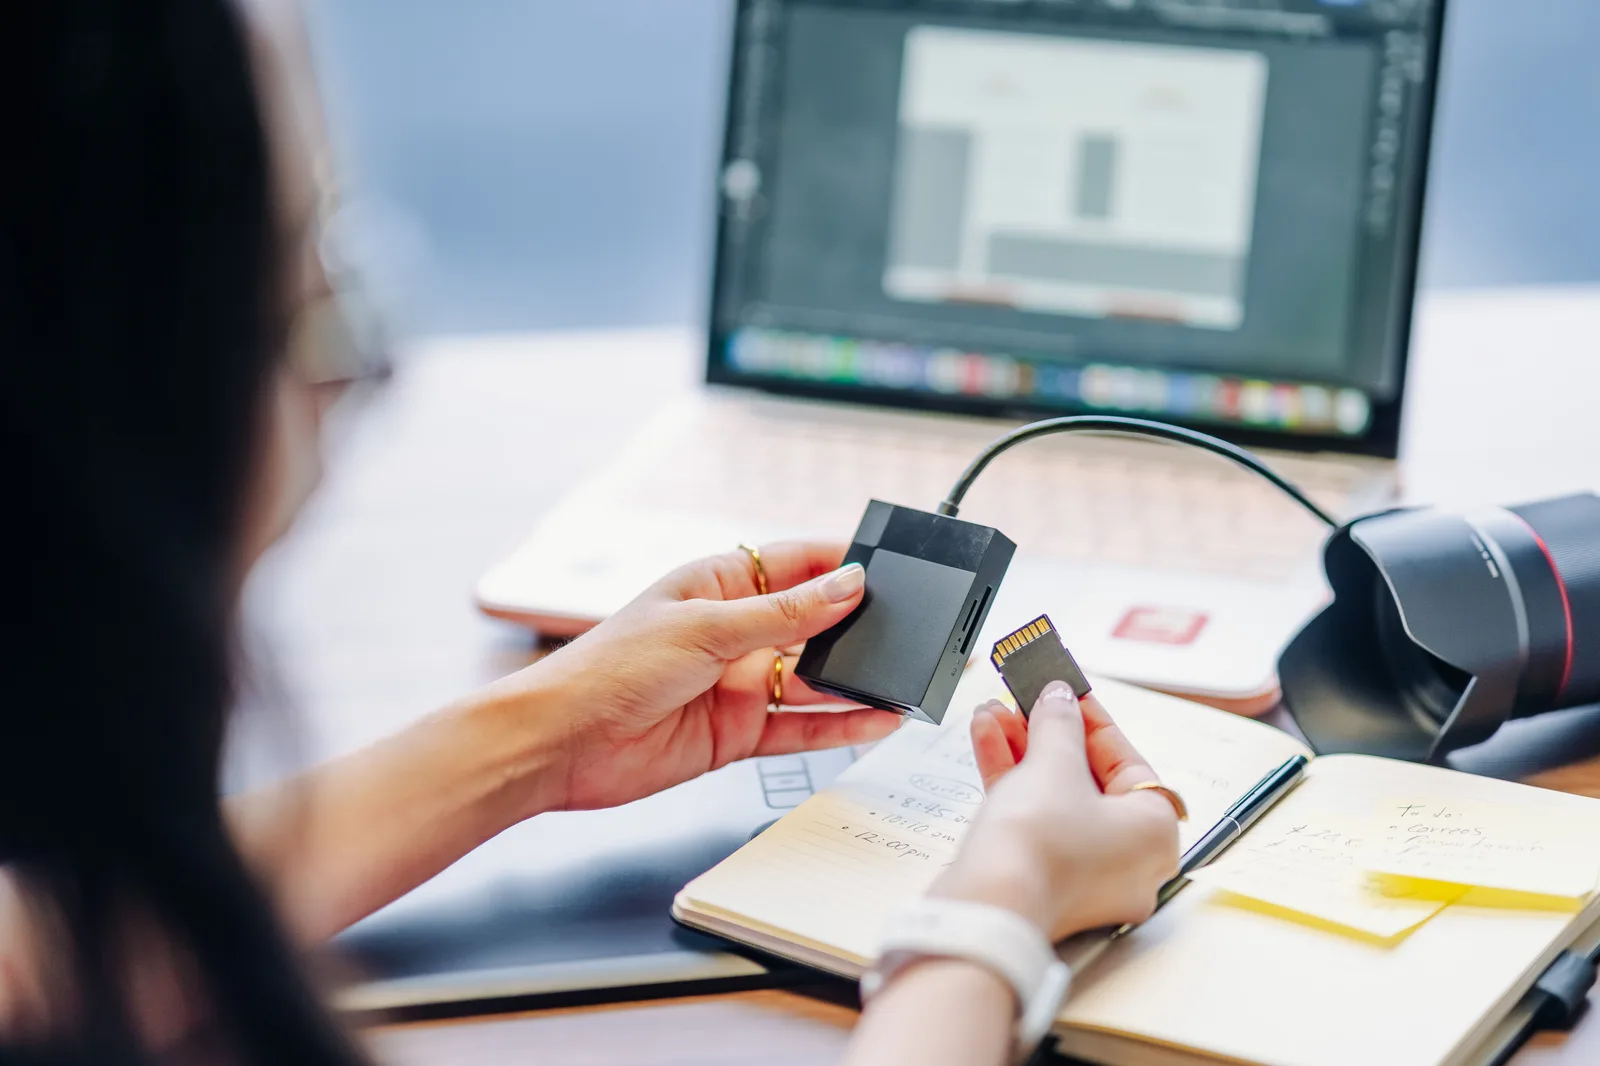
The practical use for working photographers is the sneak peek. Import two raw files from a card reader on the way home, apply your preset, adjust, and post the same evening, which is worth real money on an engagement session.
The free tier does a lot. Raw editing, cloud sync, and the healing tools sit behind the subscription, which most photographers already have through the photography plan.
For fast, free, genuinely good edits: Snapseed
Free, no account, no subscription, and it has the best selective editing tool on any phone. The control point system lets you brighten one face or darken one corner in about four taps, which is faster than the equivalent in any competitor.
Its healing brush is also the best free option for removing a bin, a sign, or a stray person from the edge of a frame. For anyone who is not already in the Adobe ecosystem, this is the app to learn properly.
For colour and a consistent look: VSCO or Dehancer-style film emulation
The film emulation apps sell you a look rather than a toolset. That is a legitimate purchase if your problem is consistency: applying the same treatment across a set is what makes a feed hold together, and it is a shortcut to a signature look while you develop your own.
The caution: a look you did not build is a look everyone else can buy. Use them as a starting point and adjust, rather than as a filter you apply and post.
For removing things: the built-in tools first
Both Apple's own Photos app and the major editors now include object removal that handles small distractions convincingly. Try the built-in one before installing anything, since it has improved considerably and costs nothing.
For anything larger than a small object, do it on a computer. Phone-based generative fill produces smeared textures at the sizes people print.
For the everyday adjustments: the Photos app is better than people admit
The built-in editor handles exposure, contrast, highlights, shadows, warmth, and straightening, all non-destructively and all reversible later. For most quick adjustments to a photograph you took on the phone, it is the fastest route and it is already there.
Learn the difference between the Brilliance slider, which does a smart local contrast adjustment, and Exposure, and you have covered most casual editing.
For scheduling and batch work: not on the phone
Worth saying, because a lot of app roundups pretend otherwise. Editing a full client gallery on a phone is a bad idea: you cannot judge colour reliably on a screen that is auto-adjusting brightness and warmth, and you cannot see the detail you are affecting.
Use the phone for one or two images and for adjustments in the field. Do the gallery on a calibrated screen, which is the only way to know what your client will actually see.
The ones to skip
- Subscription filter apps that only apply presets. You are renting a look.
- Anything advertising one-tap AI enhancement. It typically raises saturation and clarity, which reads as amateur on skin.
- Beauty and retouch apps for client work. Smoothing skin to plastic is the most reliable way to make a portrait look worse, and clients notice on their own faces.
- A second raw editor while you have not learned the first.
A practical phone workflow
For a client sneak peek on the way home:
- Card reader into the phone, or use the camera's own wireless transfer for two or three frames.
- Open in Lightroom Mobile, apply your standard preset.
- Adjust exposure and white balance only. Resist the urge to do a full edit, because these images should match the gallery you deliver later.
- Export at full quality, post, and note which frames you used so the final gallery includes them.
For your own photographs:
- Straighten and crop first, always. It is the edit with the highest hit rate.
- Exposure and white balance second.
- One local adjustment, usually lifting the face.
- Stop.
The order matters more than the app. Most bad phone edits are the result of reaching for saturation before fixing the exposure, and no subscription will fix that.